
These Easter Mini Egg Cookies are the ultimate easy Easter cookies – soft, chewy, and packed with colourful chocolate crunch. Made in one bowl, they're perfect for quick and easy family baking or anyone who loves baking with mini eggs and chocolate. A fun, fuss‑free treat that doubles as one of the best Easter dessert ideas for spring.
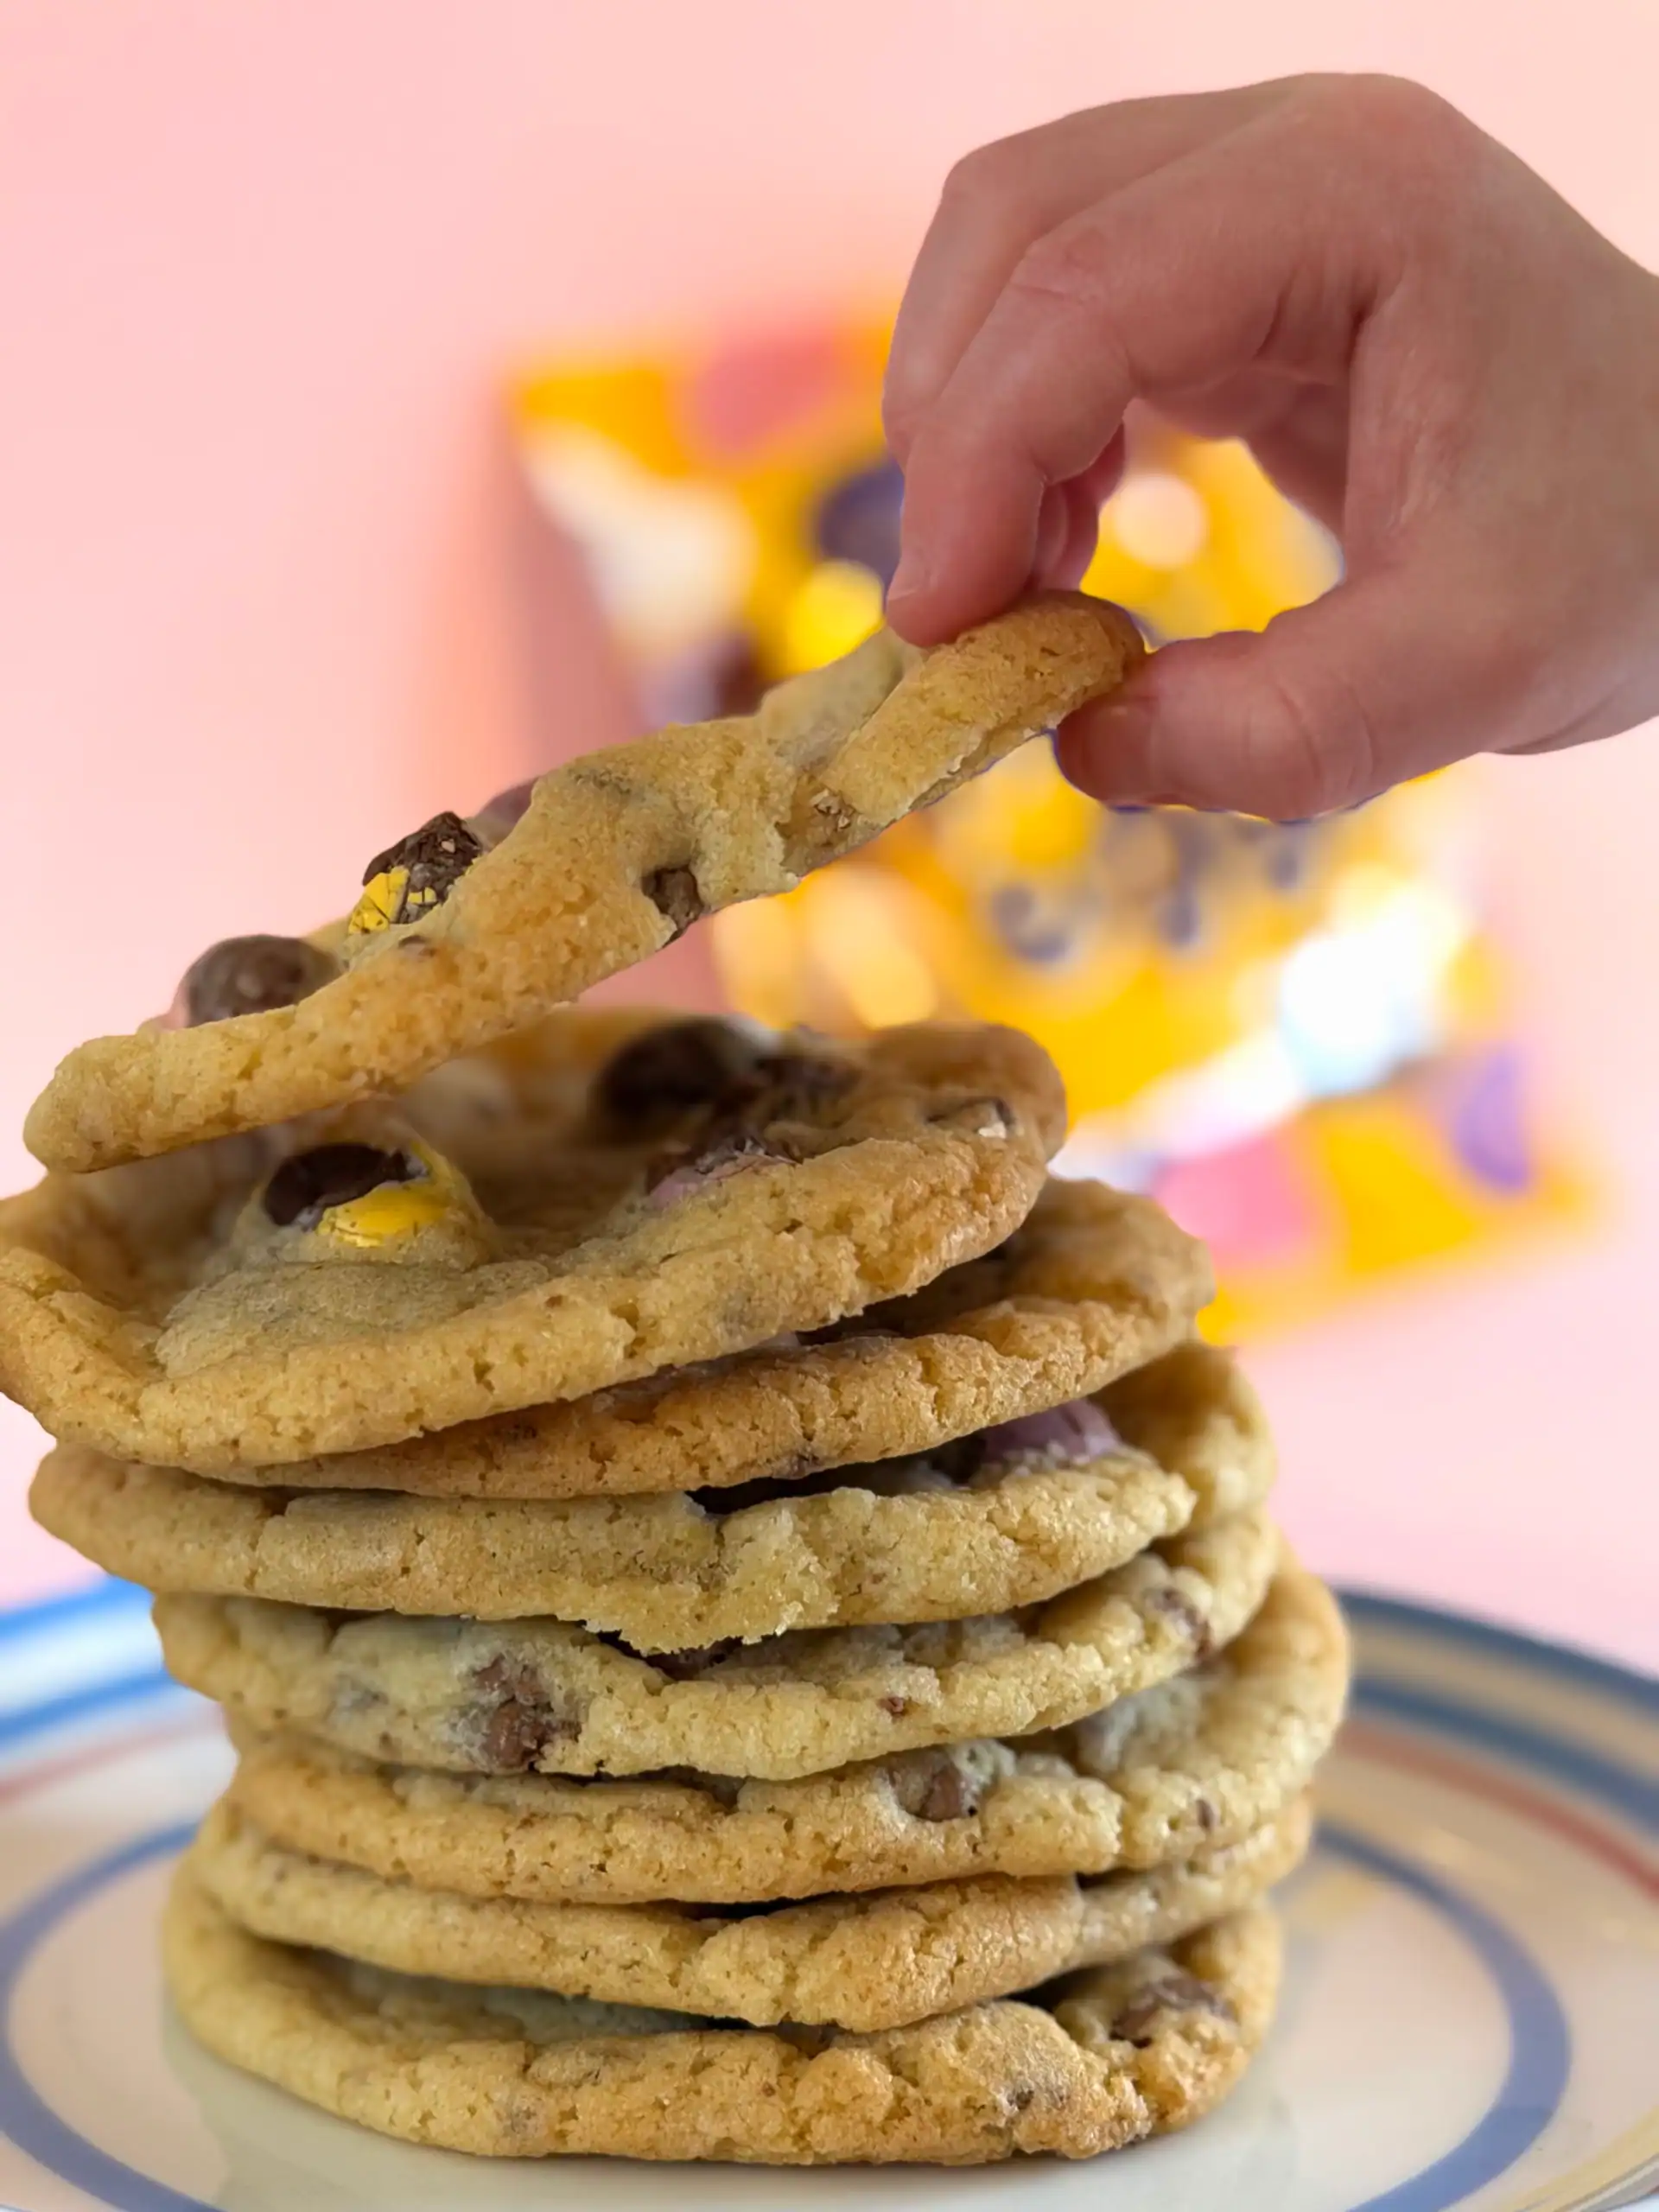
Do you love cookies? These Easter Mini Egg Cookies are our family's favourite easy Easter baking activity – soft, chewy, and packed with colourful chocolate crunch. My 5 year old loves baking with mini eggs almost as much as he loves eating them! Making these cookies was easy and fun and turned a rainy afternoon into great Easter memories.
This recipe is simple, fun, and guaranteed to disappear faster than you can say "save one for me," they're the perfect Easter dessert idea for families who like their baking fun, messy, and delicious!
If your family loves these chocolate cookies as much as mine does, you’re in good company - we’ve got plenty more sweet treats for you to try. Here are a few more recipes that always go down well at our table:
- Poached pear and frangipane tart
- Strawberry Tarts with vanilla pastry cream
- Chocolate orange hot cross buns
- Cottage cheese pancakes
- Cinnamon and maple banana bread muffins
- Big fluffy scones
- Homemade shortbread cookies
- Vanilla creme brulee
Jump to:
Ingredients and substitutions for Easter mini egg cookies:
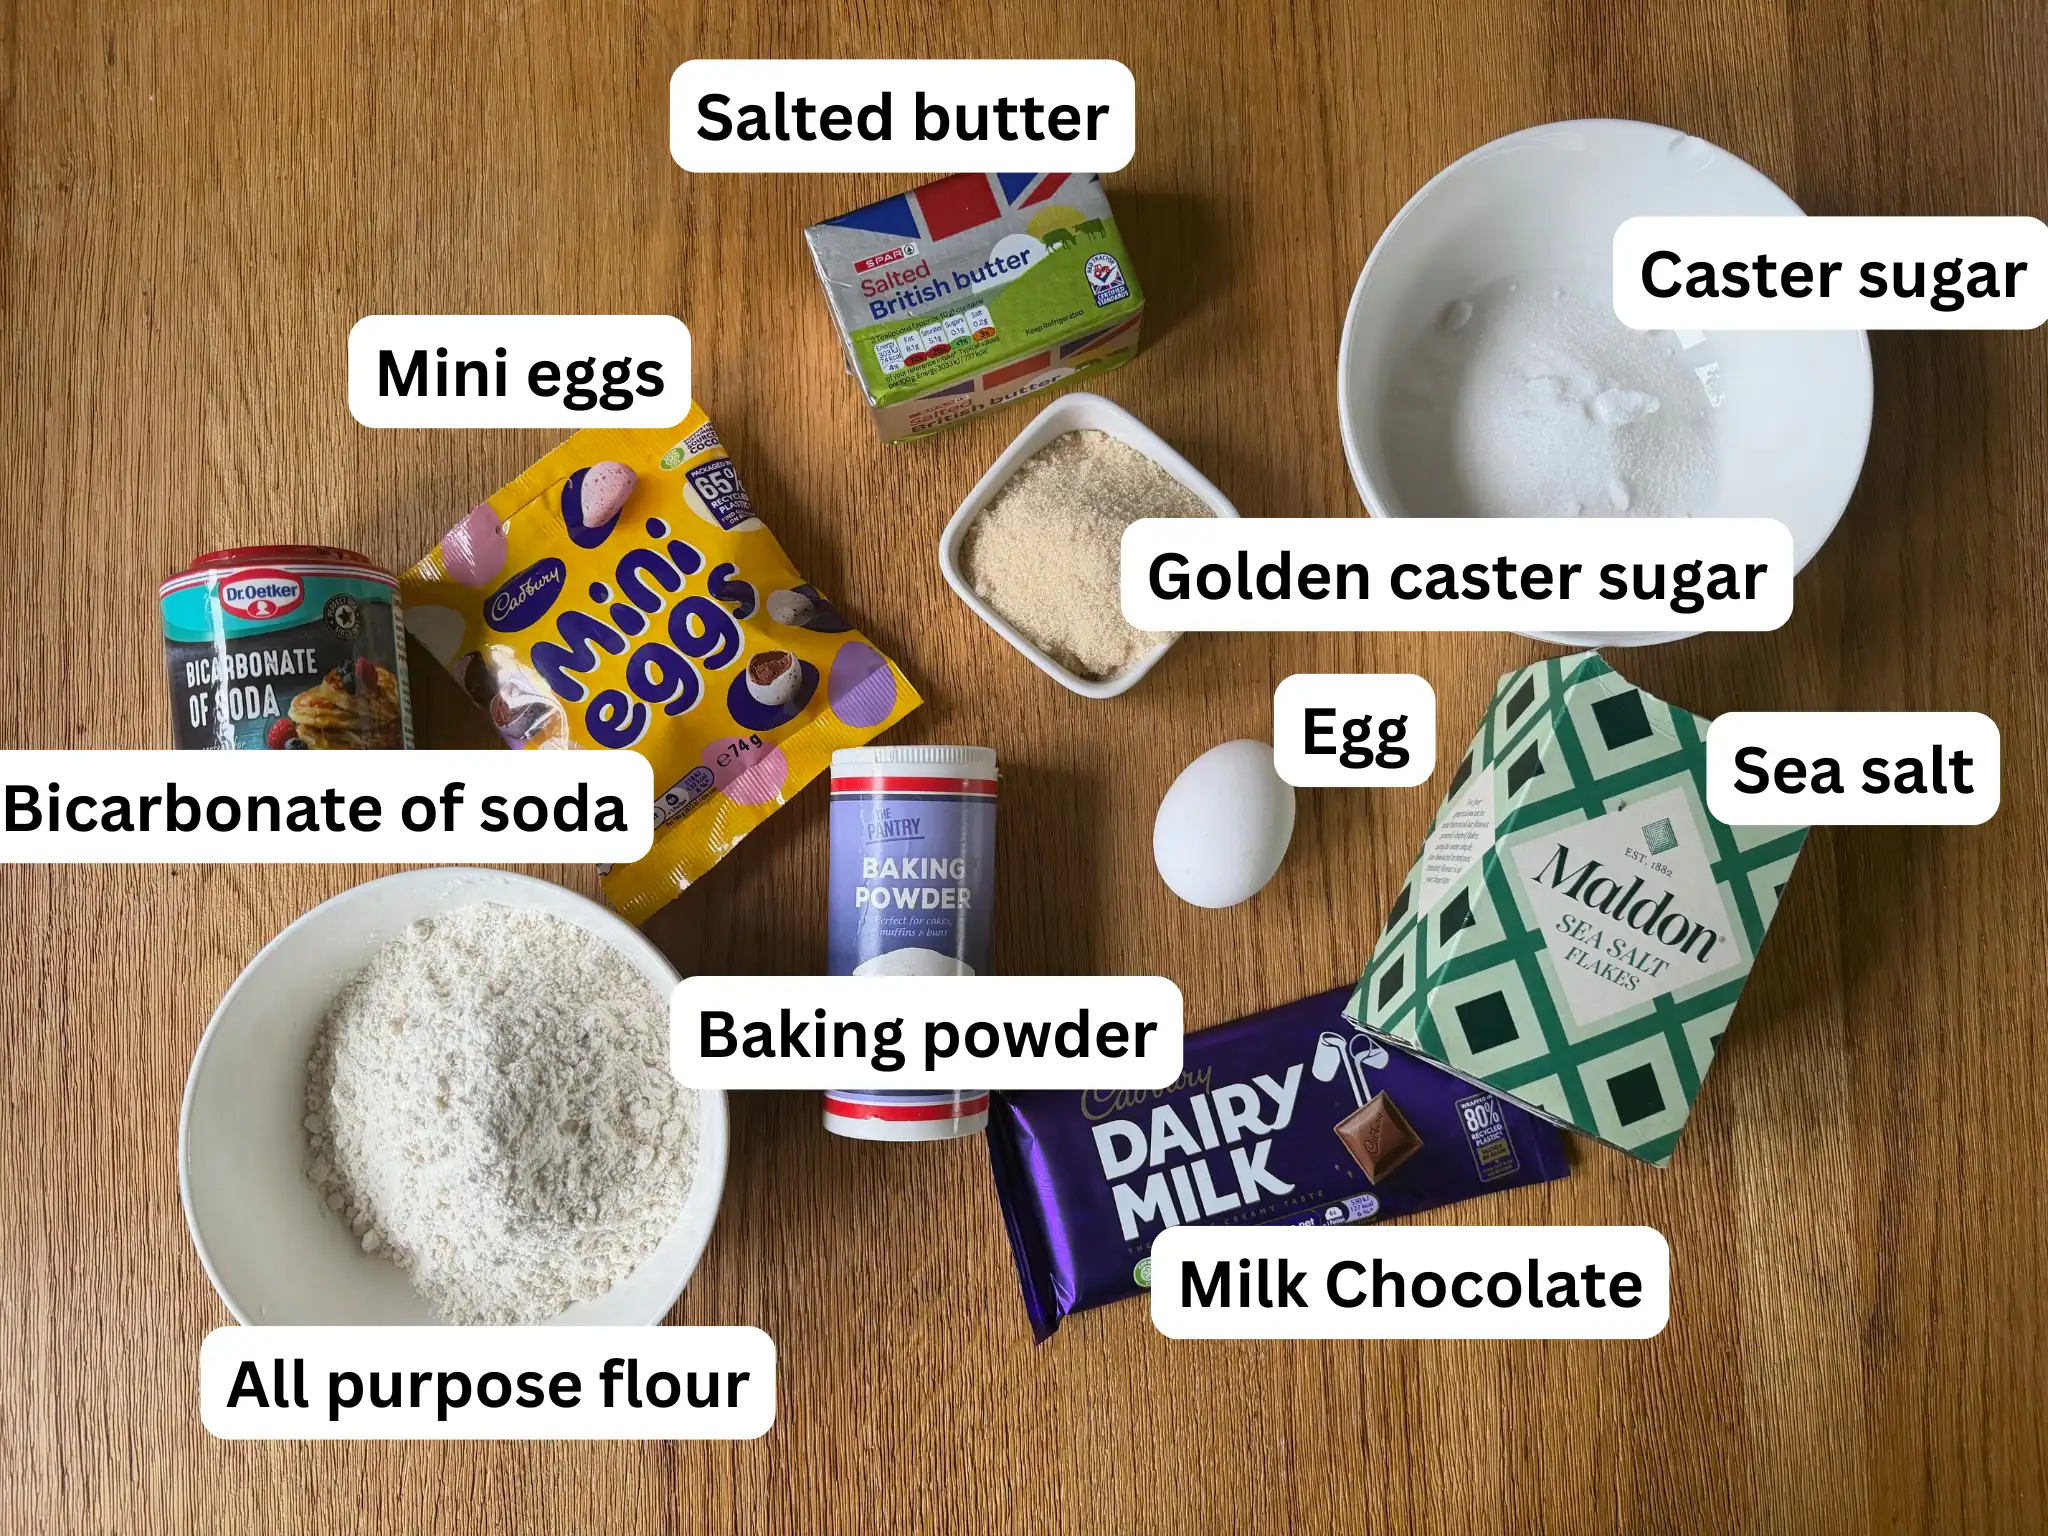
See recipe card for quantities.
- Salted butter - Softened so it creams beautifully. Salted adds flavour and saves you hunting for the salt mid‑chaos.
- Caster sugar - Gives the cookies their light sweetness and soft texture.
- Golden sugar - Adds chewiness and that subtle caramel depth that makes people go "what's your secret?"
- Egg - Just one, to bind everything together and keep the cookies soft and tender.
- All‑purpose flour - The backbone of any good cookie. Simple, reliable, and always in your cupboard.
- Baking powder & bicarbonate of soda - The dream team that helps your cookies rise, spread, and stay soft in the middle.
- Sea salt - Just a pinch to balance the sweetness and make the chocolate pop.
- Milk chocolate - Chopped into chunks for melty pockets of goodness.
- Mini eggs - The star of the show. Smash them, fold them in, sprinkle them on top – they bring crunch, colour, and pure Easter joy.
What equipment will you need to make Easter mini egg cookies?
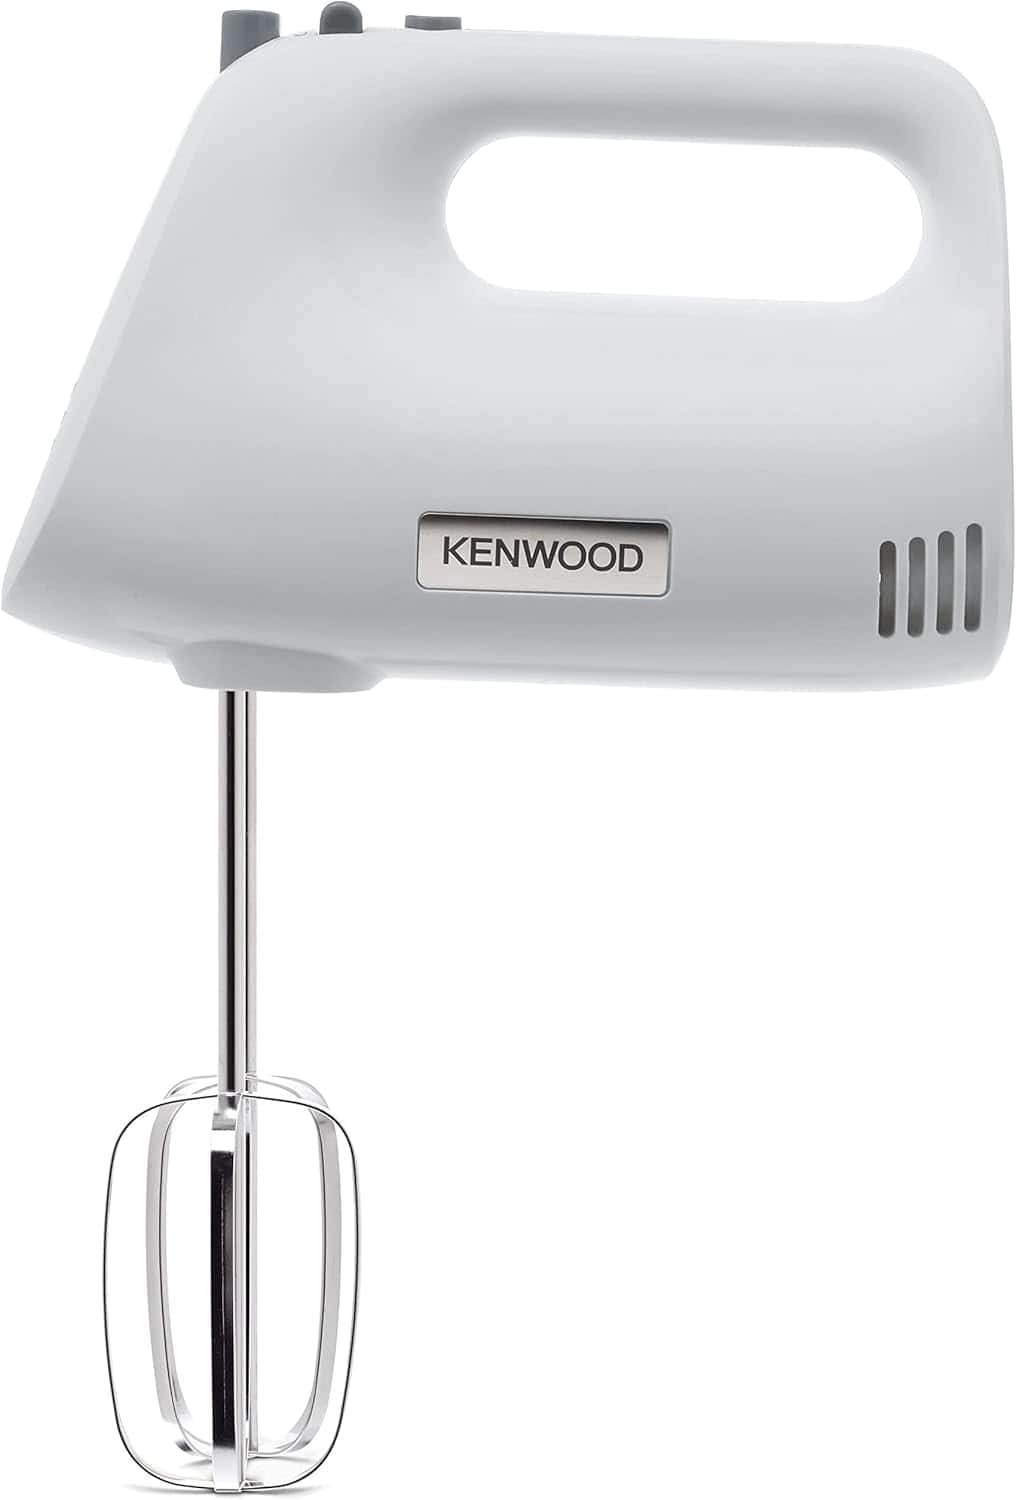
- Electric whisk – An electric whisk makes this recipe so much easier. You can of course do this without one but it is much quicker and easier. Clink the link for my recommendation. An electric whisk is also a kitchen tool staple. I use mine to “mash” potatoes!
- Silicone baking mat – parchment paper is fine but a silicone mat is reusable, washable and much more convenient – you can use it for loads of other recipes.

How do I make Easter egg cookies?
Making Easter Mini Egg Cookies is wonderfully simple – made in one bowl, this is family‑friendly baking that keeps little hands busy and grown‑ups feeling like kitchen heroes. From smashing mini eggs to rolling dough, every step is easy, fun, and guaranteed to fill the house with Joy. Here's how to bring these soft, chewy Easter favourites to life.
Step 1: Preheat the oven to 180°C and line two baking trays with parchment paper or a silicone baking mat.
Cream the butter and sugars together until light and fluffy. I use an electric whisk to save my arms!!
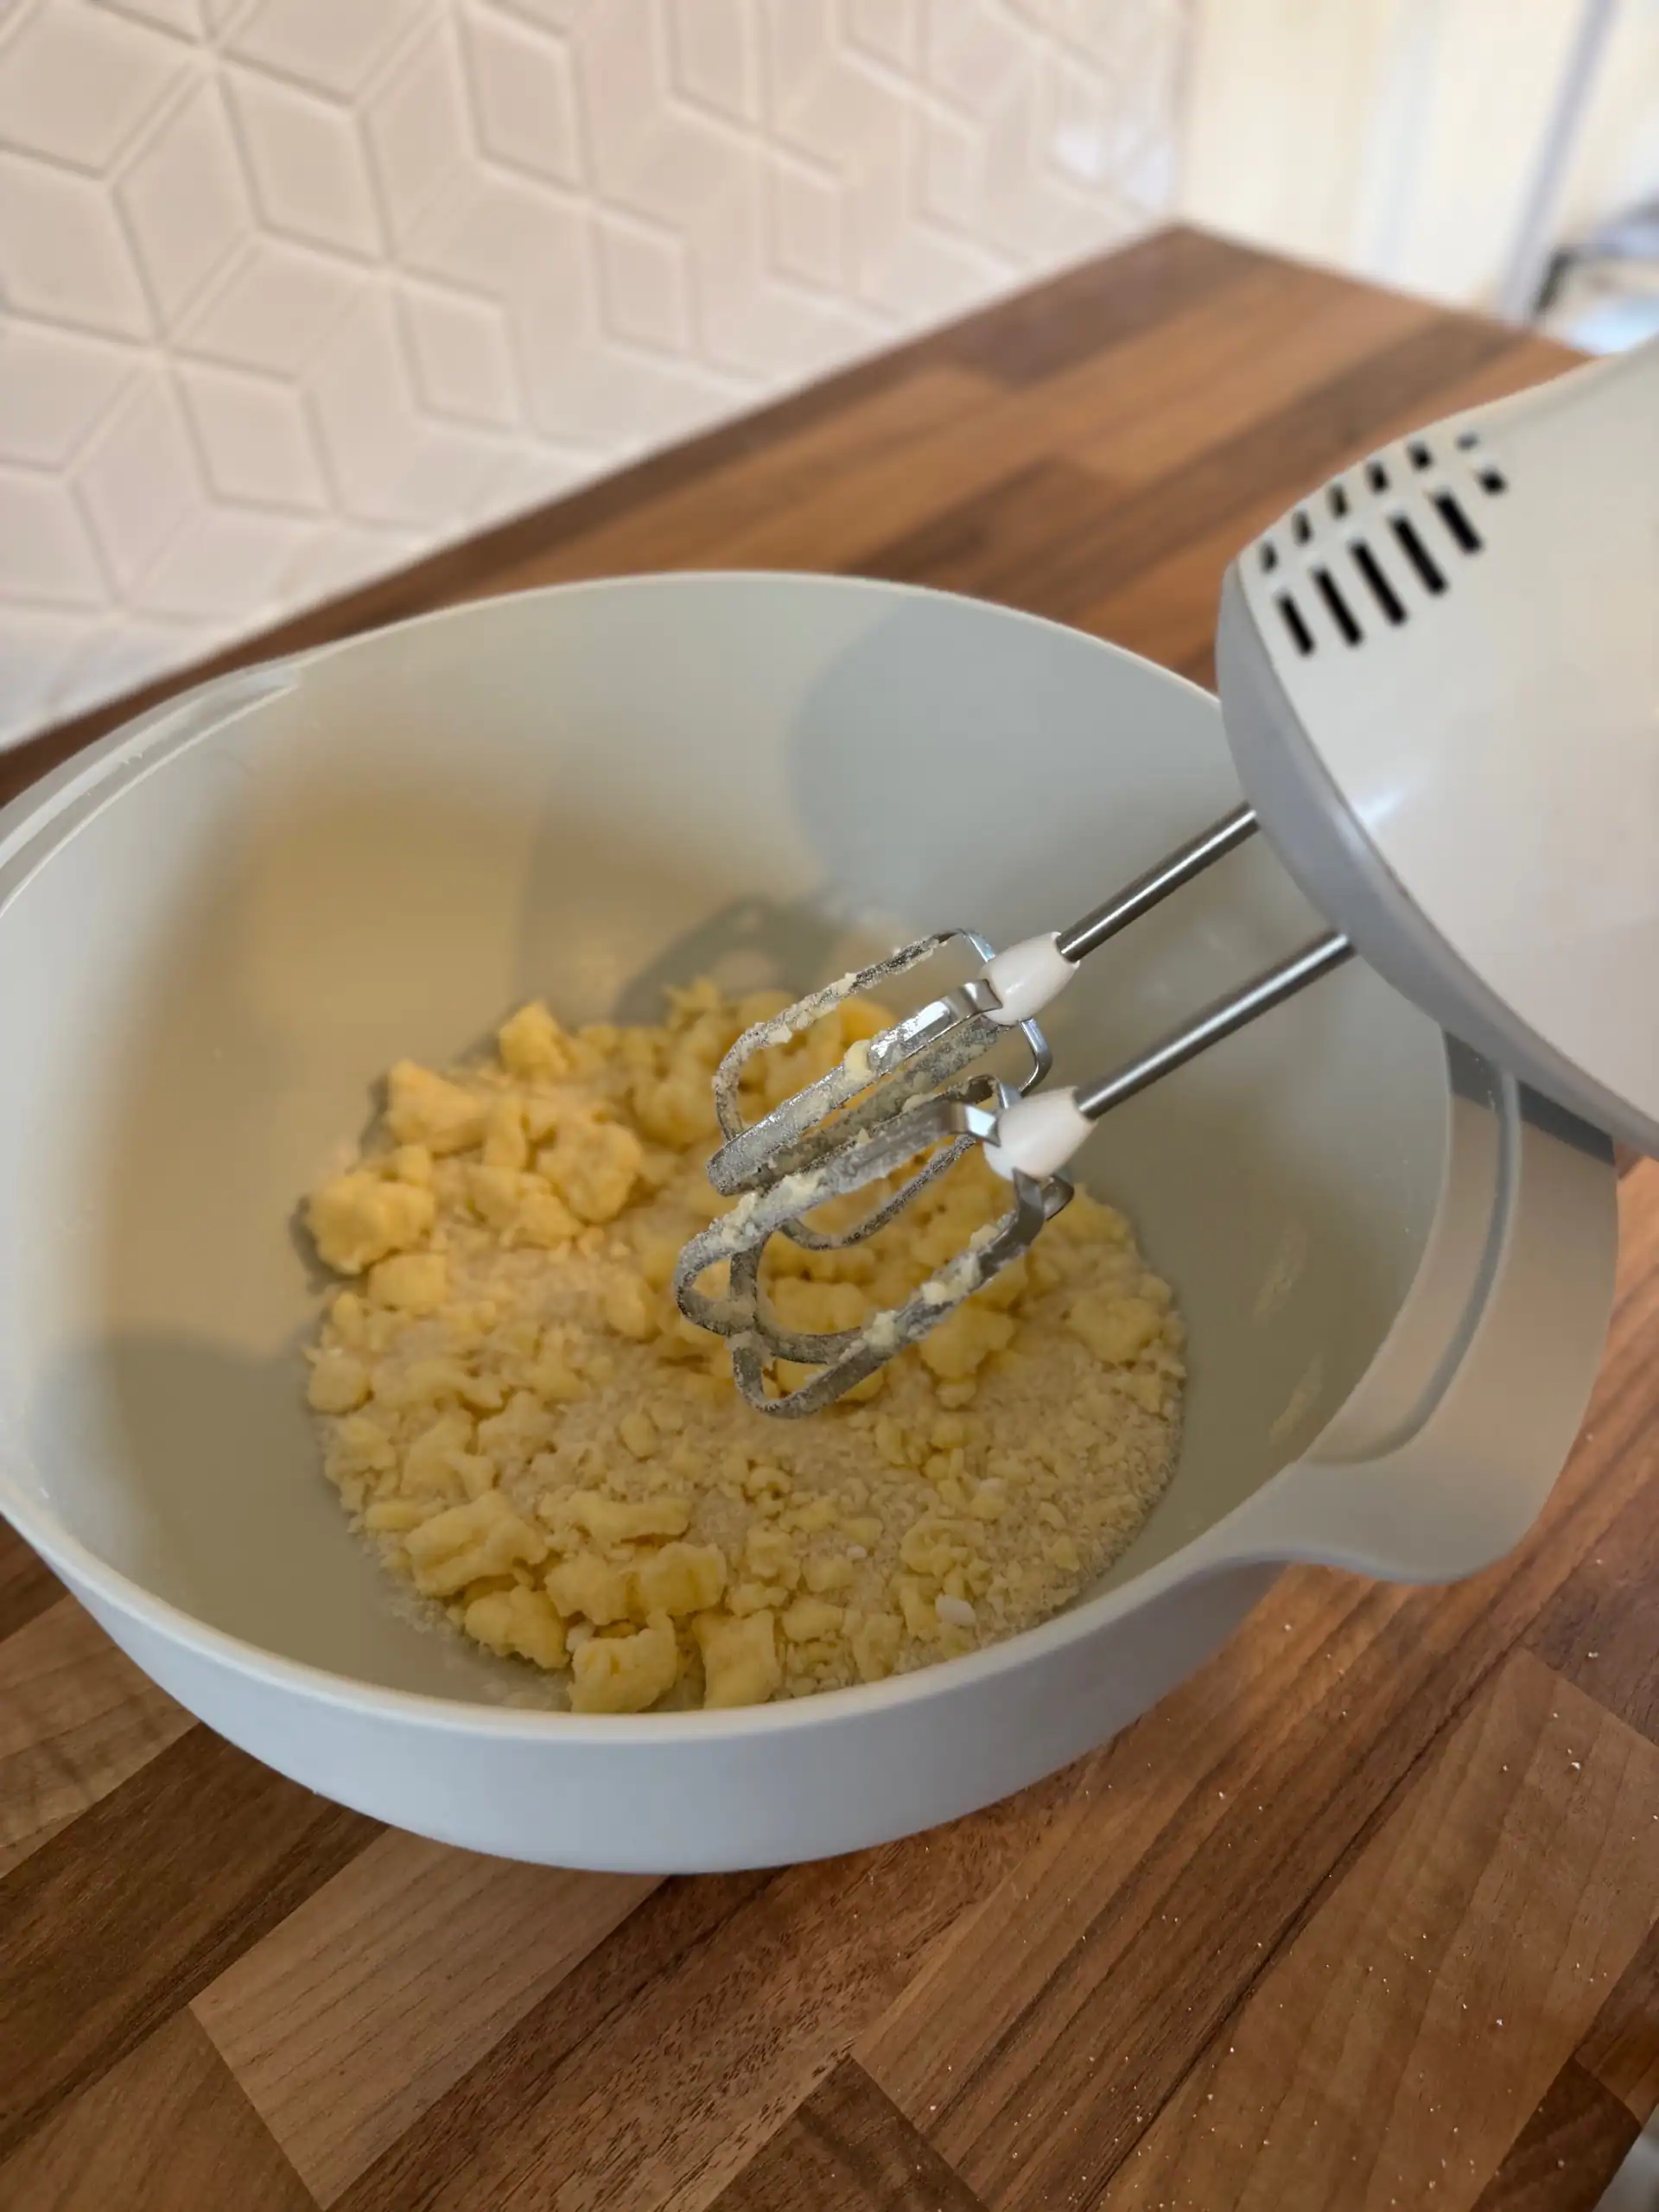
Step 2: Mix in the egg, giving everything a good stir until smooth .
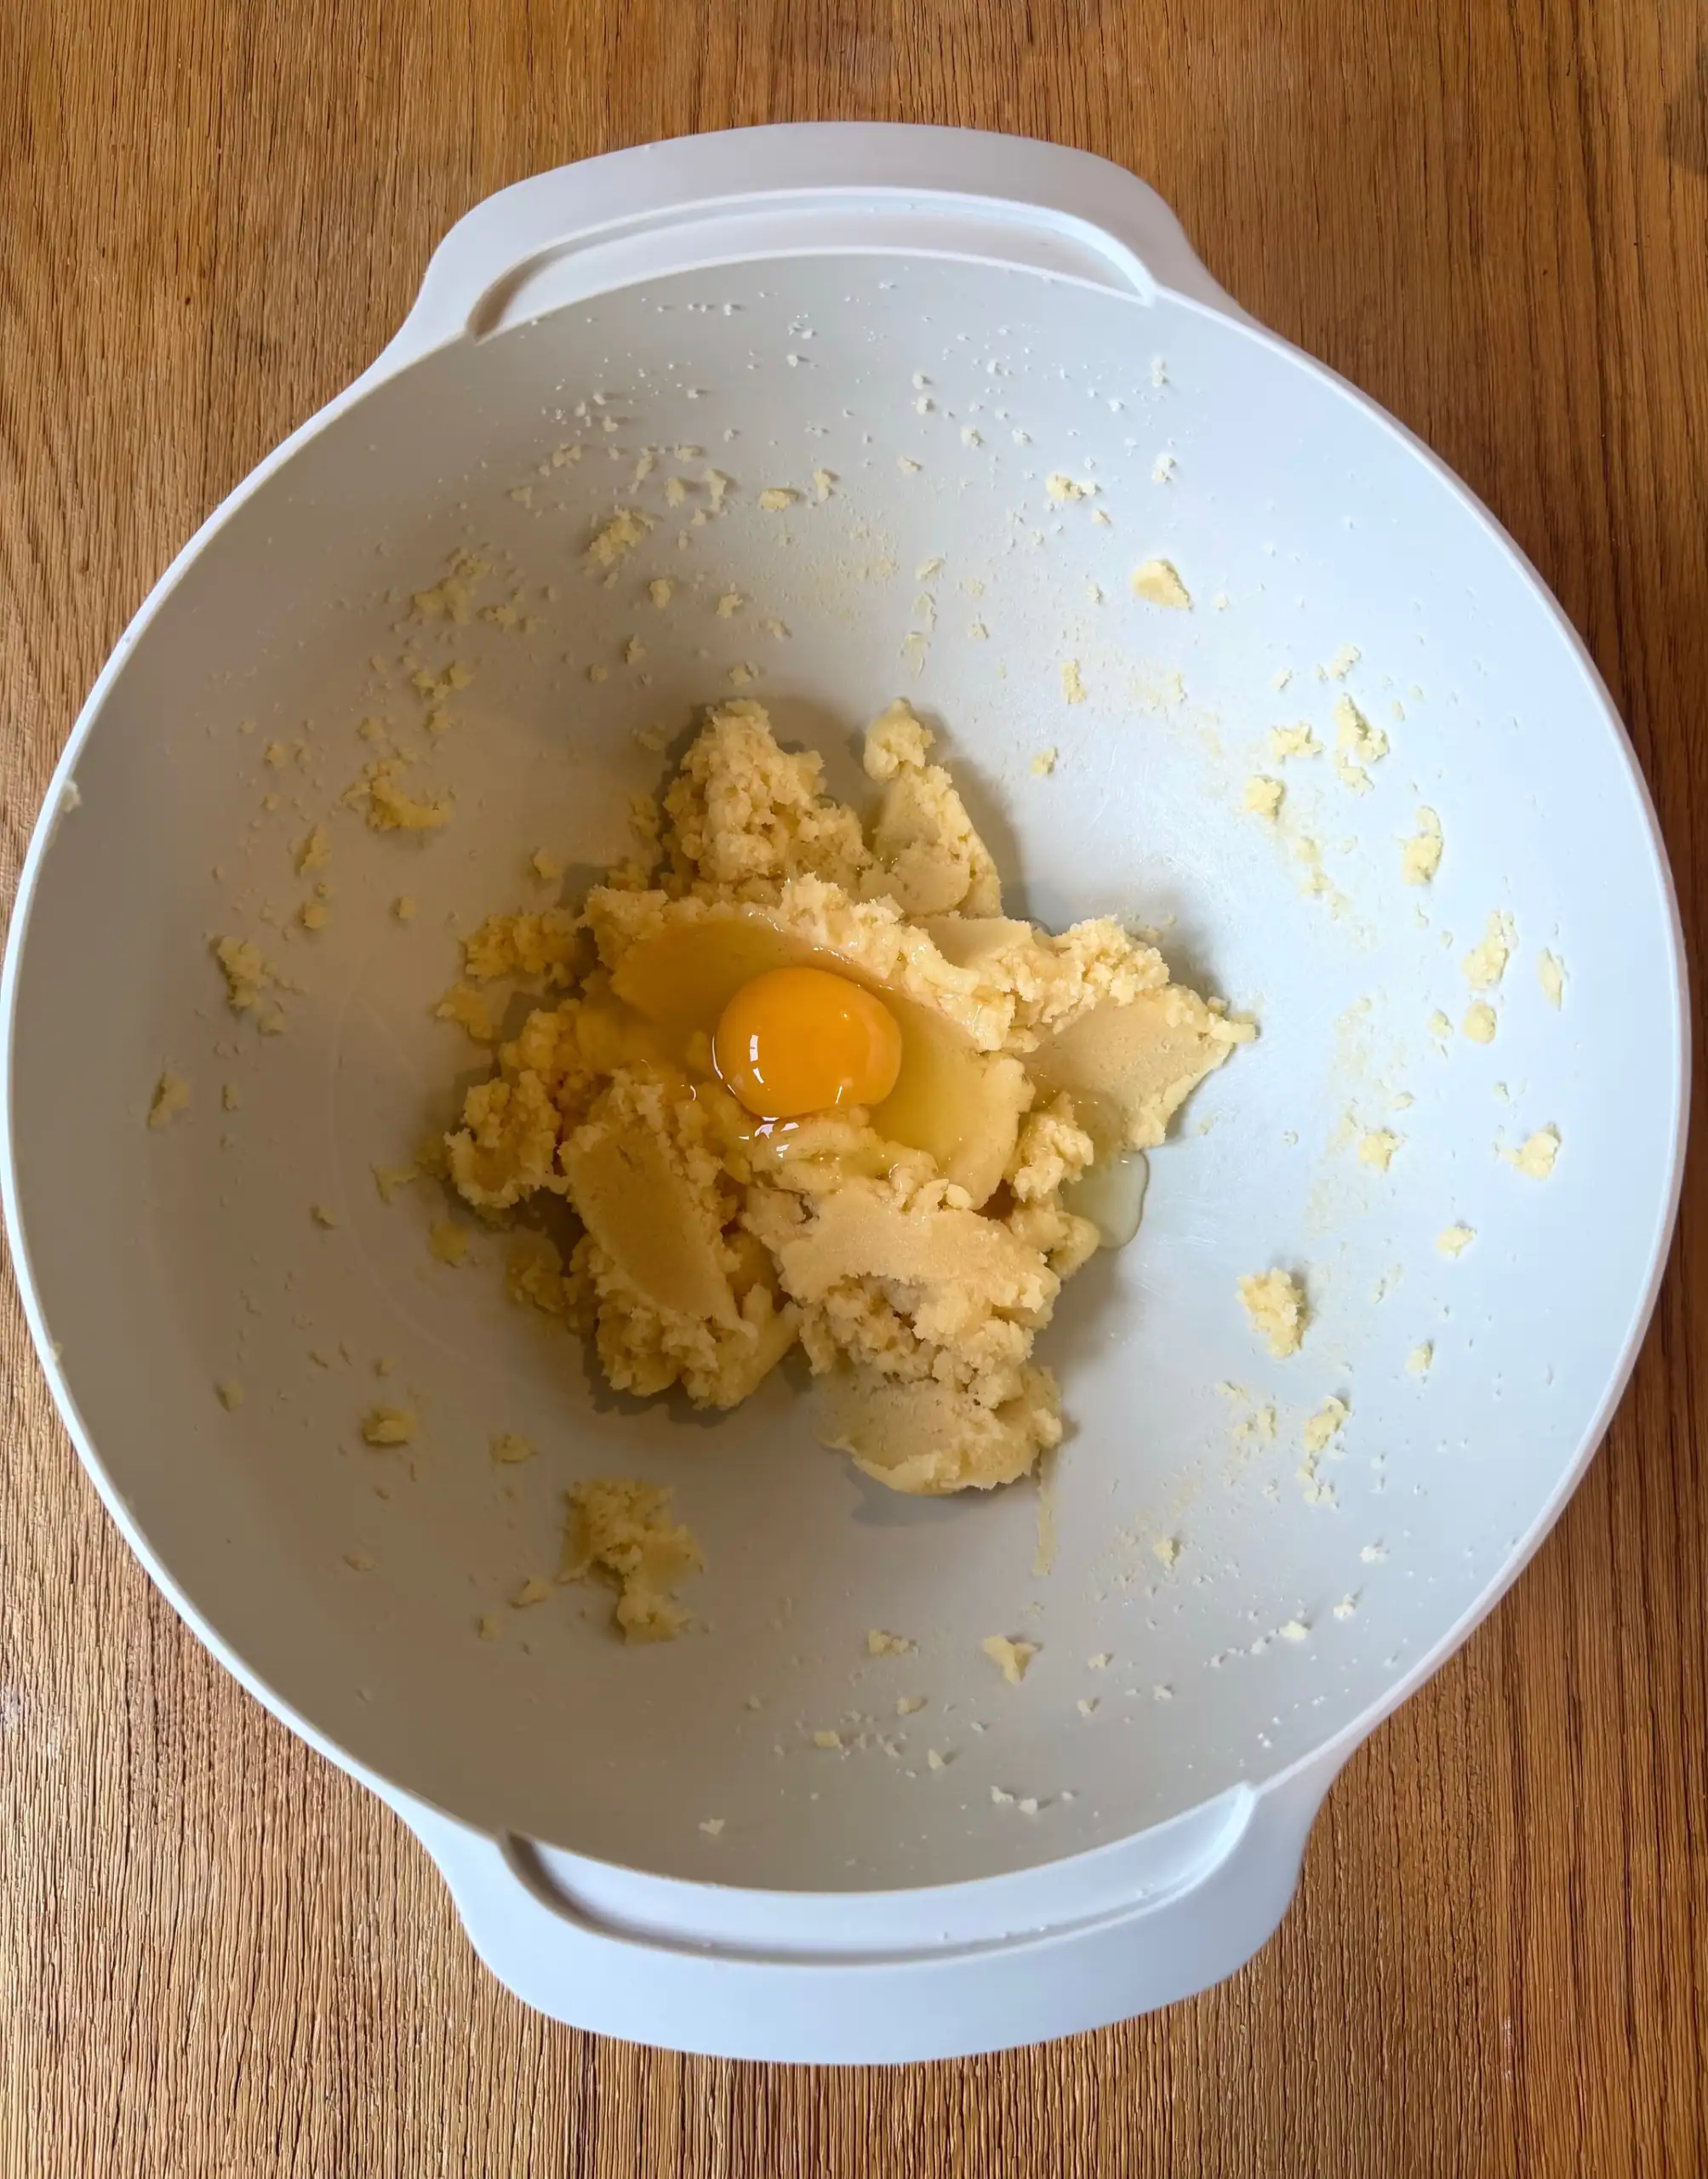
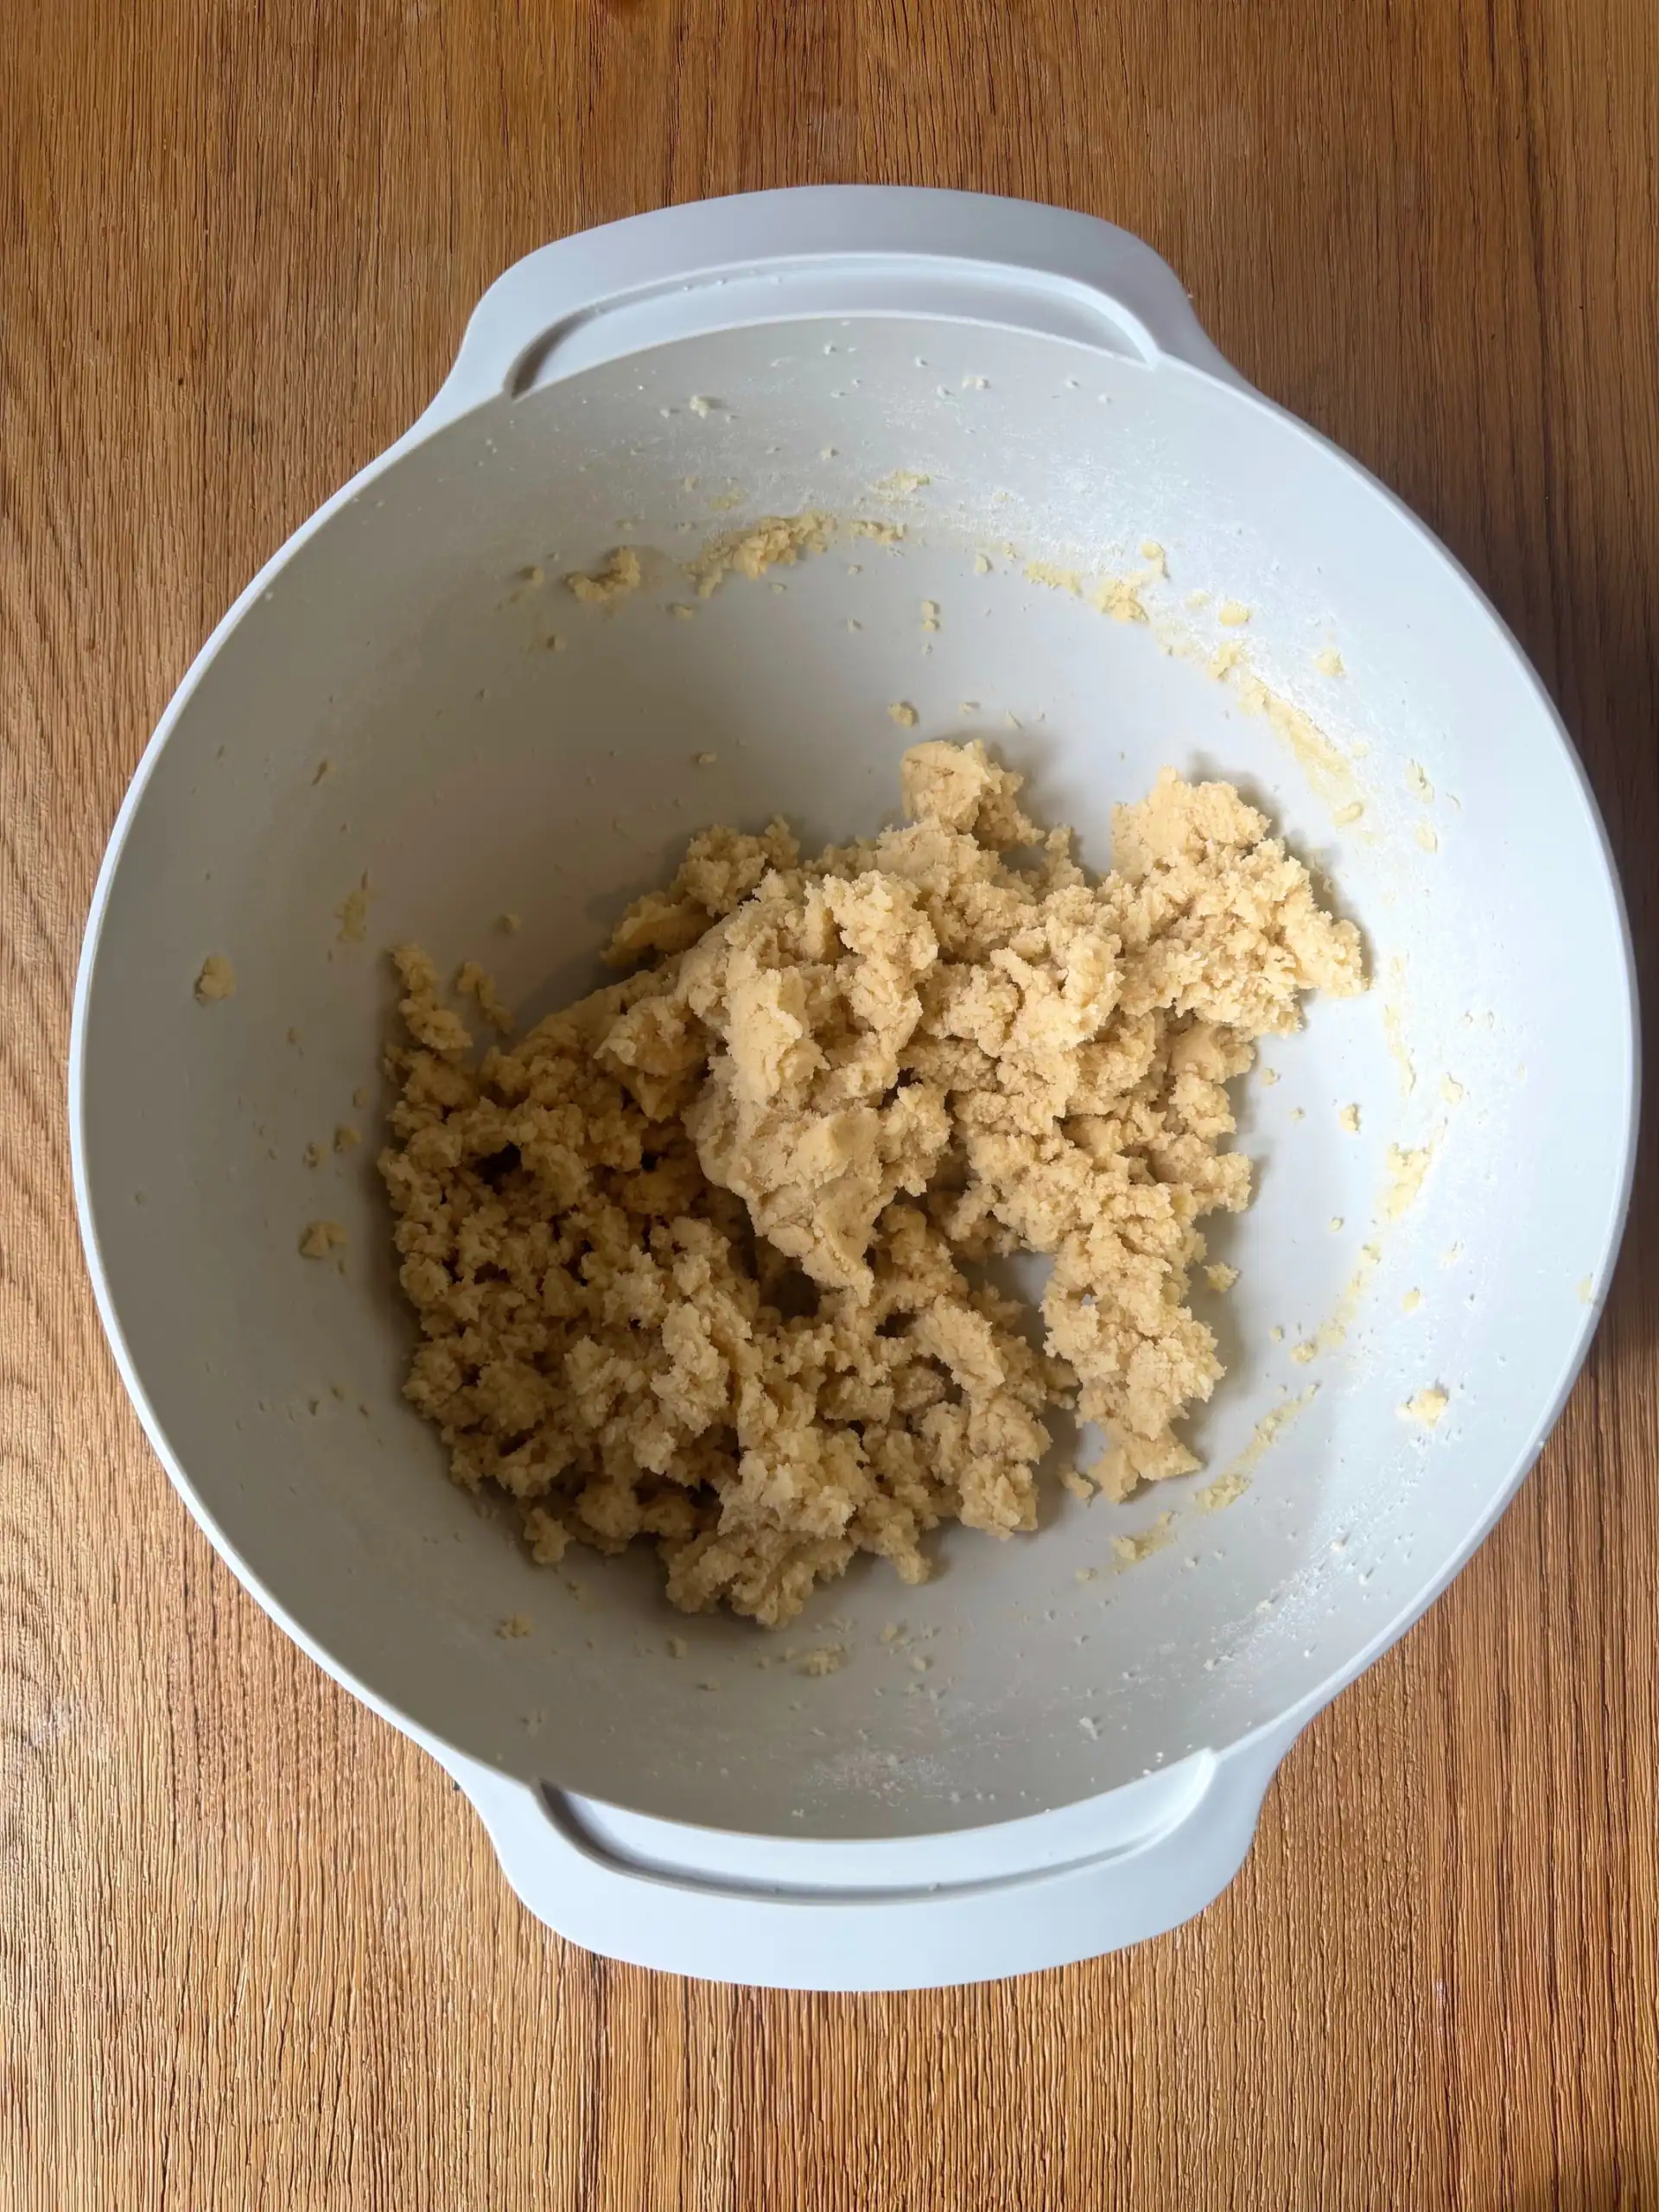
Step 3: Add the dry ingredients – flour, baking powder, bicarbonate of soda, and salt. Stir until a soft dough forms.

Step 4: Your dough should look like something you'd happily eat straight from the bowl (no judgement).
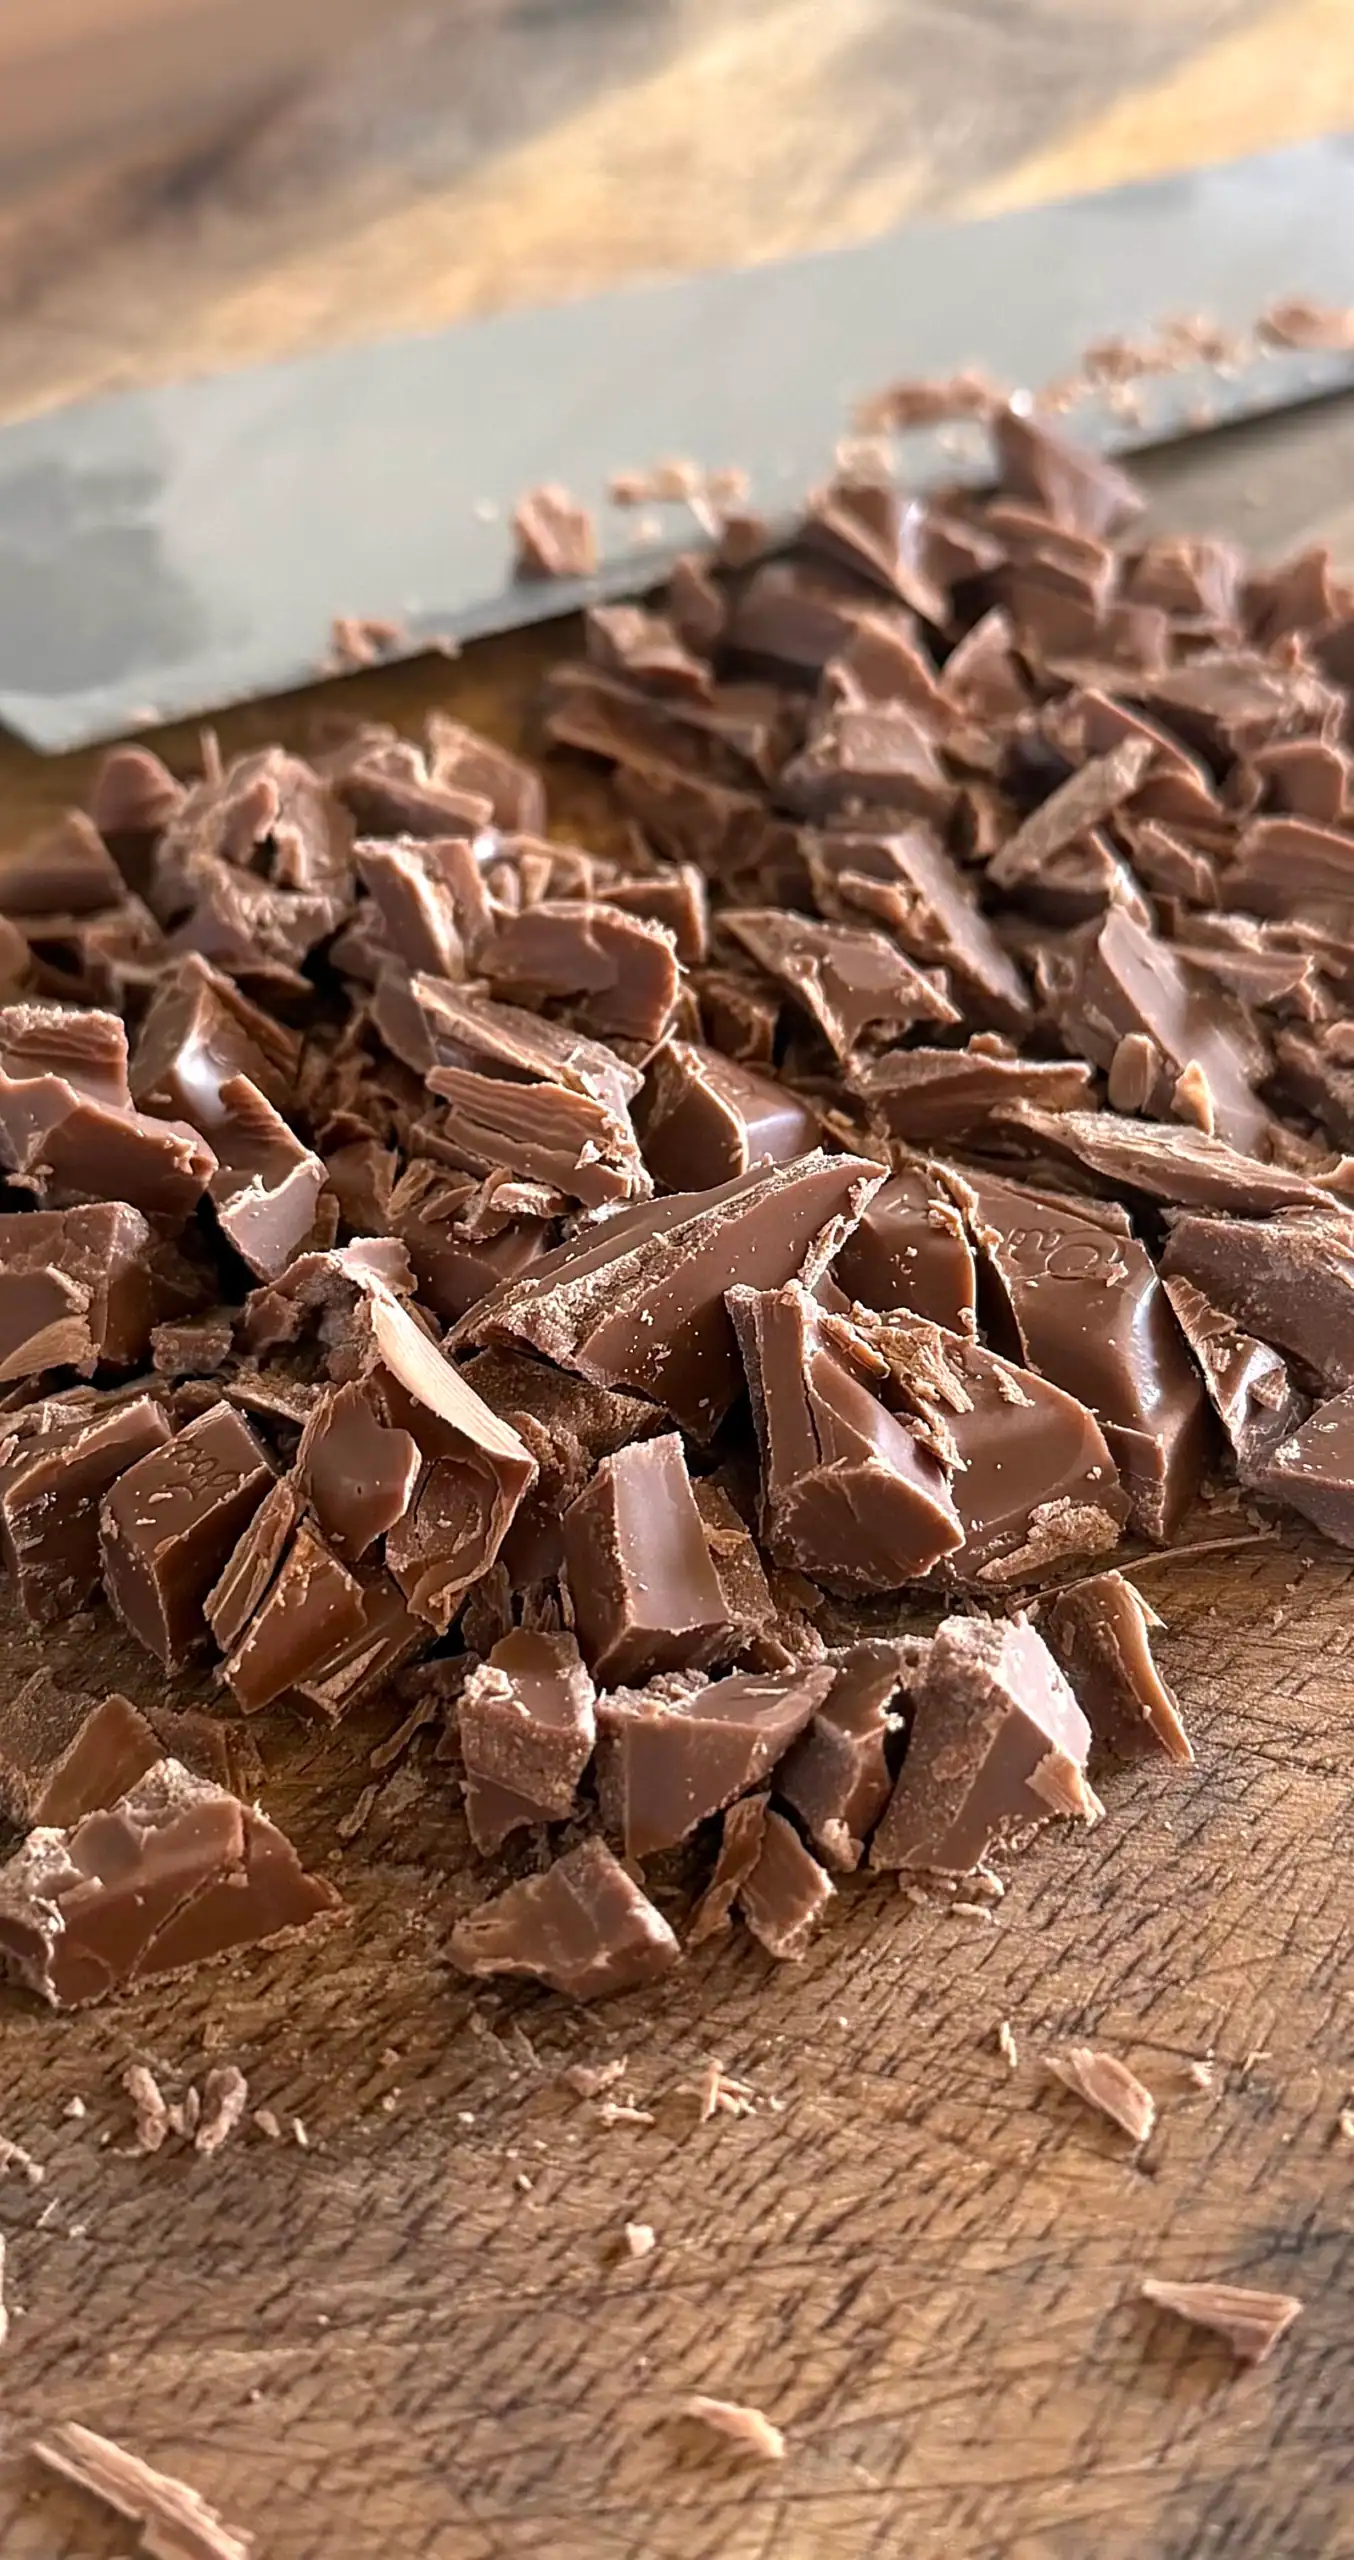
Step 5: Roughly chop your chocolate – I like it chunky. Chocolate chips work well too.
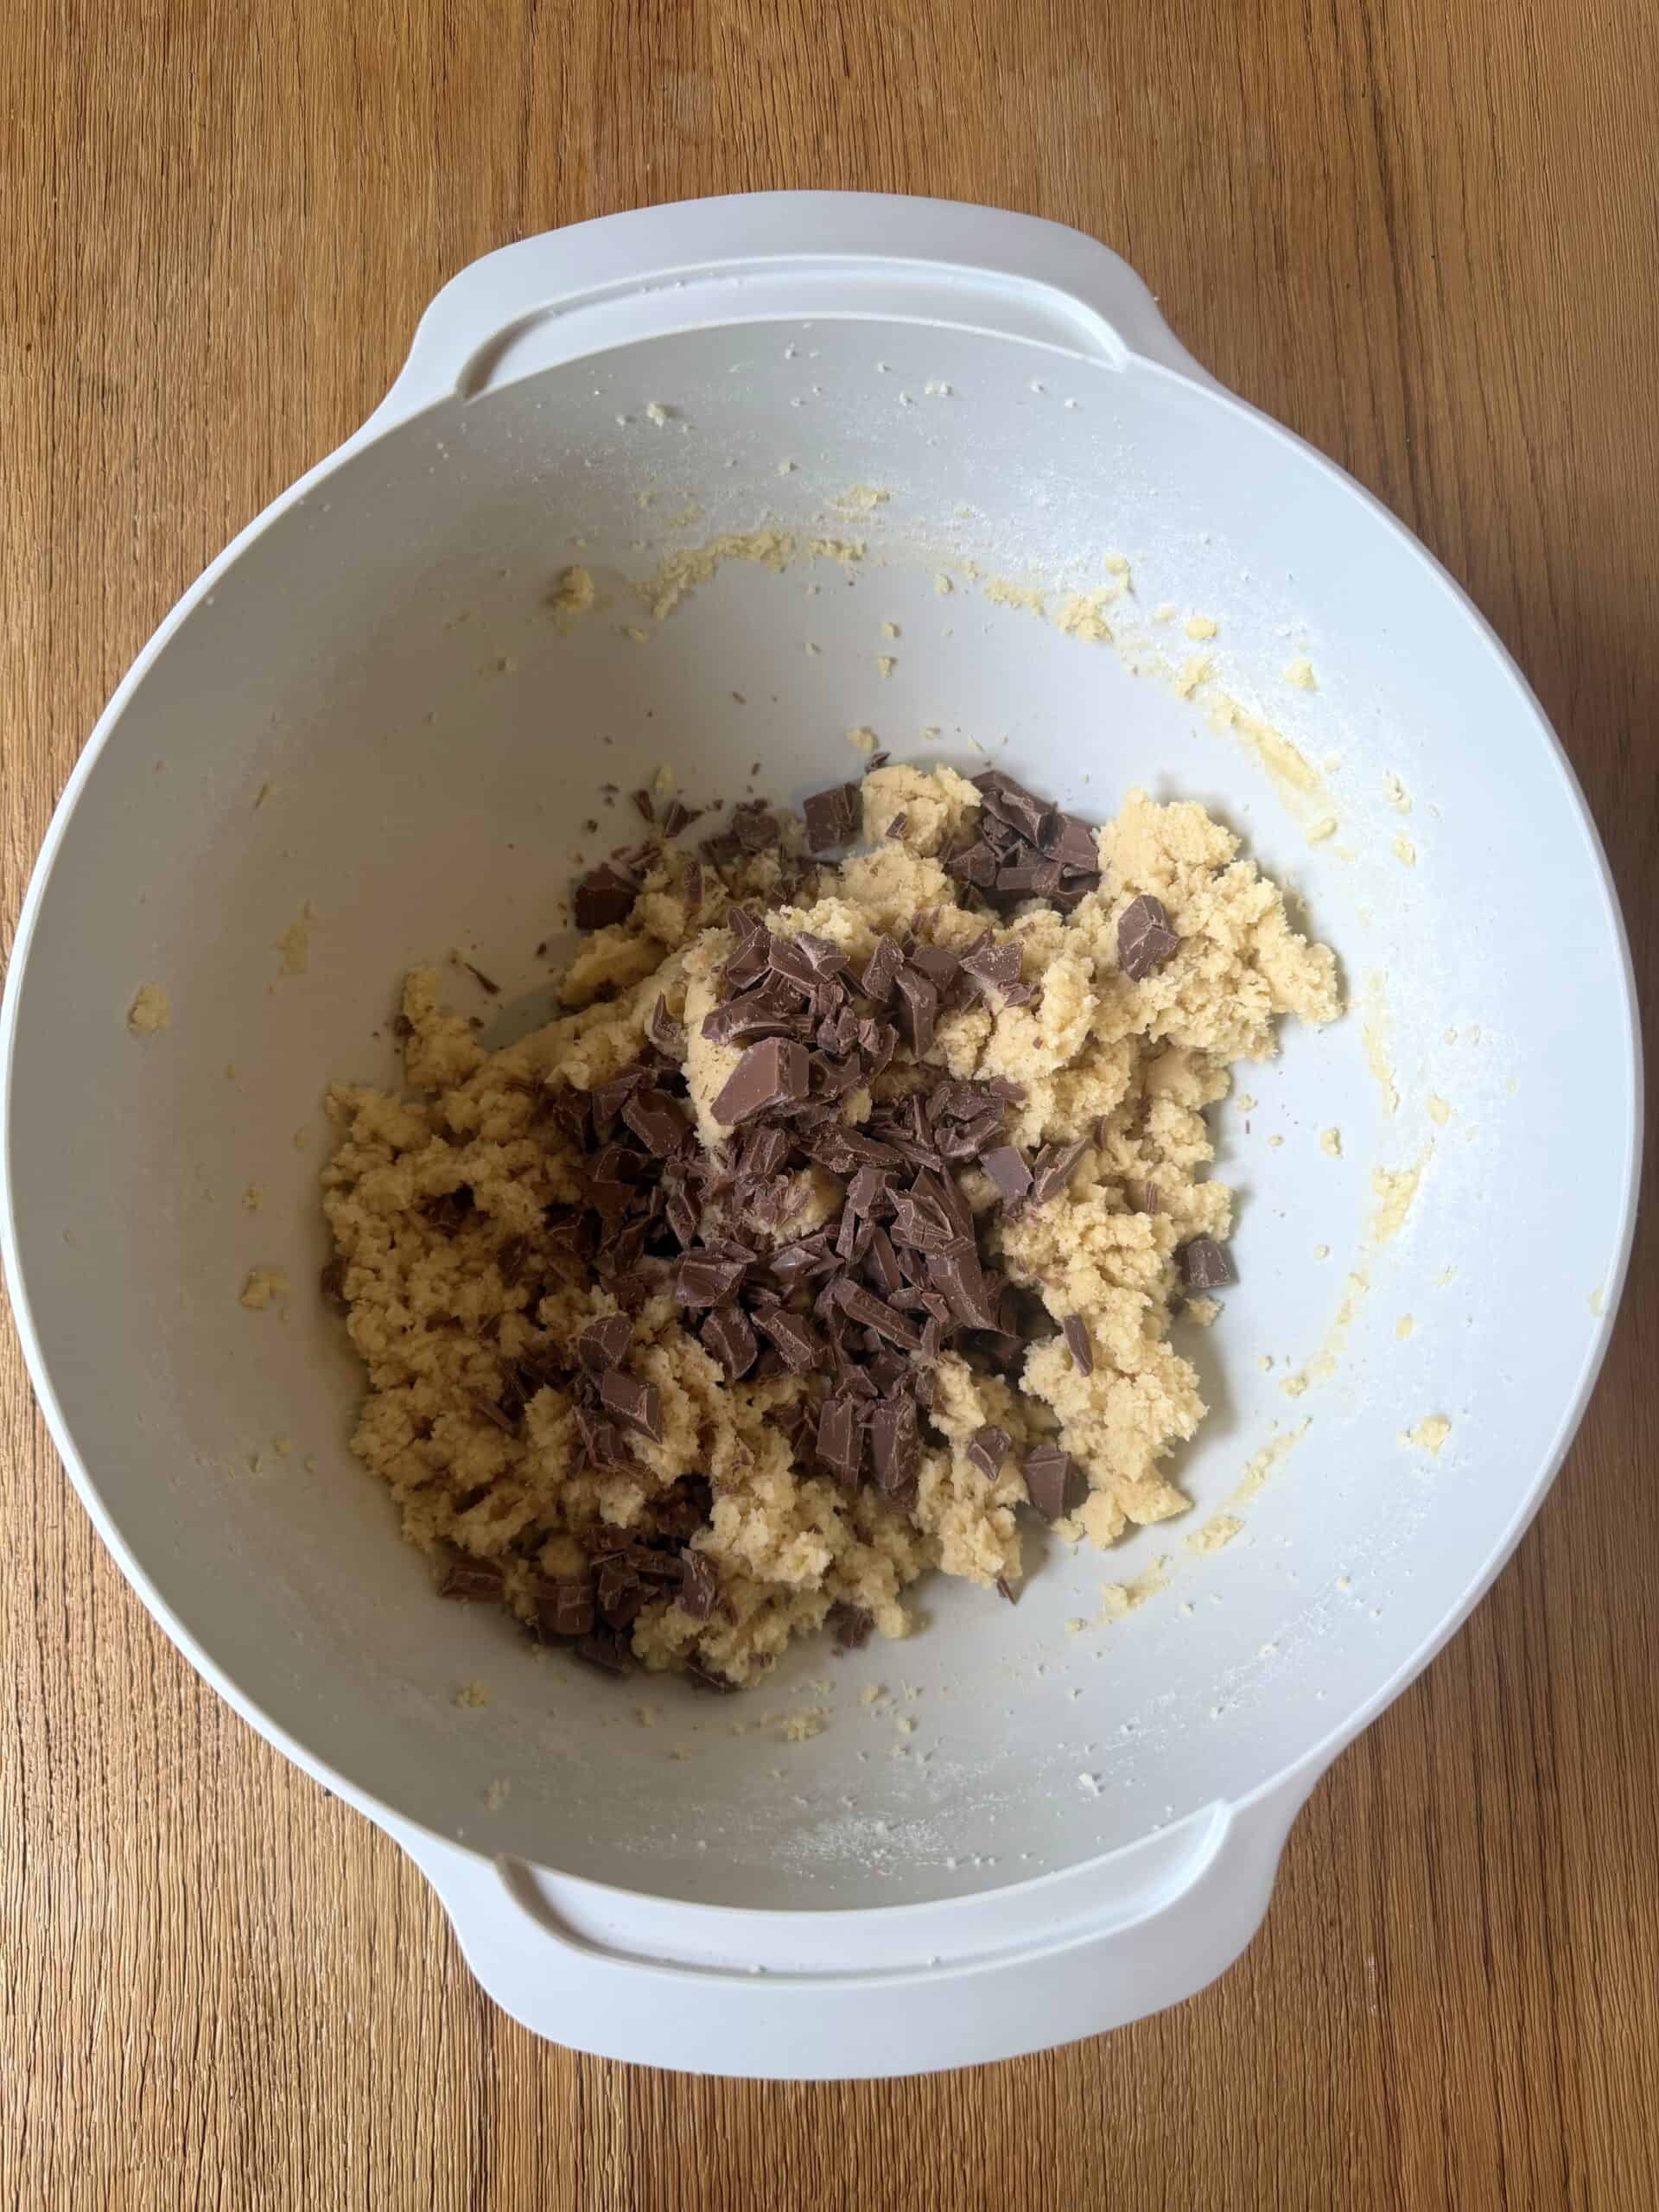
Step 6: Stir the chocolate into the cookie dough. (My boy loves helping out) .
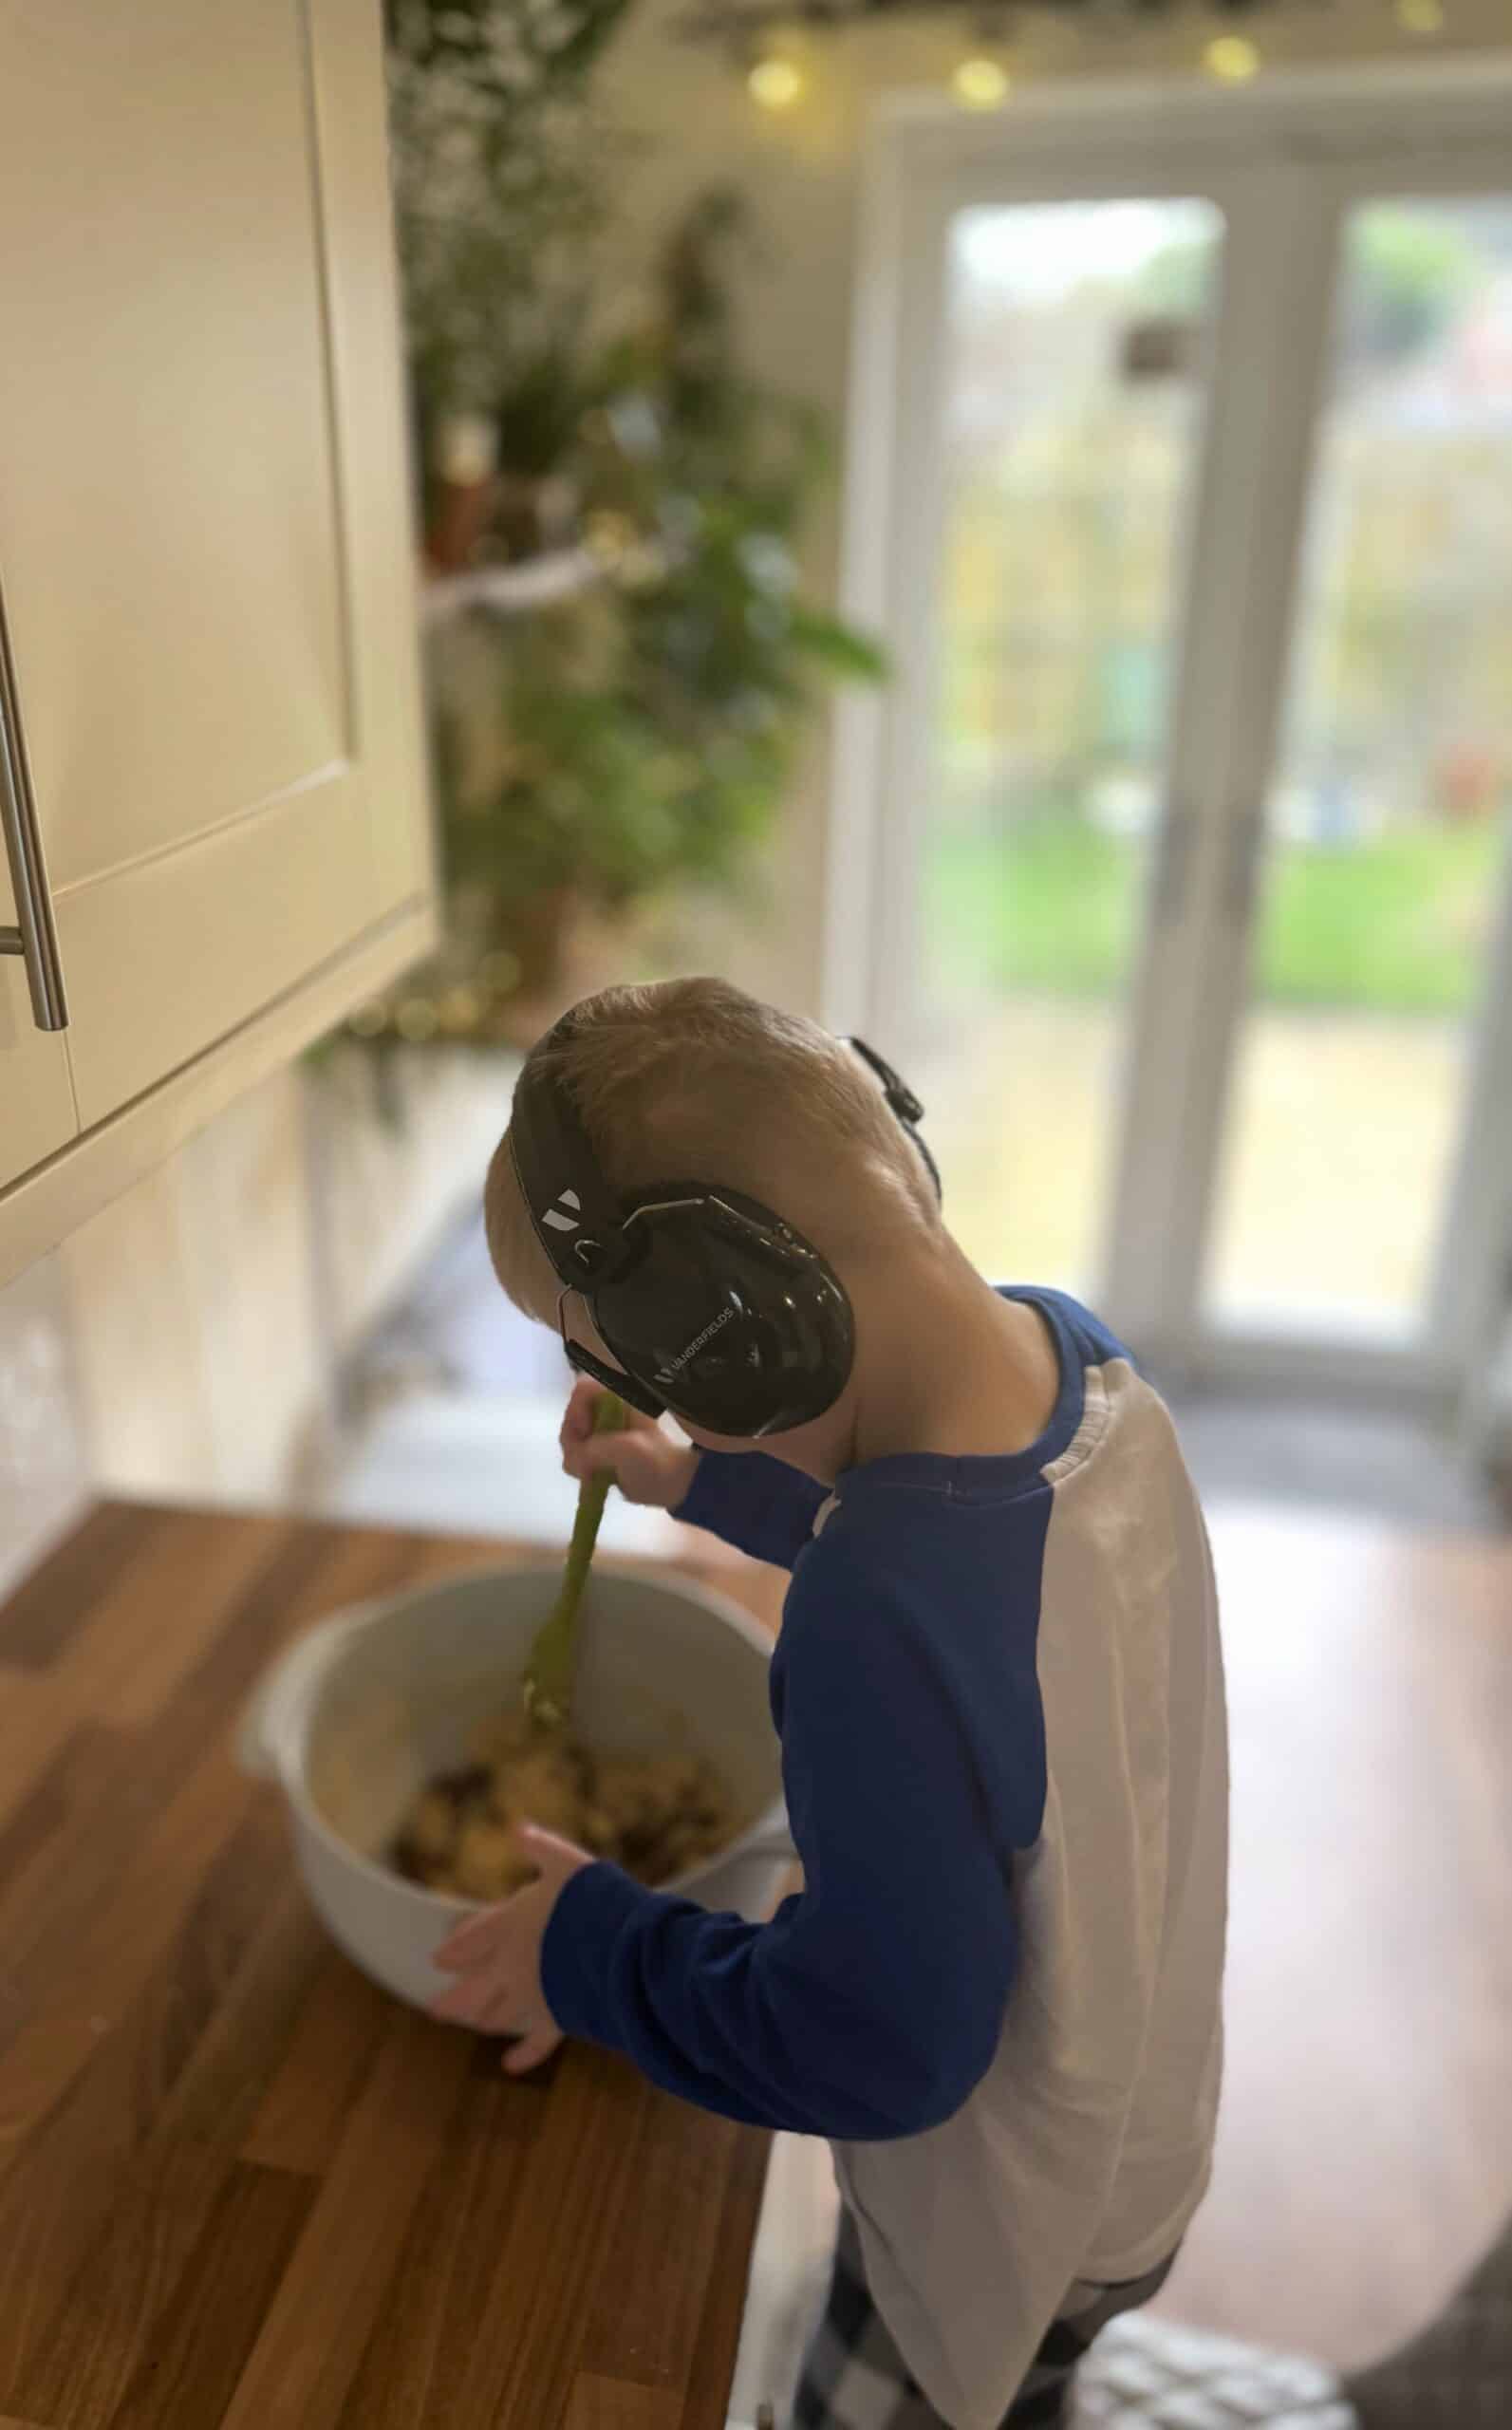
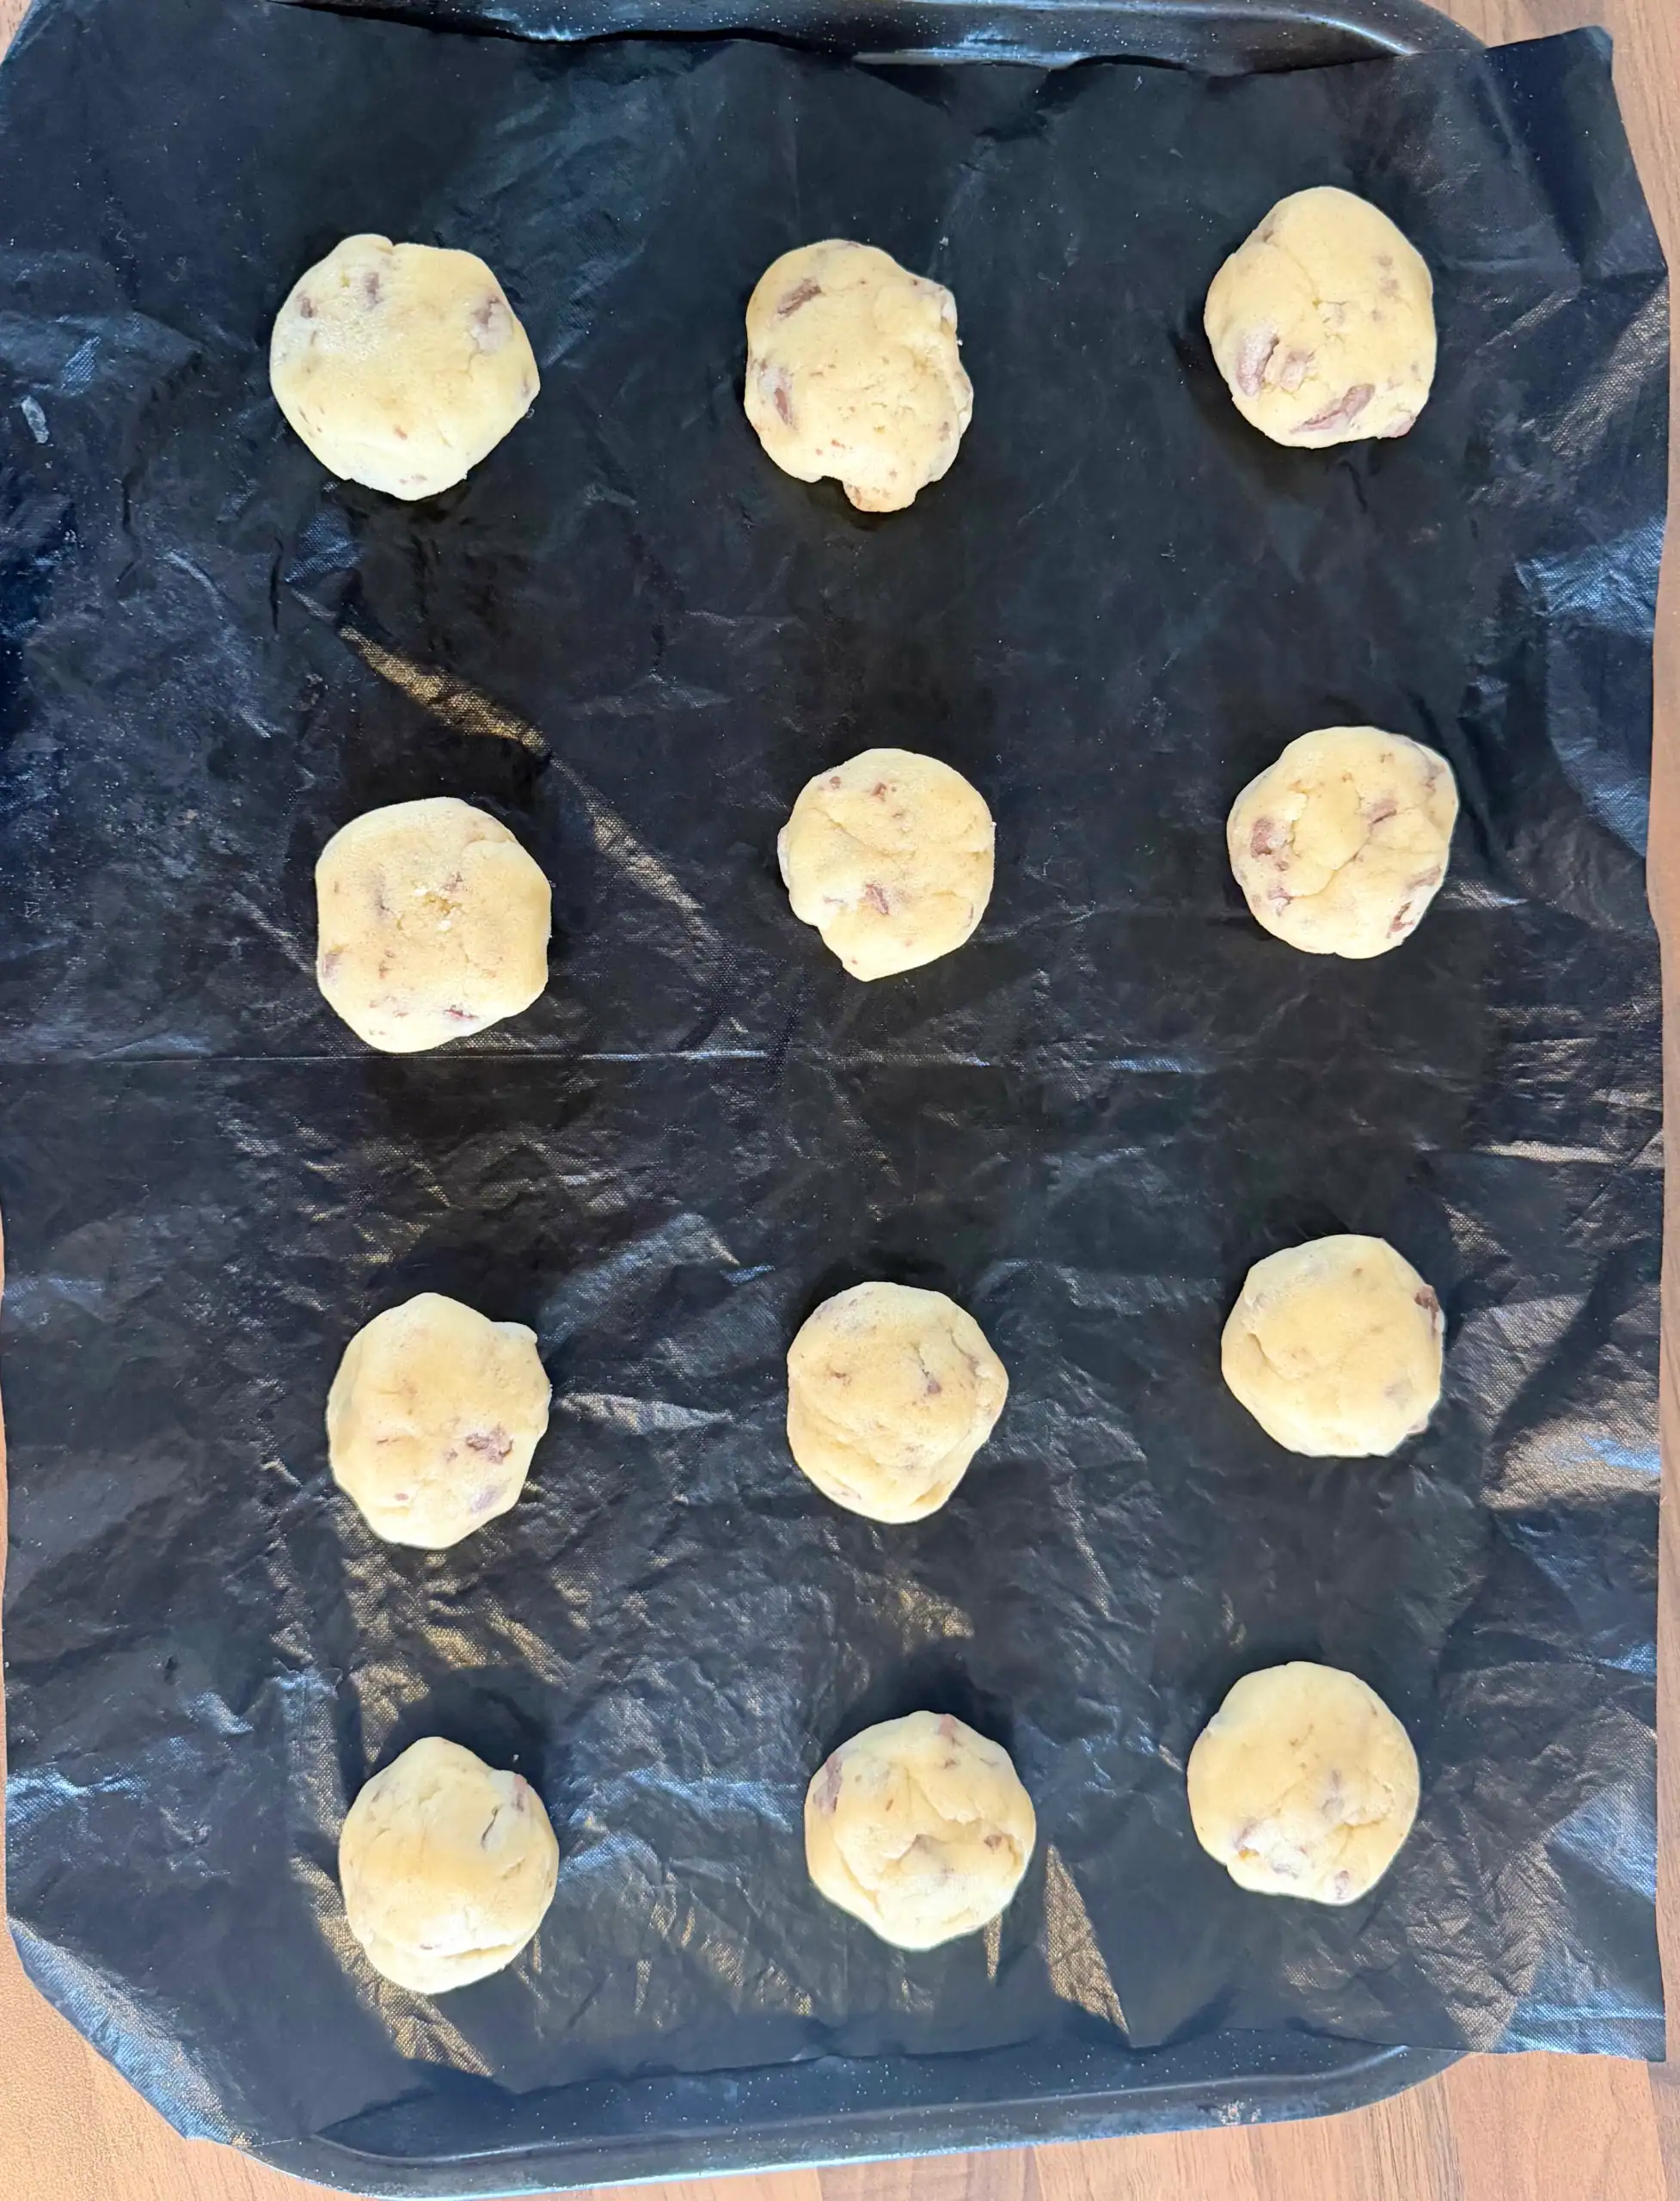
Step 7: Scoop the dough into balls – place them on your silicone baking mat on trays, leaving space for spreading. This recipe should make approximately 18 cookies .
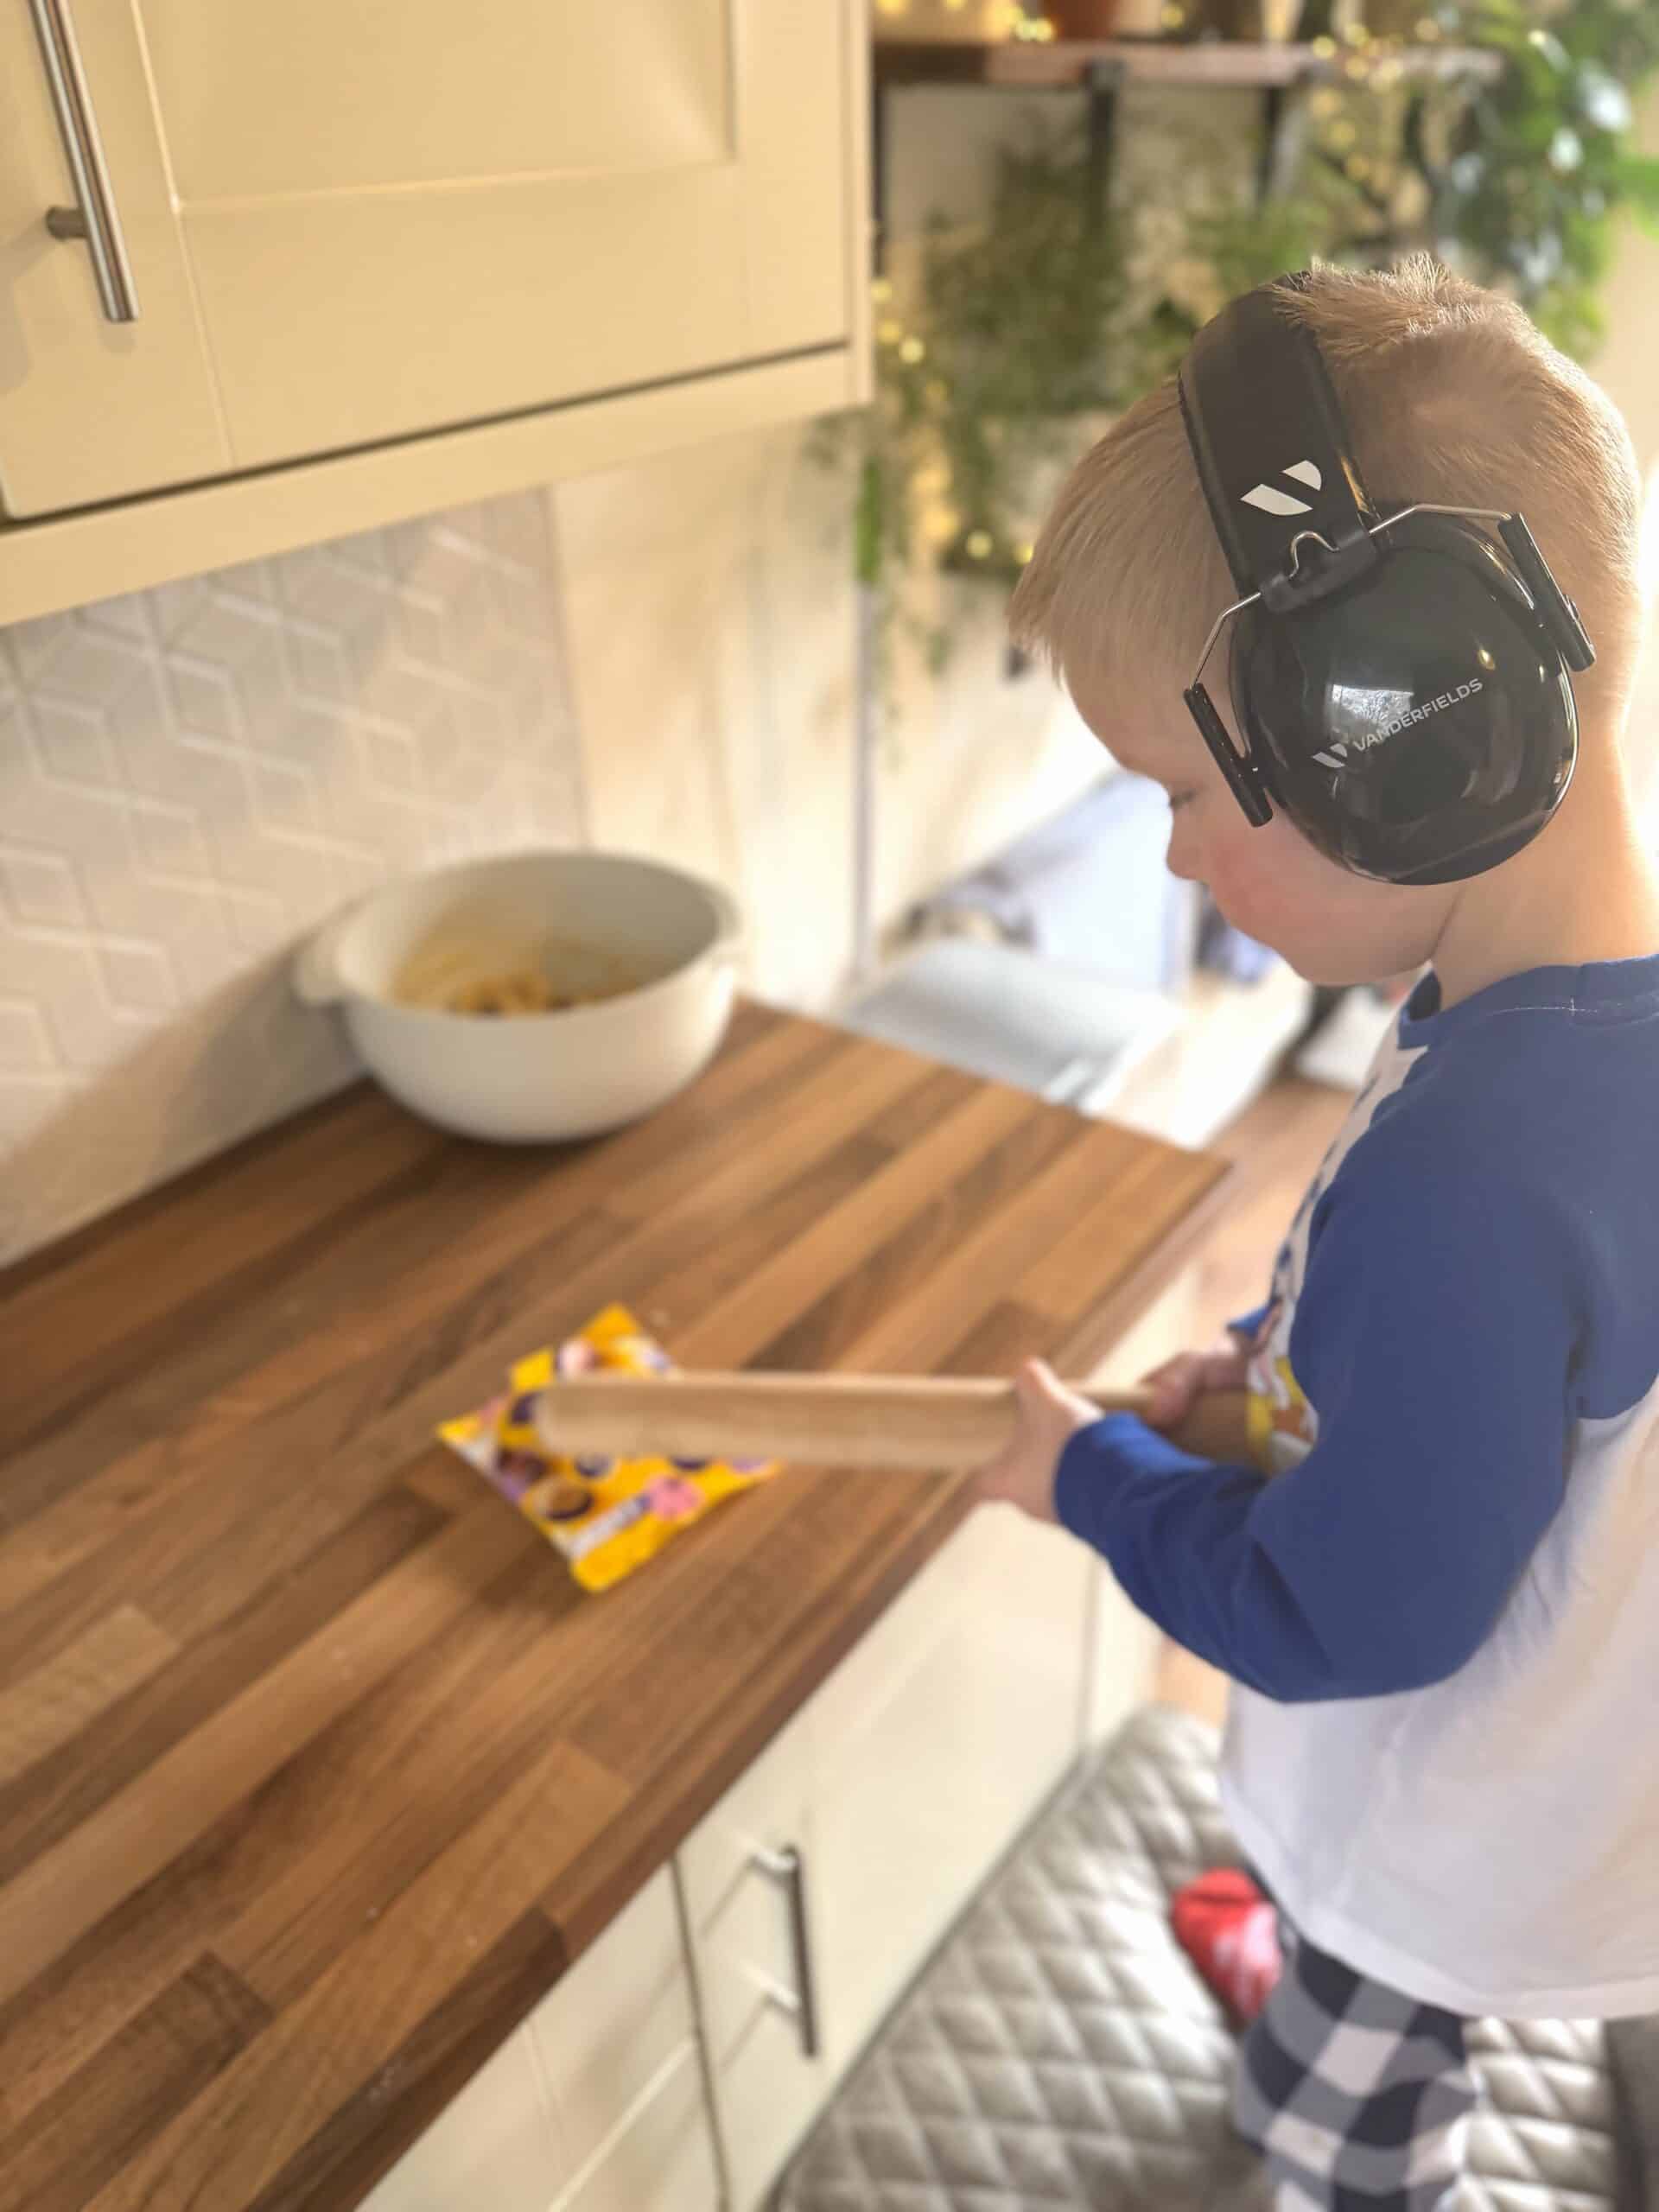
Step 8: Smash the mini eggs – Pop them in a zip‑top bag and give the kids a rolling pin. Tell them it's "gentle tapping," then watch them unleash the kind of energy usually reserved for sibling arguments. Stop them before you end up with mini‑egg dust!!
Step 9: Add the mini eggs to the dough – Squash the broken pieces of mini eggs into the cookie dough balls ready for baking

Step 10: Bake for 8-10 minutes – until the edges are set but the centres still look soft. Trust the process, they firm up as they cool.
Step 11: Cool on the tray for 10 minutes before moving to a rack……Or ignore all sensible advice, grab one while it's still molten, and risk the roof of your mouth!!

Serving suggestions for Easter mini egg cookies
- Serve warm for maximum joy: Fresh from the oven (or as close as your fingertips can handle), these cookies hit peak soft‑and‑chewy goodness
- Pair with a cold glass of milk: Classic, kid‑approved, and ideal for enthusiastic dunkers.
- Add them to your Easter dessert table: Bright, chocolatey, and guaranteed to disappear before anyone even spots the carrot cake.
- Pop them into lunchboxes: A fun little Easter surprise for the kids… or for you, because adults deserve treats too.
- Make an ice cream sandwich: Two cookies + a scoop of vanilla = Easter magic.
- Build an Easter ice cream sundae: Crumble warm cookies over ice cream, drizzle with chocolate sauce, and crown it with extra mini eggs. It's indulgent, over‑the‑top, and the kind of easy baking idea that makes the whole family go quiet for a minute.
Variations of Easter mini egg cookies:
Storage and freezing
- Store: Keep your Easter Mini Egg Cookies in an airtight container at room temperature for 3-4 days. They stay soft and chewy, though you may need to hide them from the kids if you want them to last that long.
- Reheat: Pop a cookie in the microwave for 8-10 seconds to bring back that fresh‑from‑the‑oven magic. Warning: this may lead to repeat "just one more" situations.
- Freeze the baked cookies: Once cooled, freeze them in a single layer, then transfer to a freezer bag or container. They'll keep for up to 2 months. Thaw at room temperature or warm briefly in the microwave for instant Easter joy.
- Freeze the cookie dough: Roll the dough into balls, freeze on a tray, then store in a freezer bag. Bake from frozen - just add 1-2 extra minutes. Perfect for emergency cookie cravings or surprise small humans demanding snacks

- Let the kids smash the mini eggs – but set a noise limit unless you want the neighbours thinking you're renovating the kitchen
- Don't overmix the dough: Once the flour disappears, stop. Overmixing = tough cookies, and nobody wants that.
- Underbake slightly: Pull them out when the centres still look soft. They'll set as they cool and stay perfectly chewy.
- Use room‑temperature butter: Soft butter creams better, spreads better, and generally behaves like a cookie ingredient should.
- Chill the dough if your kitchen is warm: Just 10 minutes helps prevent spreading – especially if the kids have been "helping" and the dough is now 80% handled.
- Weigh your ingredients: It's the easiest way to guarantee consistent, soft‑and‑chewy cookies every time
FAQ
Can I use different chocolate instead of mini eggs?
Absolutely. Chocolate chips, chopped bars, leftover Easter treats – if it's chocolate, it works. Mini eggs just bring that colourful Easter crunch
Do I need to chill the dough?
Not usually. This is an easy Easter baking recipe, so you can go straight from bowl to tray. If your kitchen is warm or the kids have handled the dough a lot, a quick 10‑minute chill helps prevent spreading.
Can kids help make these cookies?
Yes – and they'll love it. Smashing mini eggs, stirring the dough, and "taste‑testing" chocolate pieces are all very kid‑friendly jobs. My boy loves helping in the kitchen as you can see from the photos.
Why do my cookies look underbaked when I take them out?
That's exactly right. They should look slightly soft in the centre. They firm up as they cool, giving you that perfect chewy texture.
Can I make the dough ahead of time?
Definitely. Store it in the fridge for up to 48 hours or freeze the dough balls for quick, fresh cookies whenever the craving hits.
How long do the cookies stay fresh?
About 3-4 days in an airtight container – though in my family, they mysteriously vanish much sooner!!
Did you enjoy this recipe? have a question? It would mean so much to me if you please leave a comment and a rating below!
Related




Pairing
These are my favorite dishes to serve with [this recipe]:


Easter mini egg cookies
Equipment
Ingredients
- 1 Medium egg
- 205 Grams All-purpose flour
- 115 Grams Salted butter
- 115 Grams Caster sugar
- 100 Grams Golden caster sugar
- ½ teaspoon Bicarbonate of Soda
- ½ teaspoon baking powder
- 100 Grams Milk chocolate
- 75 Grams Cadburys mini eggs
- 1 teaspoon Sea salt
Instructions
- Preheat the oven to 180°C and line two baking trays with parchment paper or a silicone mat.
- Cream the butter and sugars together until light and fluffy. You're looking for "clouds of cookie potential,"
- Mix in the egg, giving everything a good stir until smooth.
- Add the dry ingredients – flour, baking powder, bicarbonate of soda, and salt. Stir until a soft dough forms. It should look like something you'd happily eat straight from the bowl (no judgement).
- Roughly chop your chocolate – I like it chunky. Chocolate chips work well too. Stir the chocolate into the cookie dough.
- Scoop the dough into balls – place them on your trays, leaving space for spreading. This recipe should make approximately 18 cookies
- Smash the mini eggs – Pop them in a zip‑top bag and give the kids a rolling pin. Tell them it's "gentle tapping," then watch them unleash the kind of energy usually reserved for sibling arguments. Stop them before you end up with mini‑egg dust!!
- Add the mini eggs to the dough – Squash the broken pieces of mini eggs into the cookie dough balls ready for baking
- Bake for 8-10 minutes – until the edges are set but the centres still look soft. Trust the process - they firm up as they cool.
- Cool on the tray for 10 minutes before moving to a rack……Or ignore all sensible advice, grab one while it's still molten, and risk the roof of your mouth!!