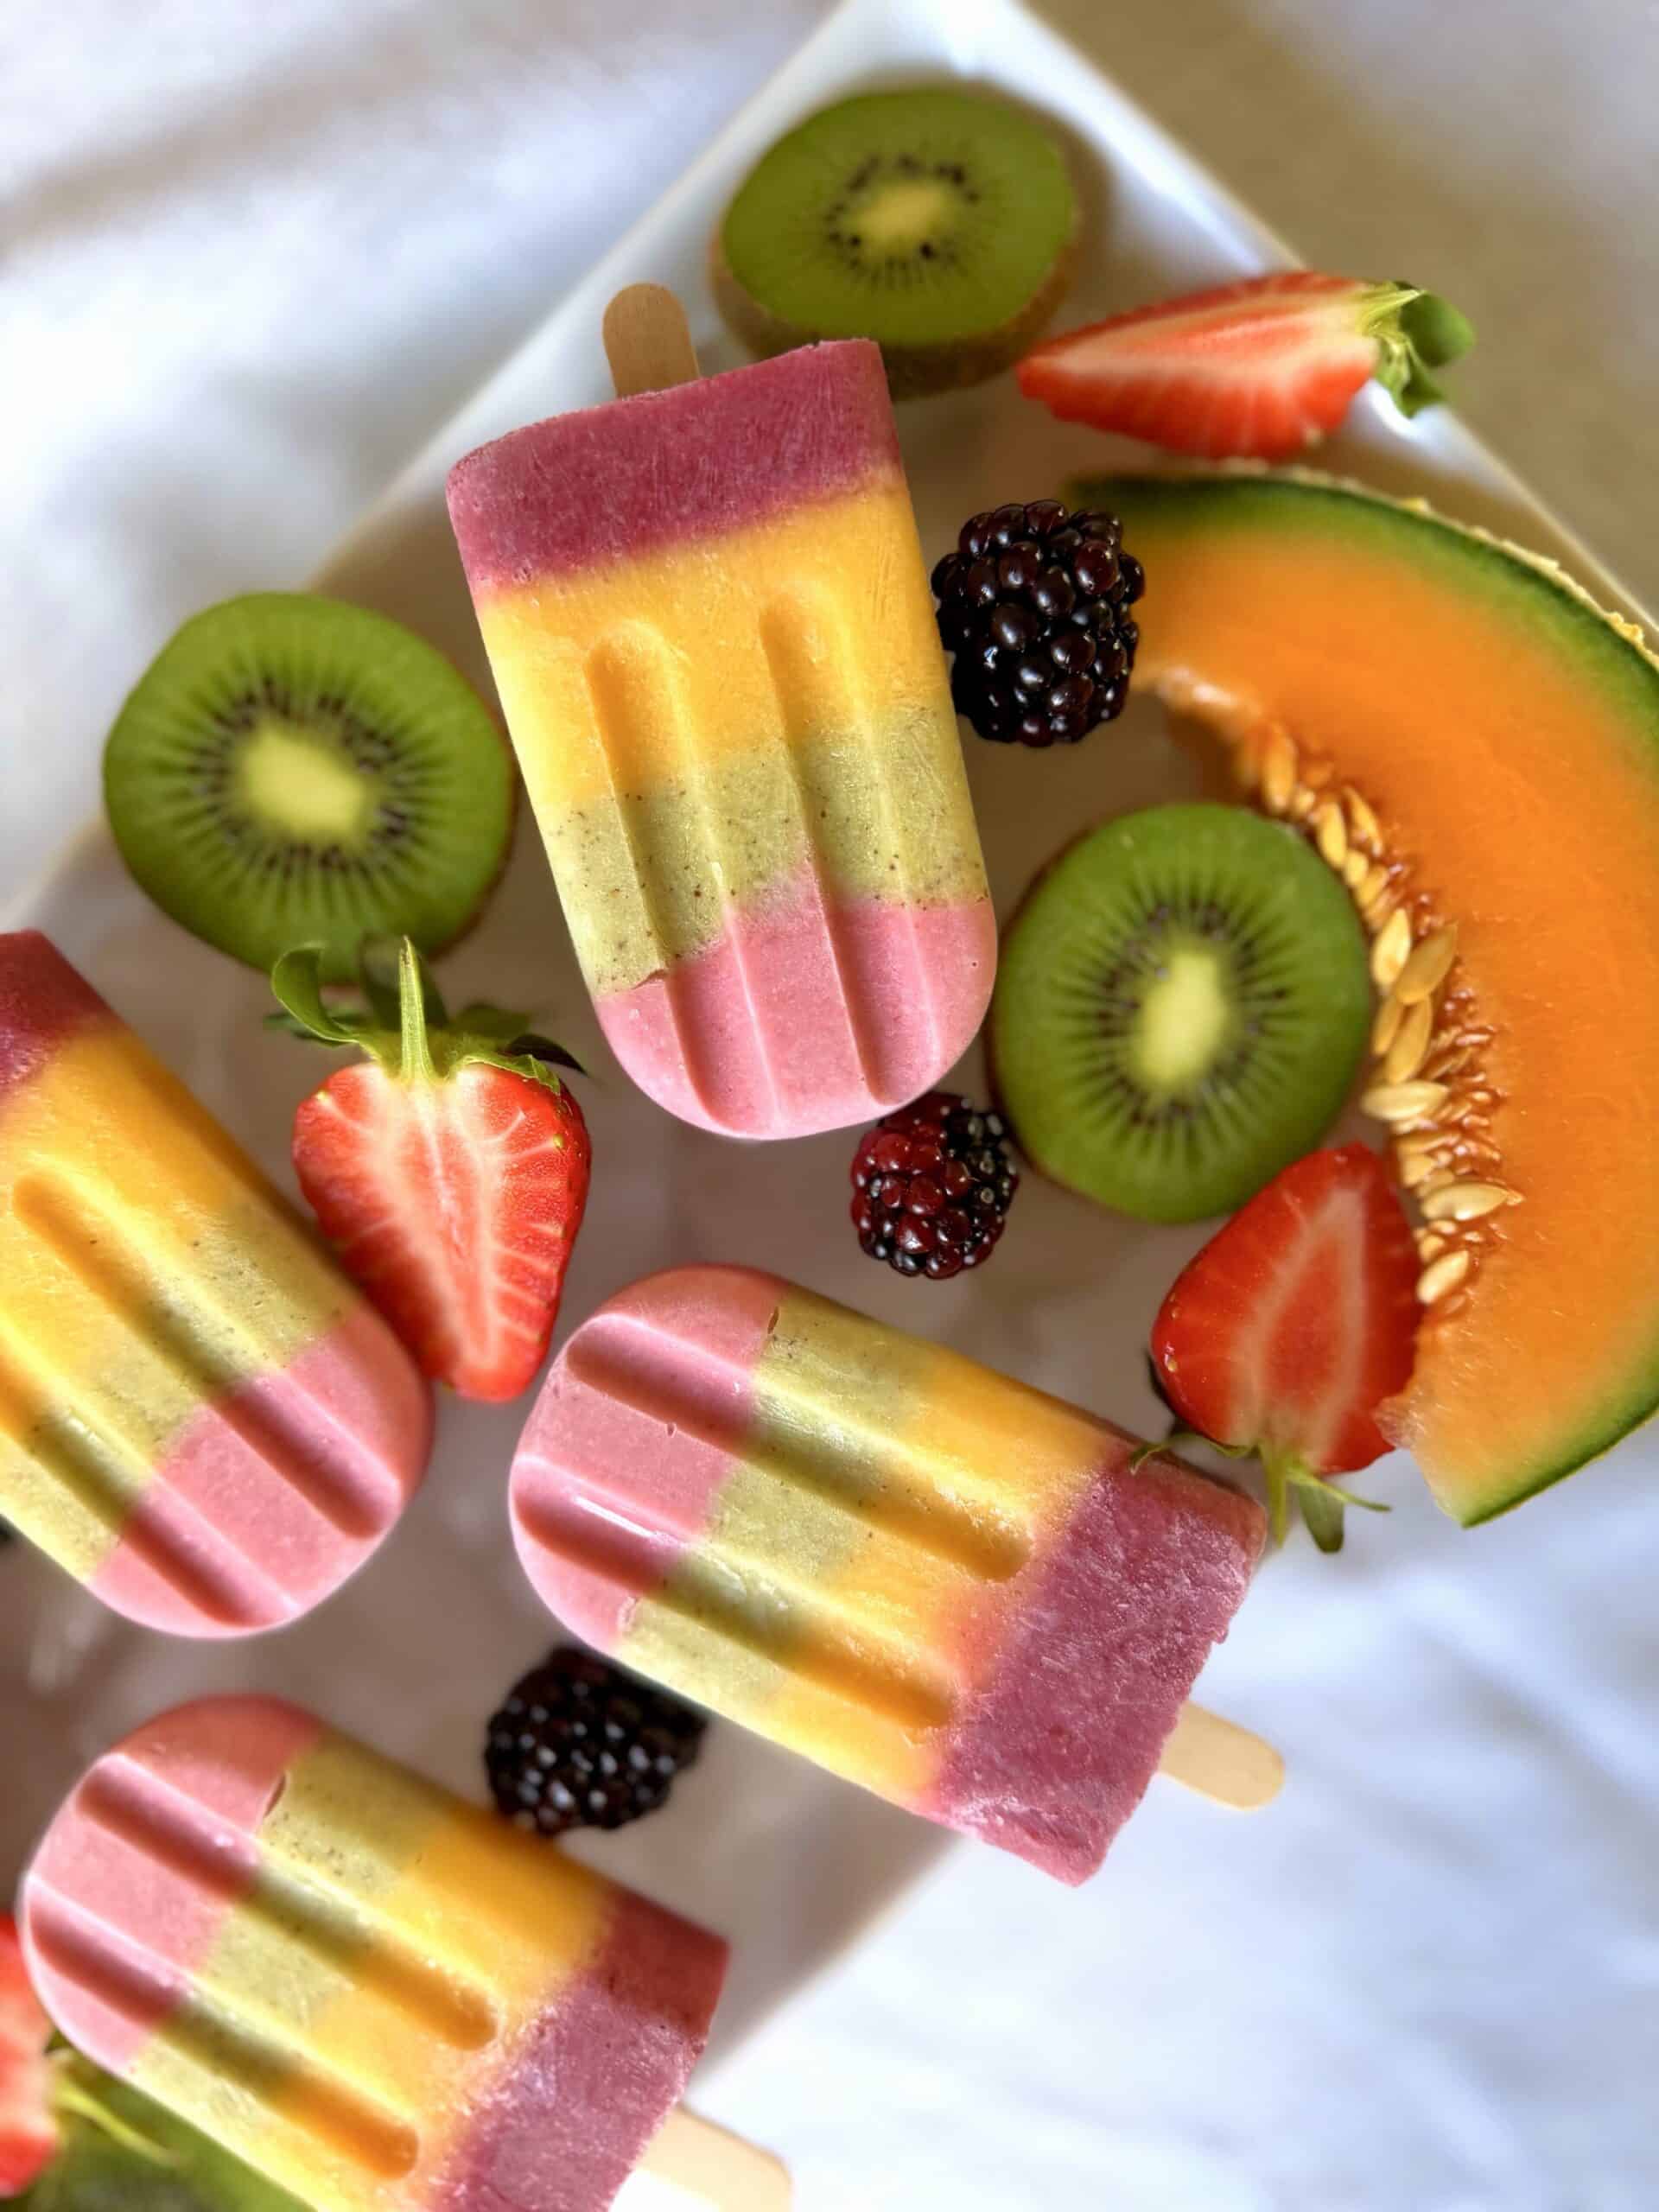
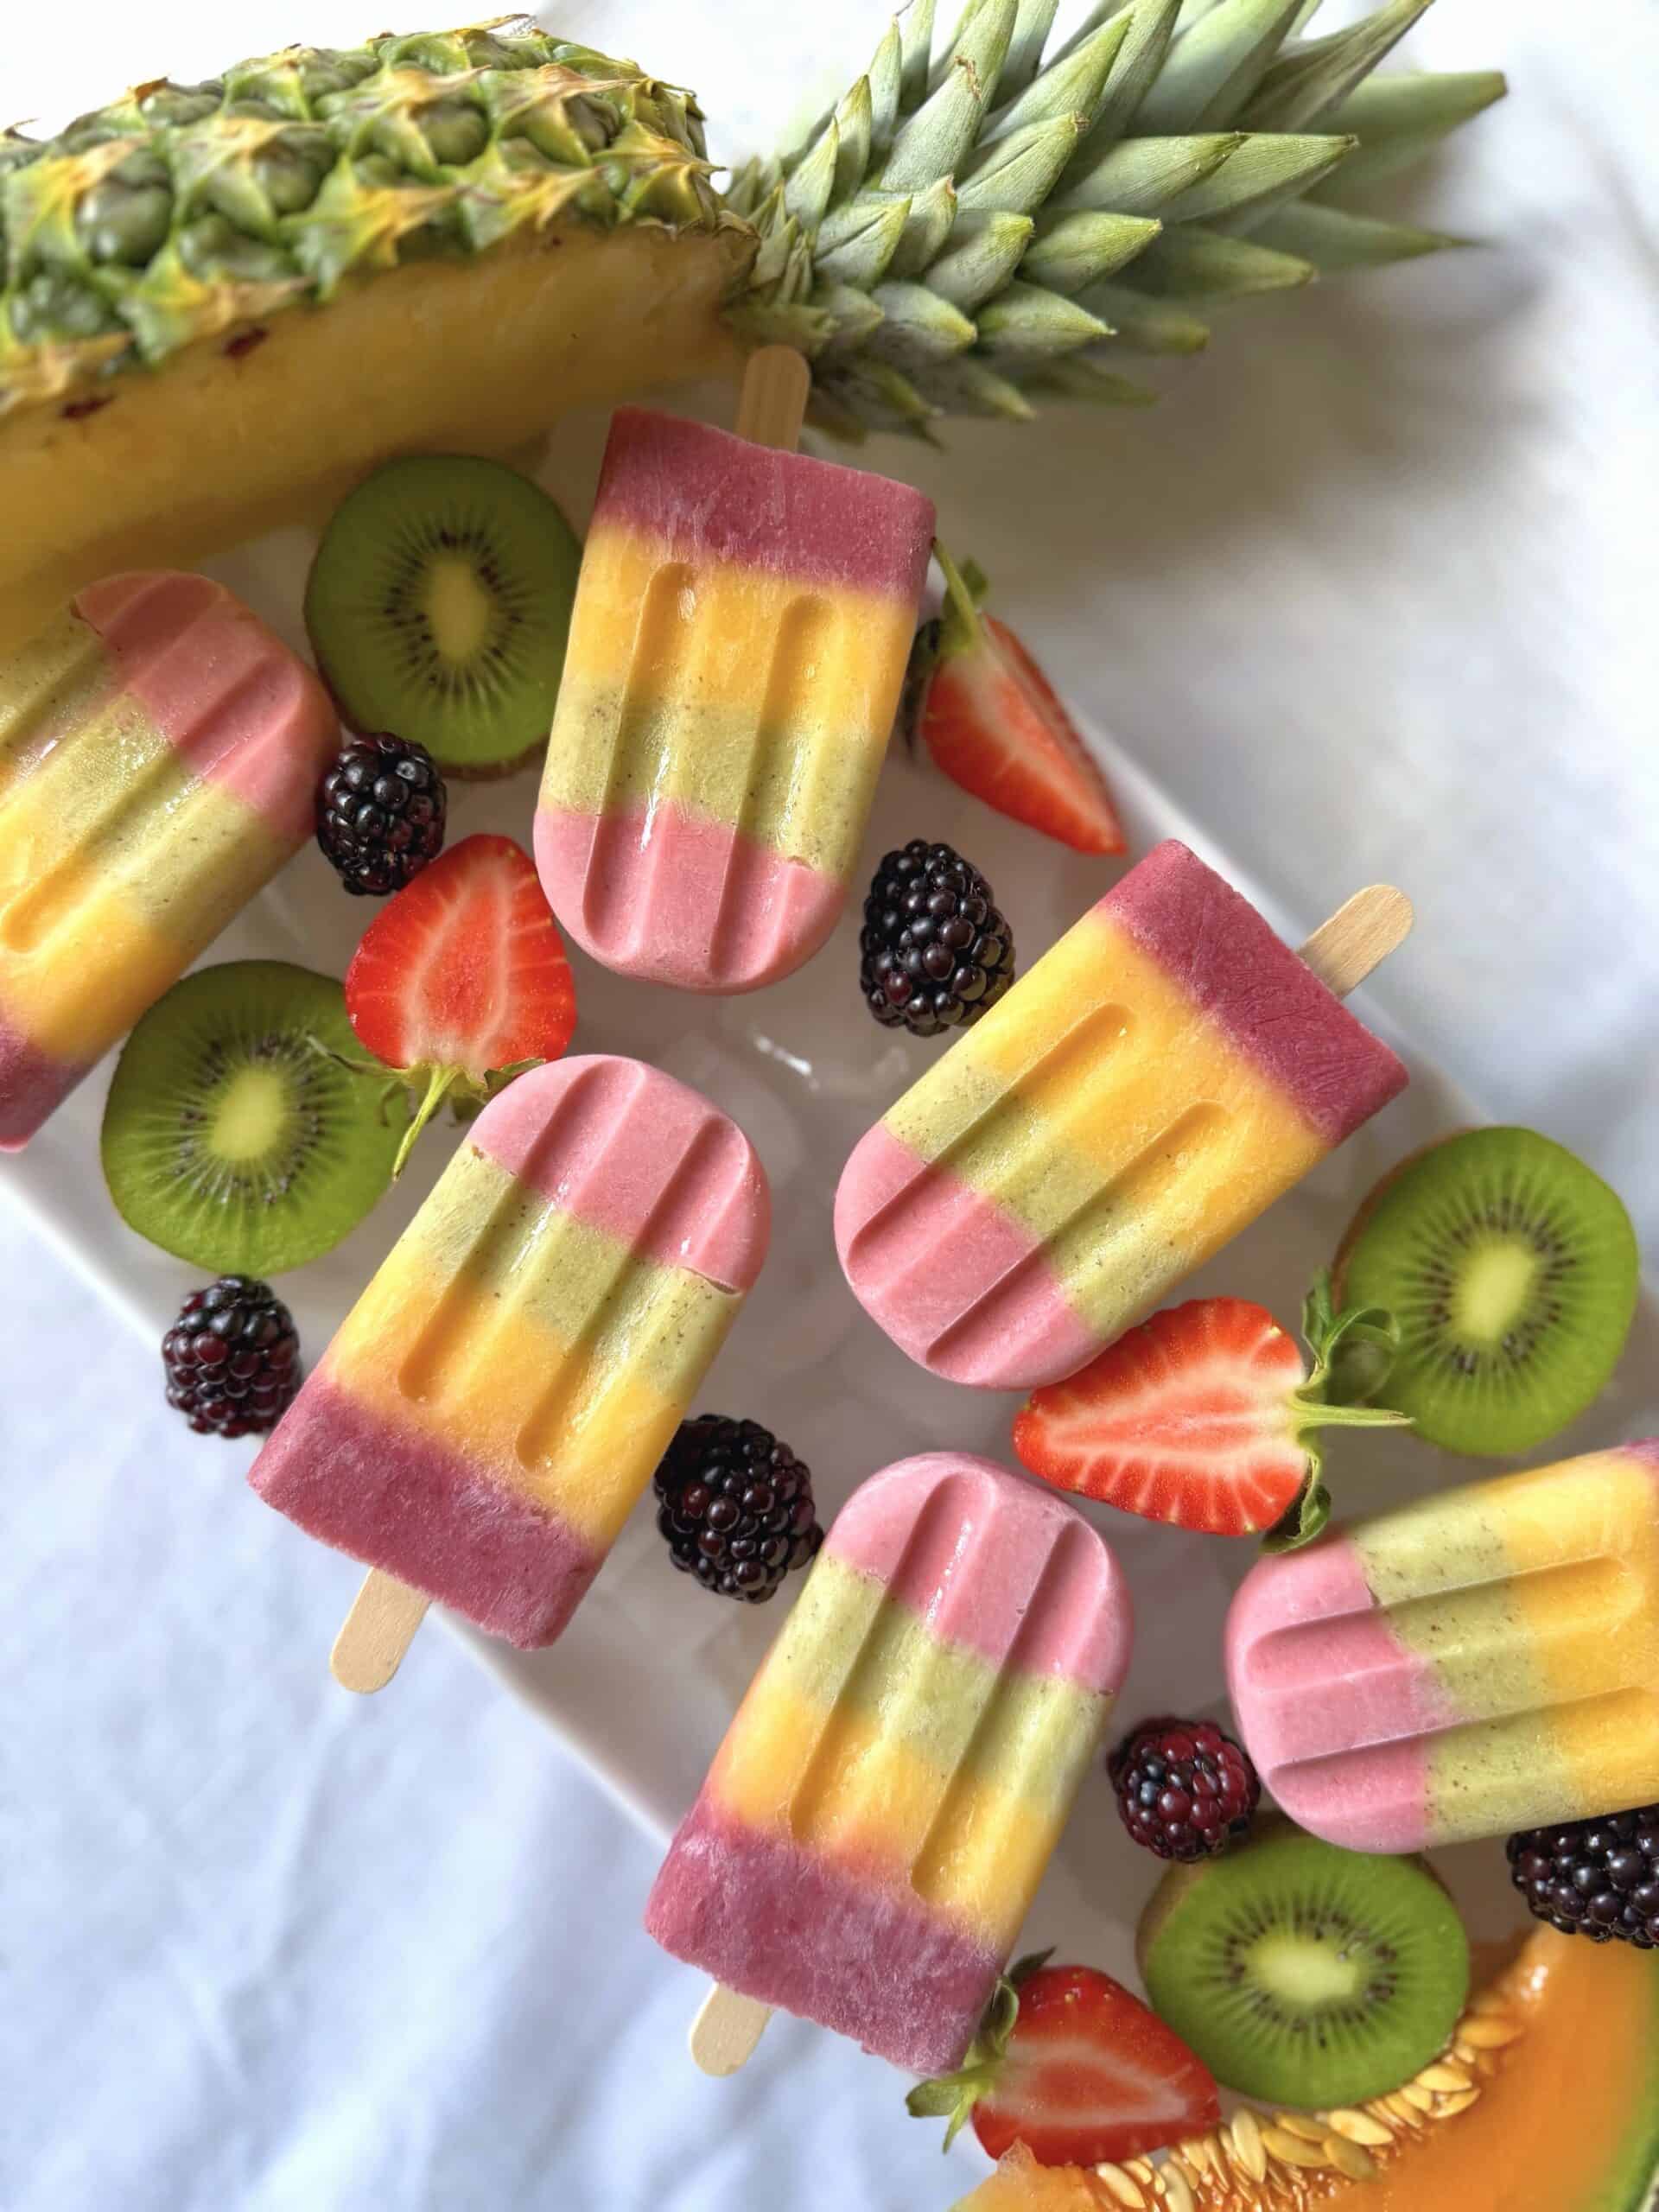
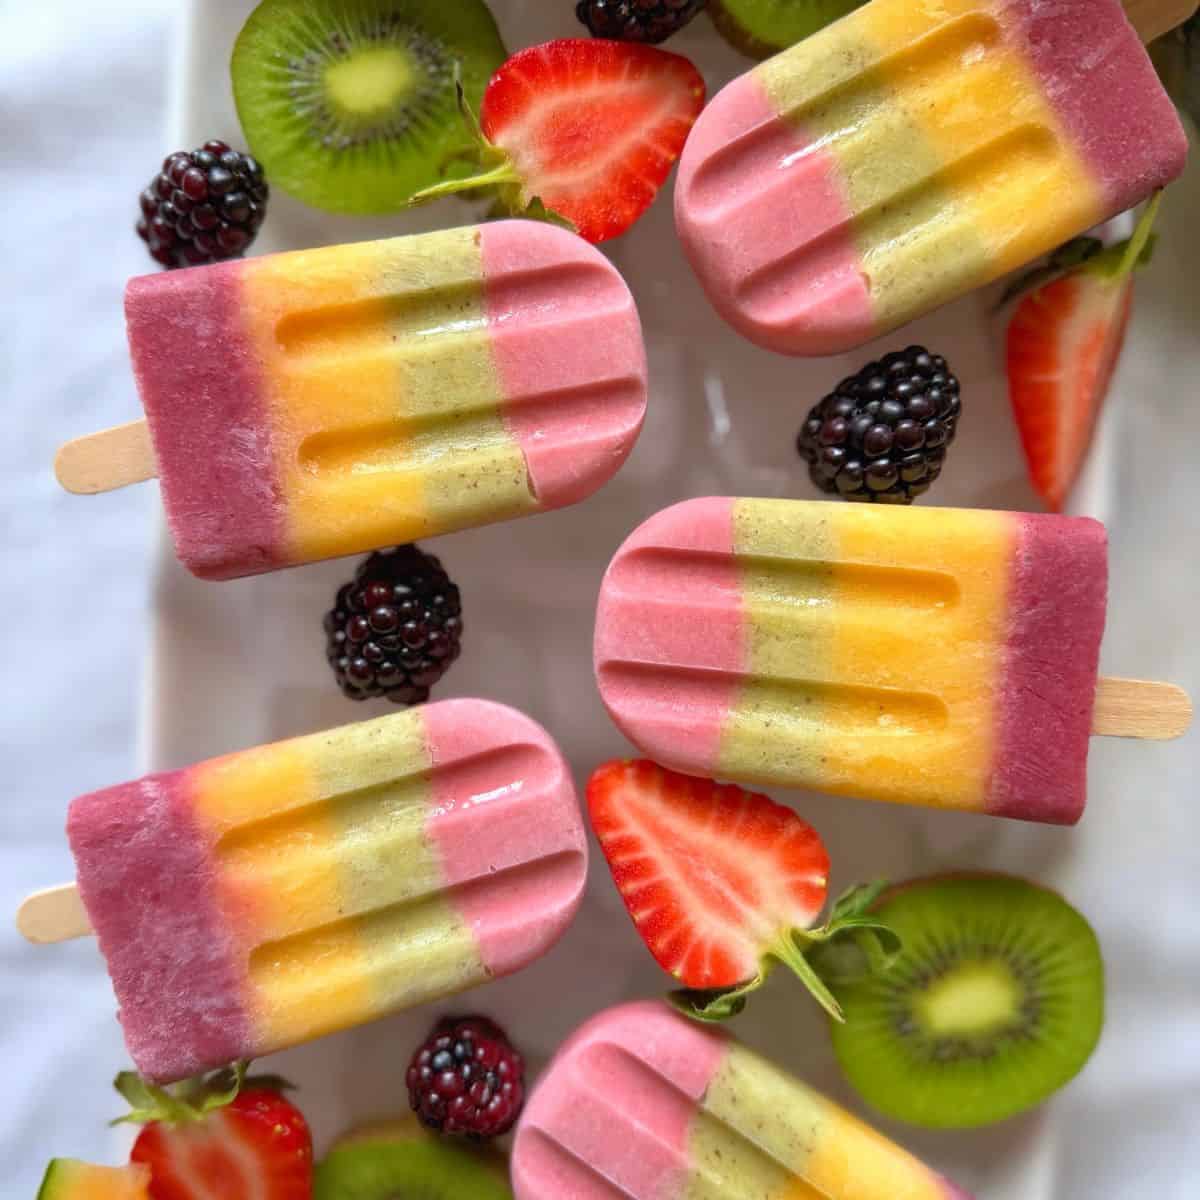
When the weather is hot, there's nothing better than a colourful frozen treat, and these healthy homemade rainbow popsicles are perfect for cooling down on sunny days, especially when there is a heat wave. Made with real fruit, coconut milk and a little honey, these fruit ice lollies are naturally sweetened, creamy, refreshing and full of bright fruity layers.
This rainbow popsicle recipe is also a fun one for kids to help make. They can choose the fruit, help blend the layers and watch as the colours build up in the moulds. These milky ice lollies are a brilliant way to get more fruit into children's diets while still feeling like a special treat.
Whether you call them popsicles, ice lollies or homemade rainbow popsicles, they make fantastic healthy snacks for kids and are a lovely alternative to shop-bought frozen treats. If you've ever wondered how to make rainbow popsicles or how to make rainbow ice lollies at home, this simple recipe is a great place to start.
A healthy family activity
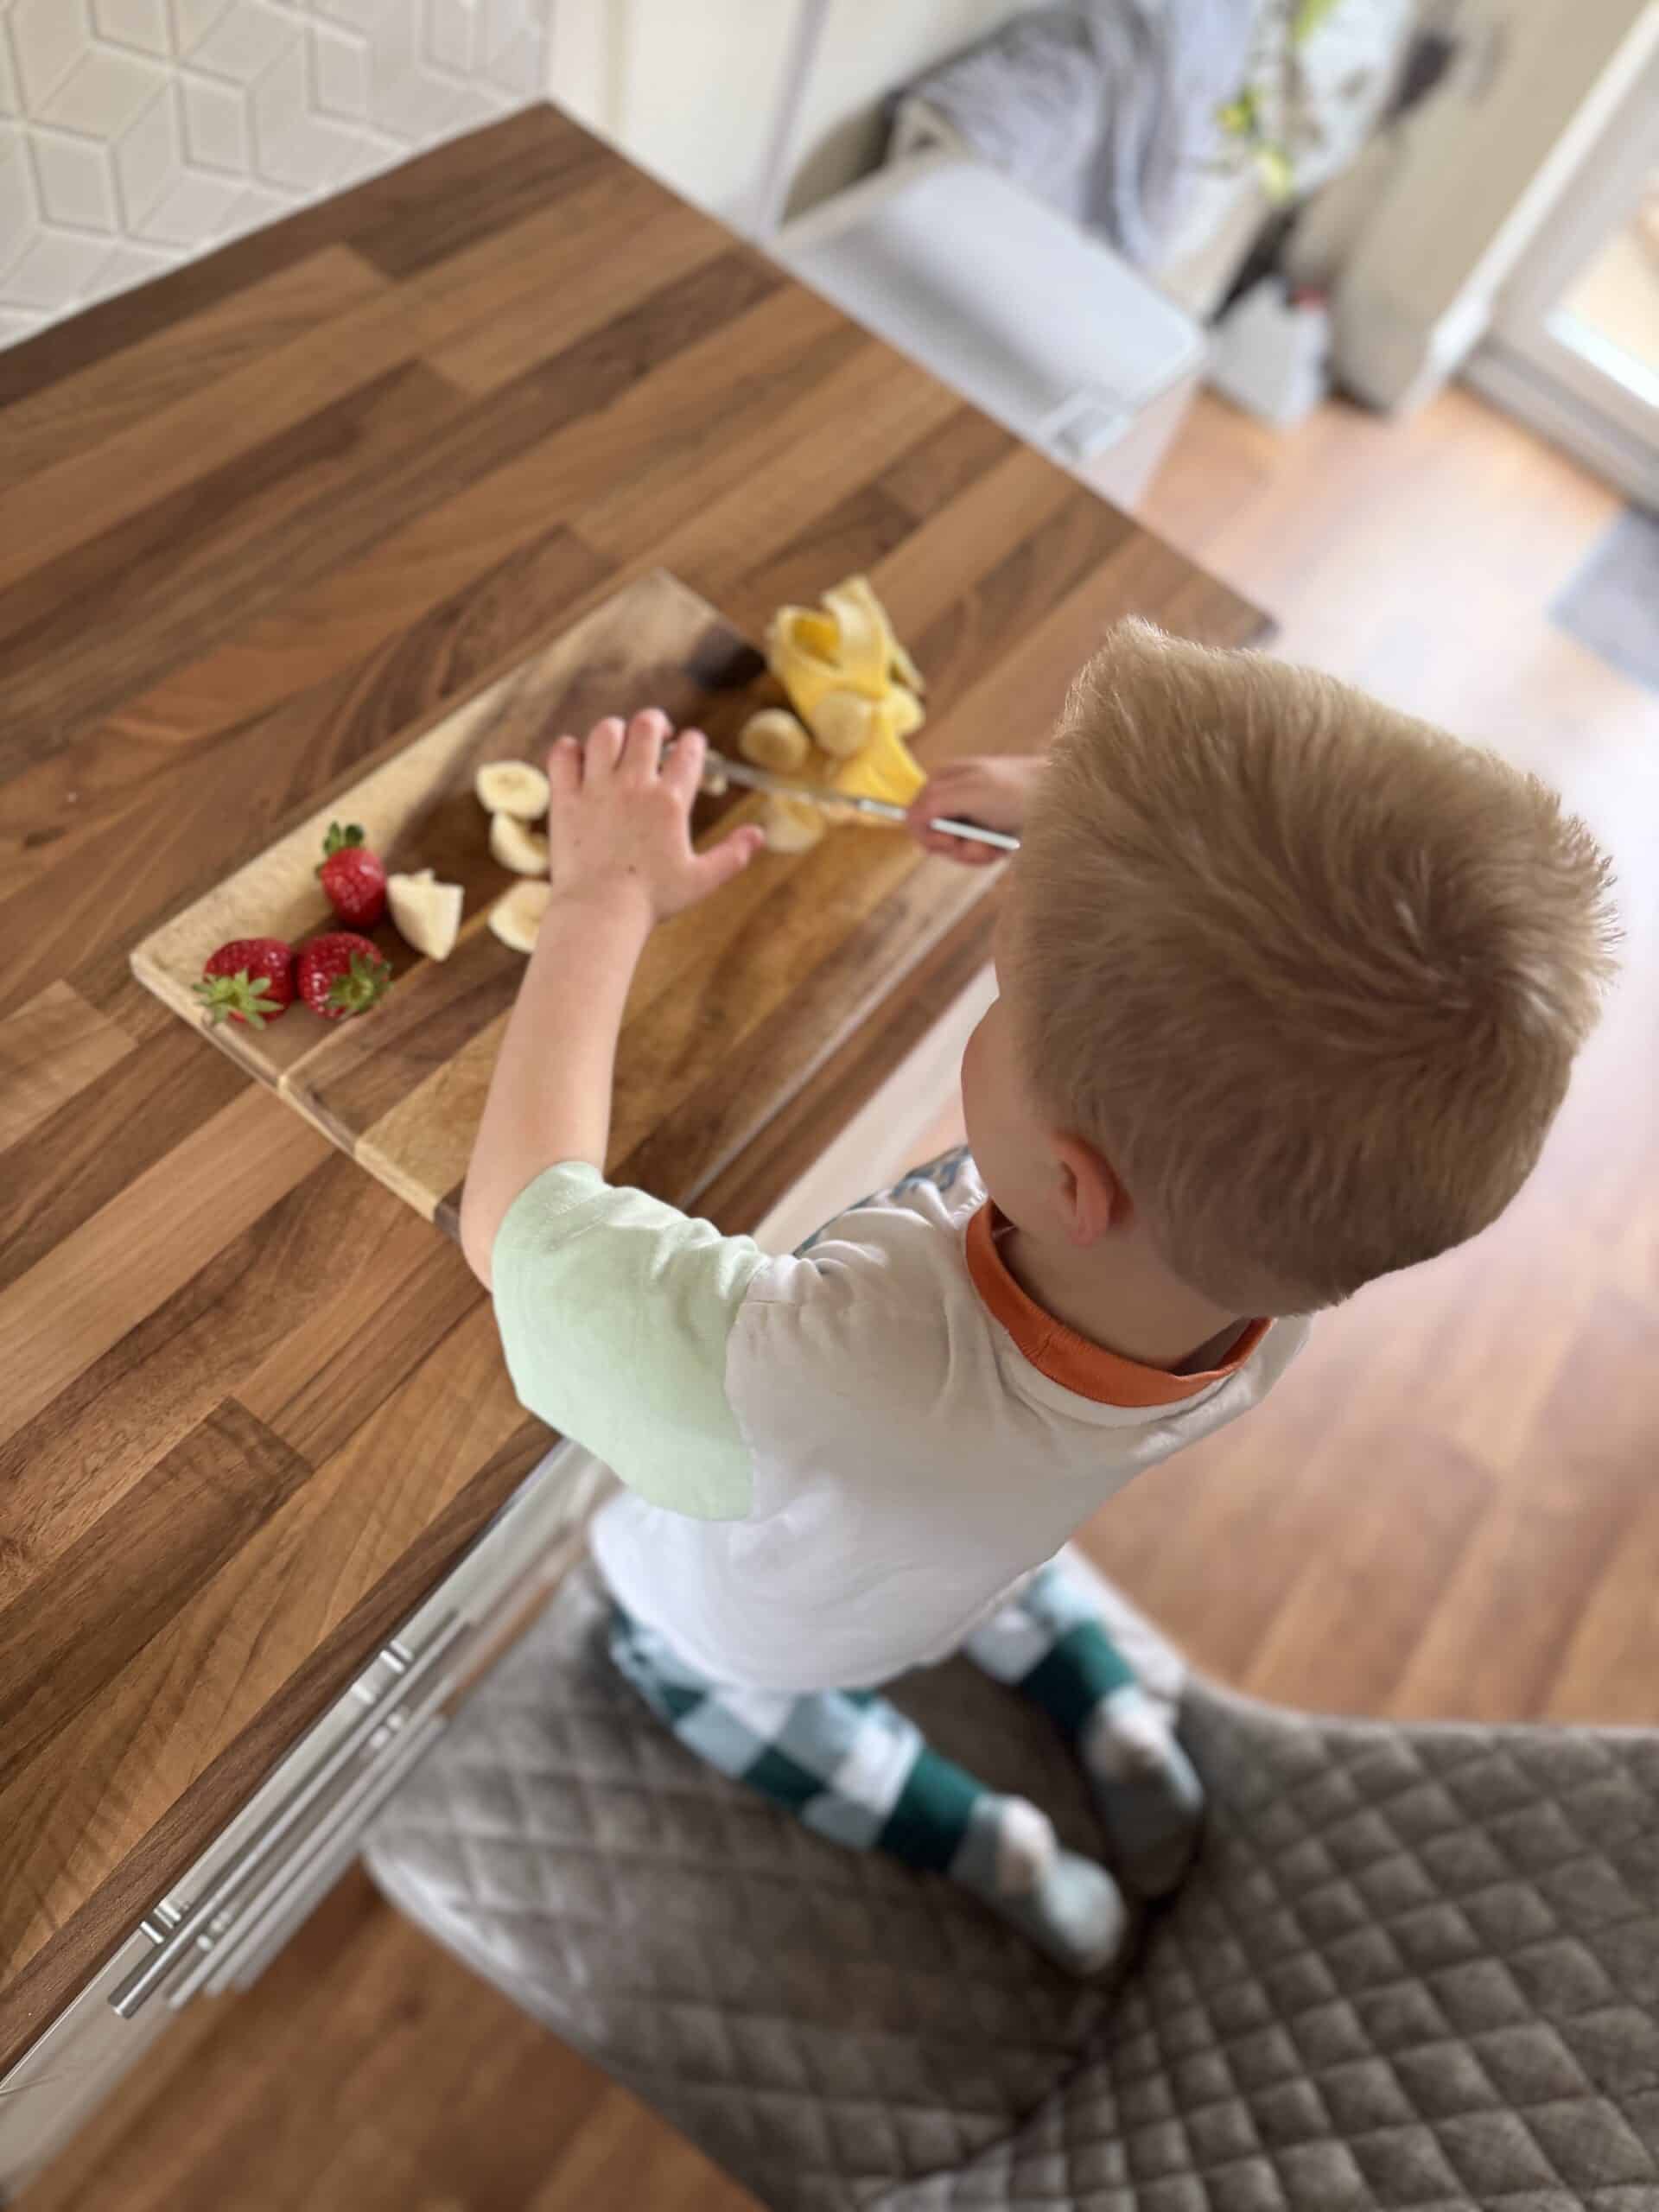
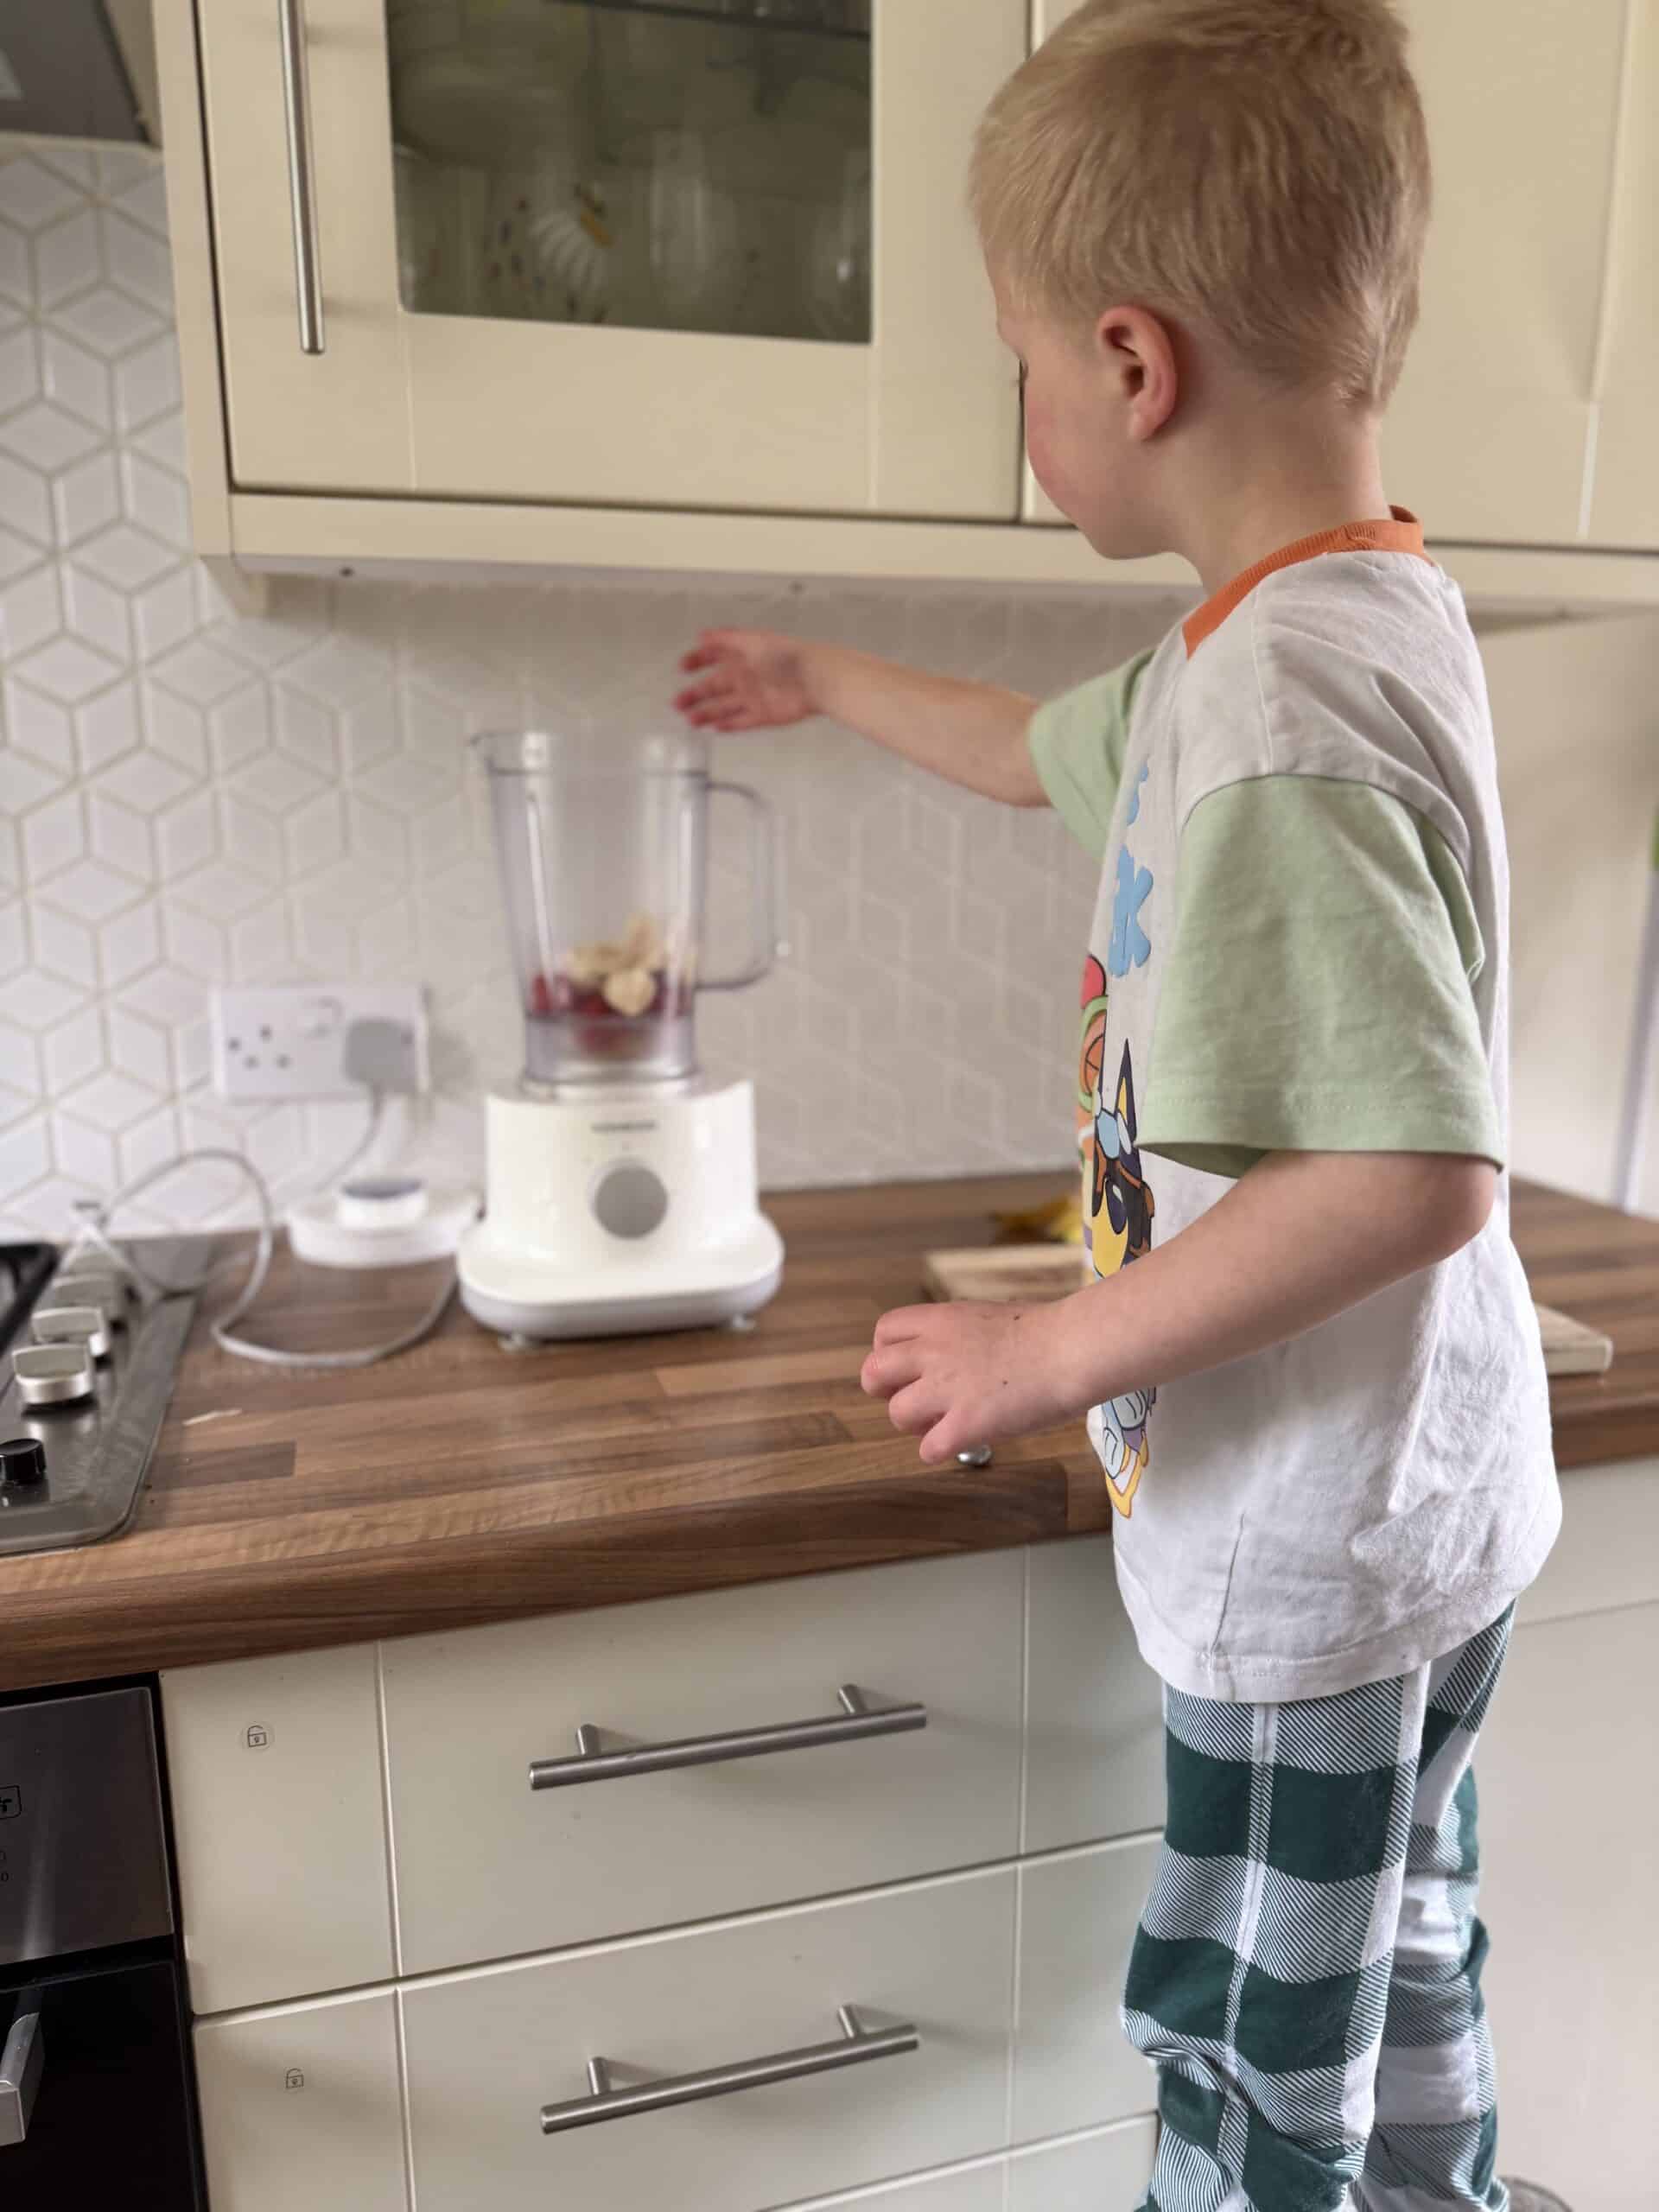
My son absolutely loved making these rainbow popsicles with me. He helped to chop the fruit, check out the method photos! and his favourite part was pressing the button on the blender. This is such a lovely recipe to get your kids involved with, from choosing the fruit to layering up the moulds and watching the colours come together.
These fruit ice lollies can also be turned into a whole family day out. Visit a pick your own fruit farm, let the kids choose their favourite fruits, then come home and make your own homemade rainbow popsicles together.
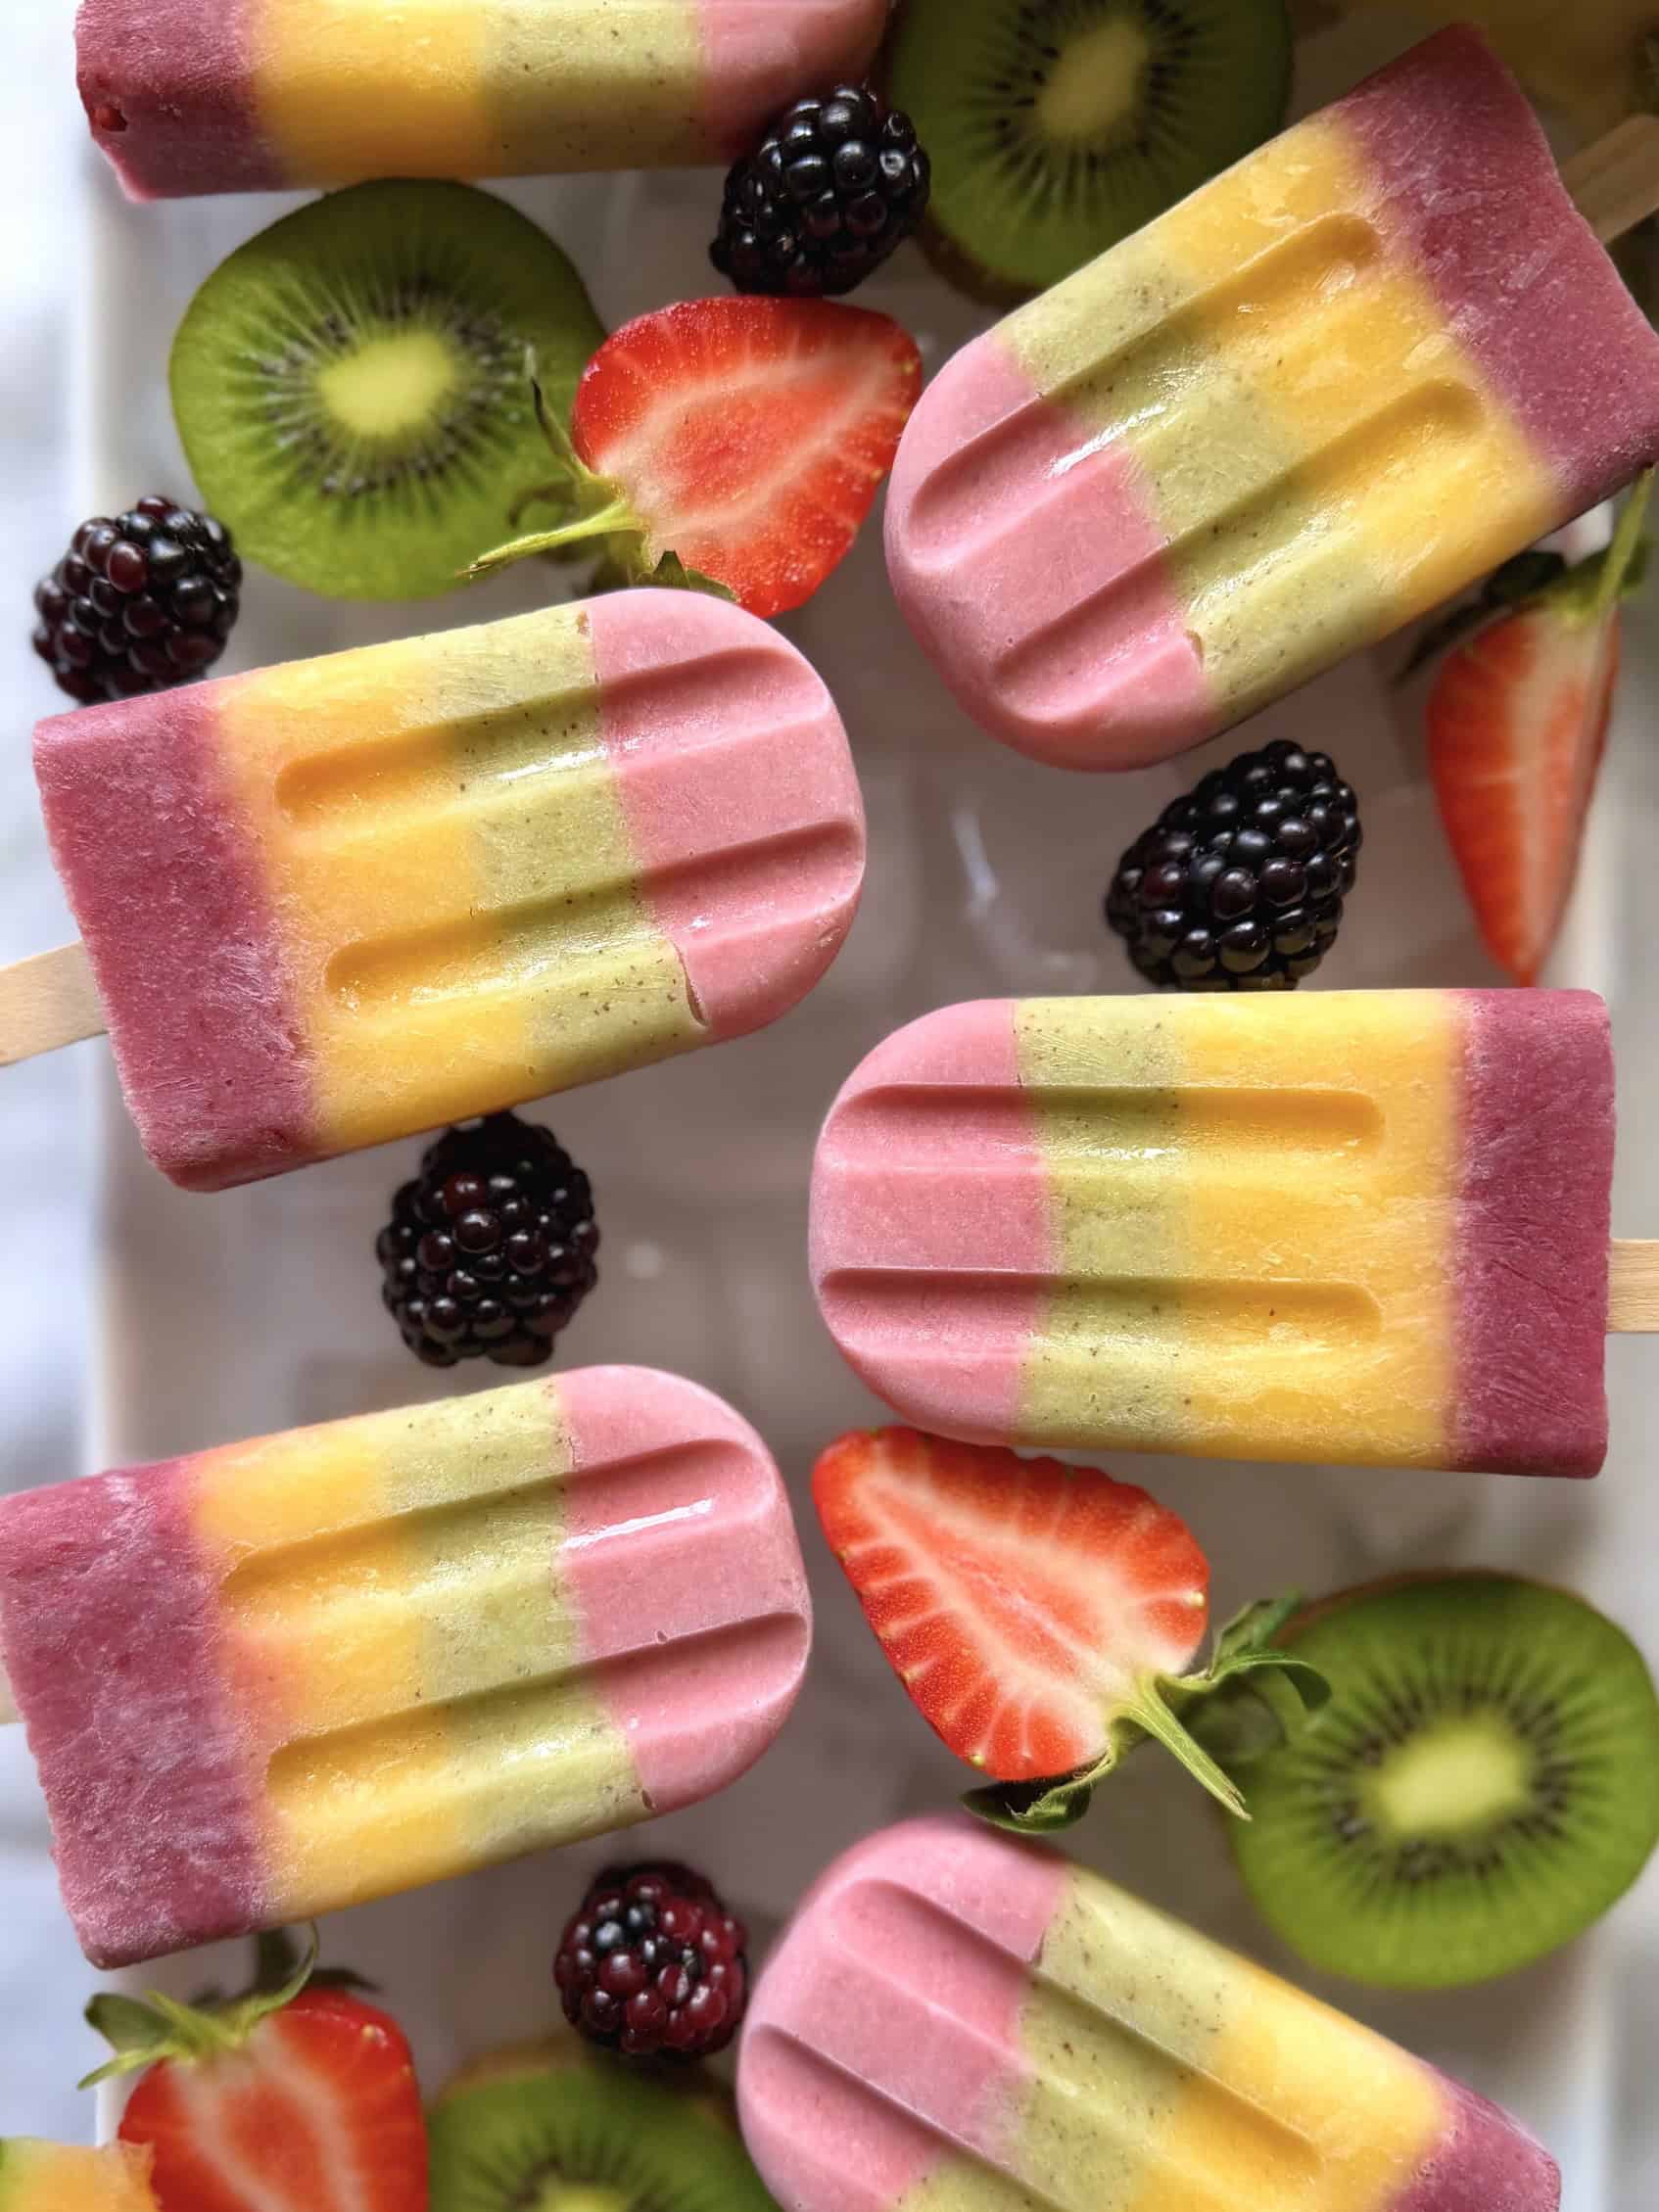
If your family loves “Homemade rainbow ice lollies” as much as mine does, you’re in good company - we’ve got plenty more delicious sweet treats for you to try. Here are a few more recipes that always go down well at our table:
- Homemade shortbread
- Cottage cheese pancakes
- Poached pear and frangipane tart
- Cinnamon and maple banana bread muffins
- Big fluffy scones
- Mini egg cookies
- Strawberry tarts
Jump to:
- A healthy family activity
- Ingredients and substitutions for fresh fruit rainbow popsicles:
- What equipment will you need to make Homemade ice lollies with real fruit?
- How do I make homemade rainbow fruit popsicles?:
- Serving suggestions for healthy fruit rainbow ice lollies:
- Variations of rainbow popsicles:
- How to store and freeze Homemade fruit popsicles:
- FAQ
- Healthy homemade rainbow popsicles made with real fruit (Naturally sweetened)
- Related
- Pairing
Ingredients and substitutions for fresh fruit rainbow popsicles:
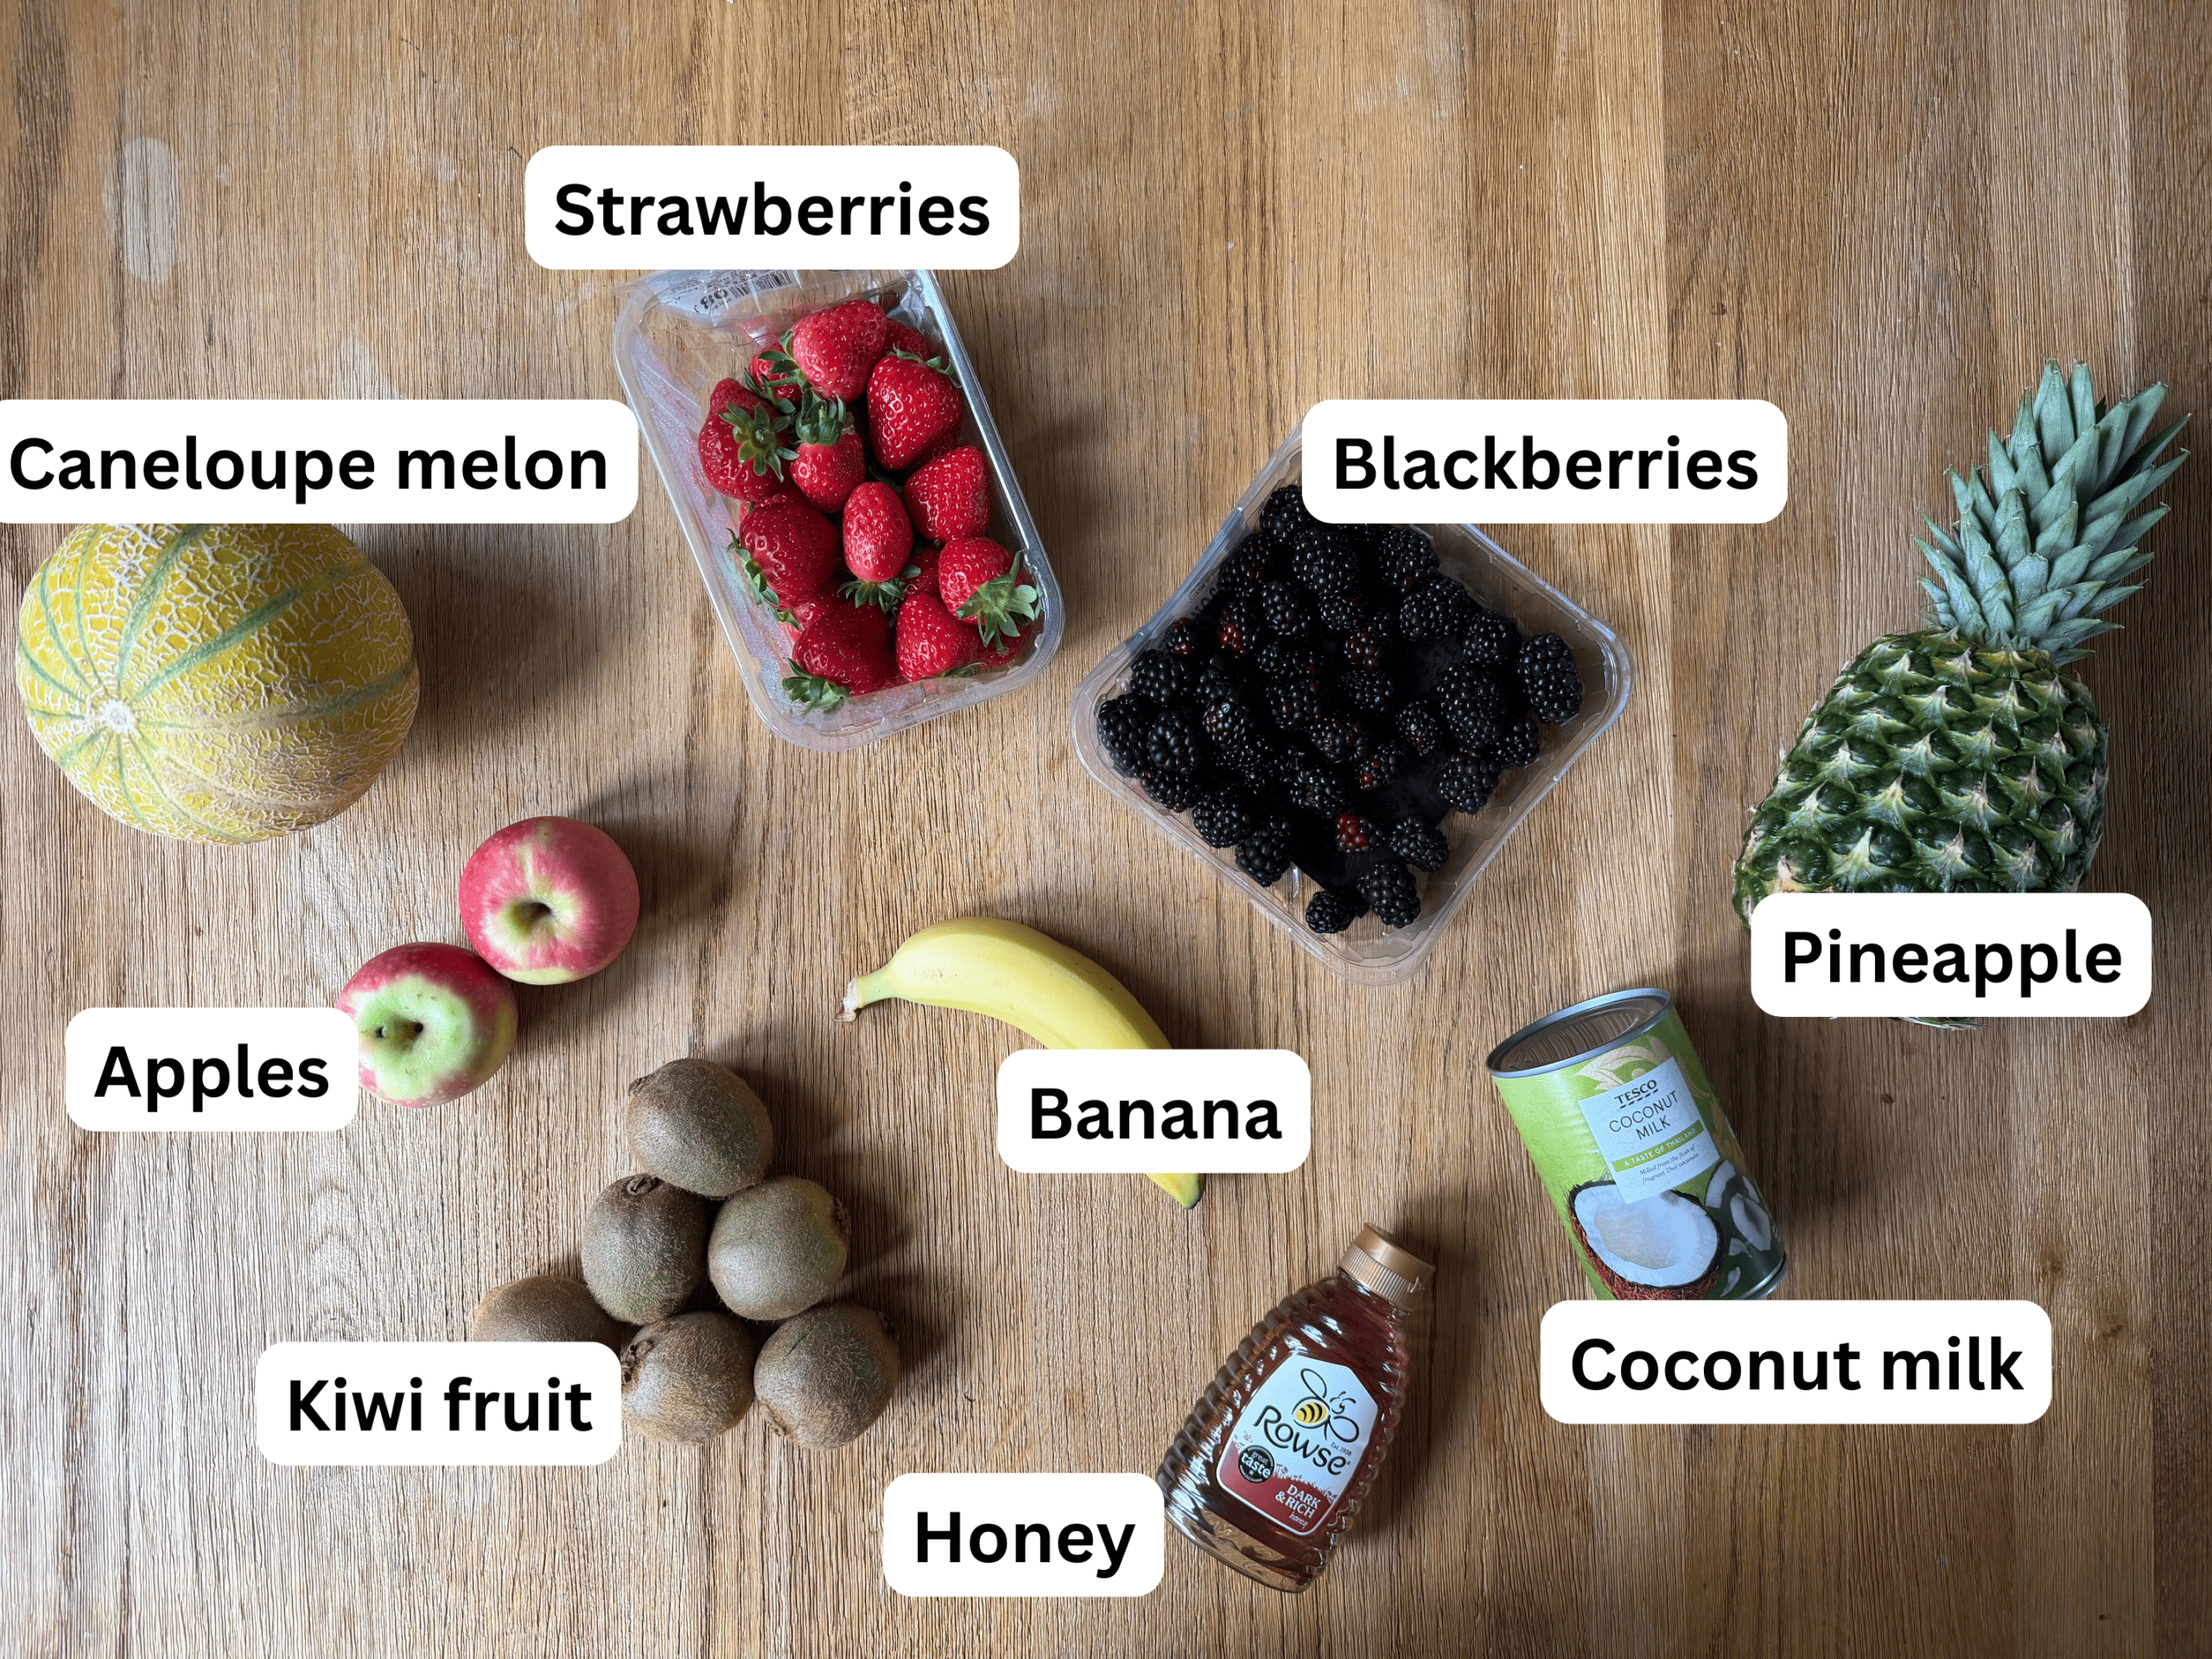
See recipe card for quantities.
Jump to Recipe- Banana – Banana helps make the strawberry layer naturally sweet and creamy. It also gives these milky ice lollies a lovely smooth texture. You could use mango or peach for a similar sweetness.
- Strawberries – Strawberries create a bright pink/red layer and add a lovely fruity flavour to these rainbow popsicles. Raspberries or cherries would also work well.
- Blackberries – Blackberries give a beautiful deep purple colour and add a slightly tangy flavour. Blueberries or mixed berries can be used instead.
- Apples – Apples help sweeten the blackberry layer and add extra fruit goodness, making these a great option for healthy snacks for kids. Pears would work well as a softer, naturally sweet alternative.
- Kiwi – Kiwi gives the popsicles a fresh green layer and a lovely tropical flavour. Green grapes or honeydew melon could be used for a milder green layer.
- Cantaloupe Melon – Cantaloupe melon adds natural sweetness and a soft orange colour to these homemade rainbow popsicles. Mango, peach or orange melon would all work nicely.
- Pineapple – Pineapple adds a sweet, tropical flavour and pairs beautifully with melon and coconut milk. Mango or peaches can be used instead.
- Honey – Honey is used to naturally sweeten each fruit layer. You can add more or less depending on how ripe and sweet your fruit is. Maple syrup or agave nectar can be used instead. If making these for very young children, avoid honey for babies under 1 year old.
- Coconut Milk – Coconut milk makes these ice lollies creamy and smooth, giving them that lovely milky ice lolly texture. You can use yoghurt, dairy milk, oat milk or almond milk instead, depending on your preference
What equipment will you need to make Homemade ice lollies with real fruit?
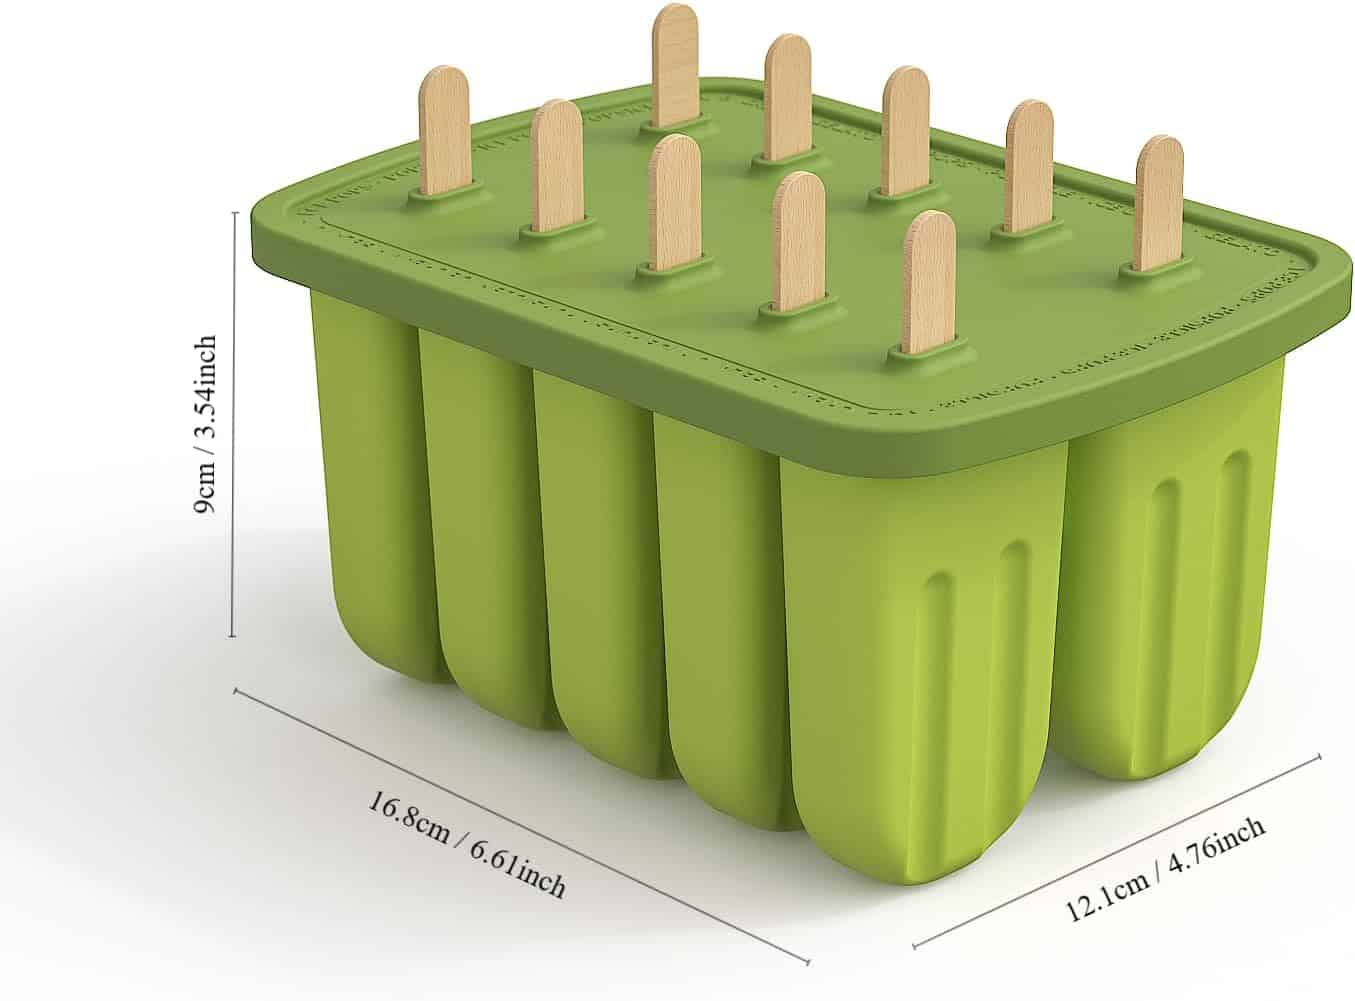
- Ice lolly/popsicle mould – You can’t make ice lollies without a mould. This popsicle mould is compact and easy to use and affordable.
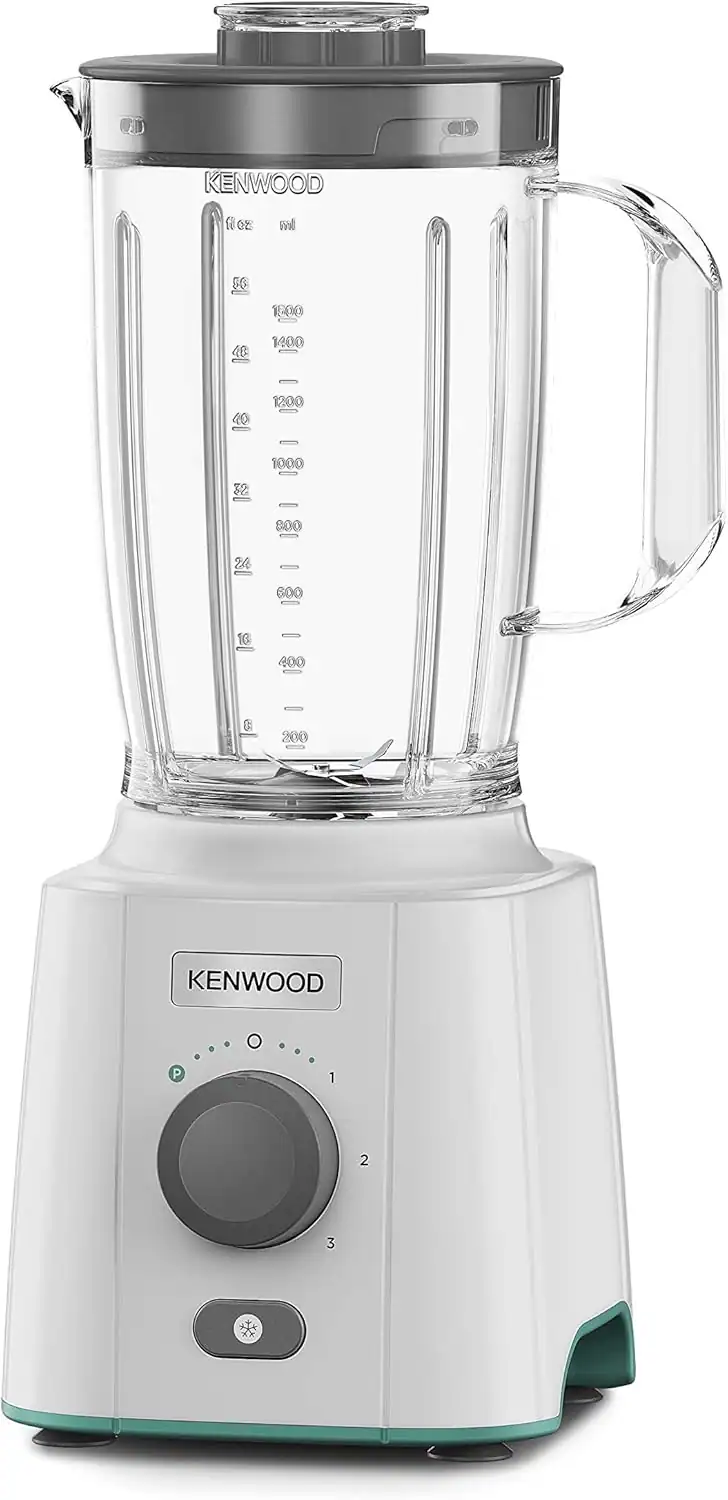
- Blender – Blending the fruit is essential if you want that smooth creamy finish. This is a dependable blender that doesn’t stop working.
How do I make homemade rainbow fruit popsicles?:
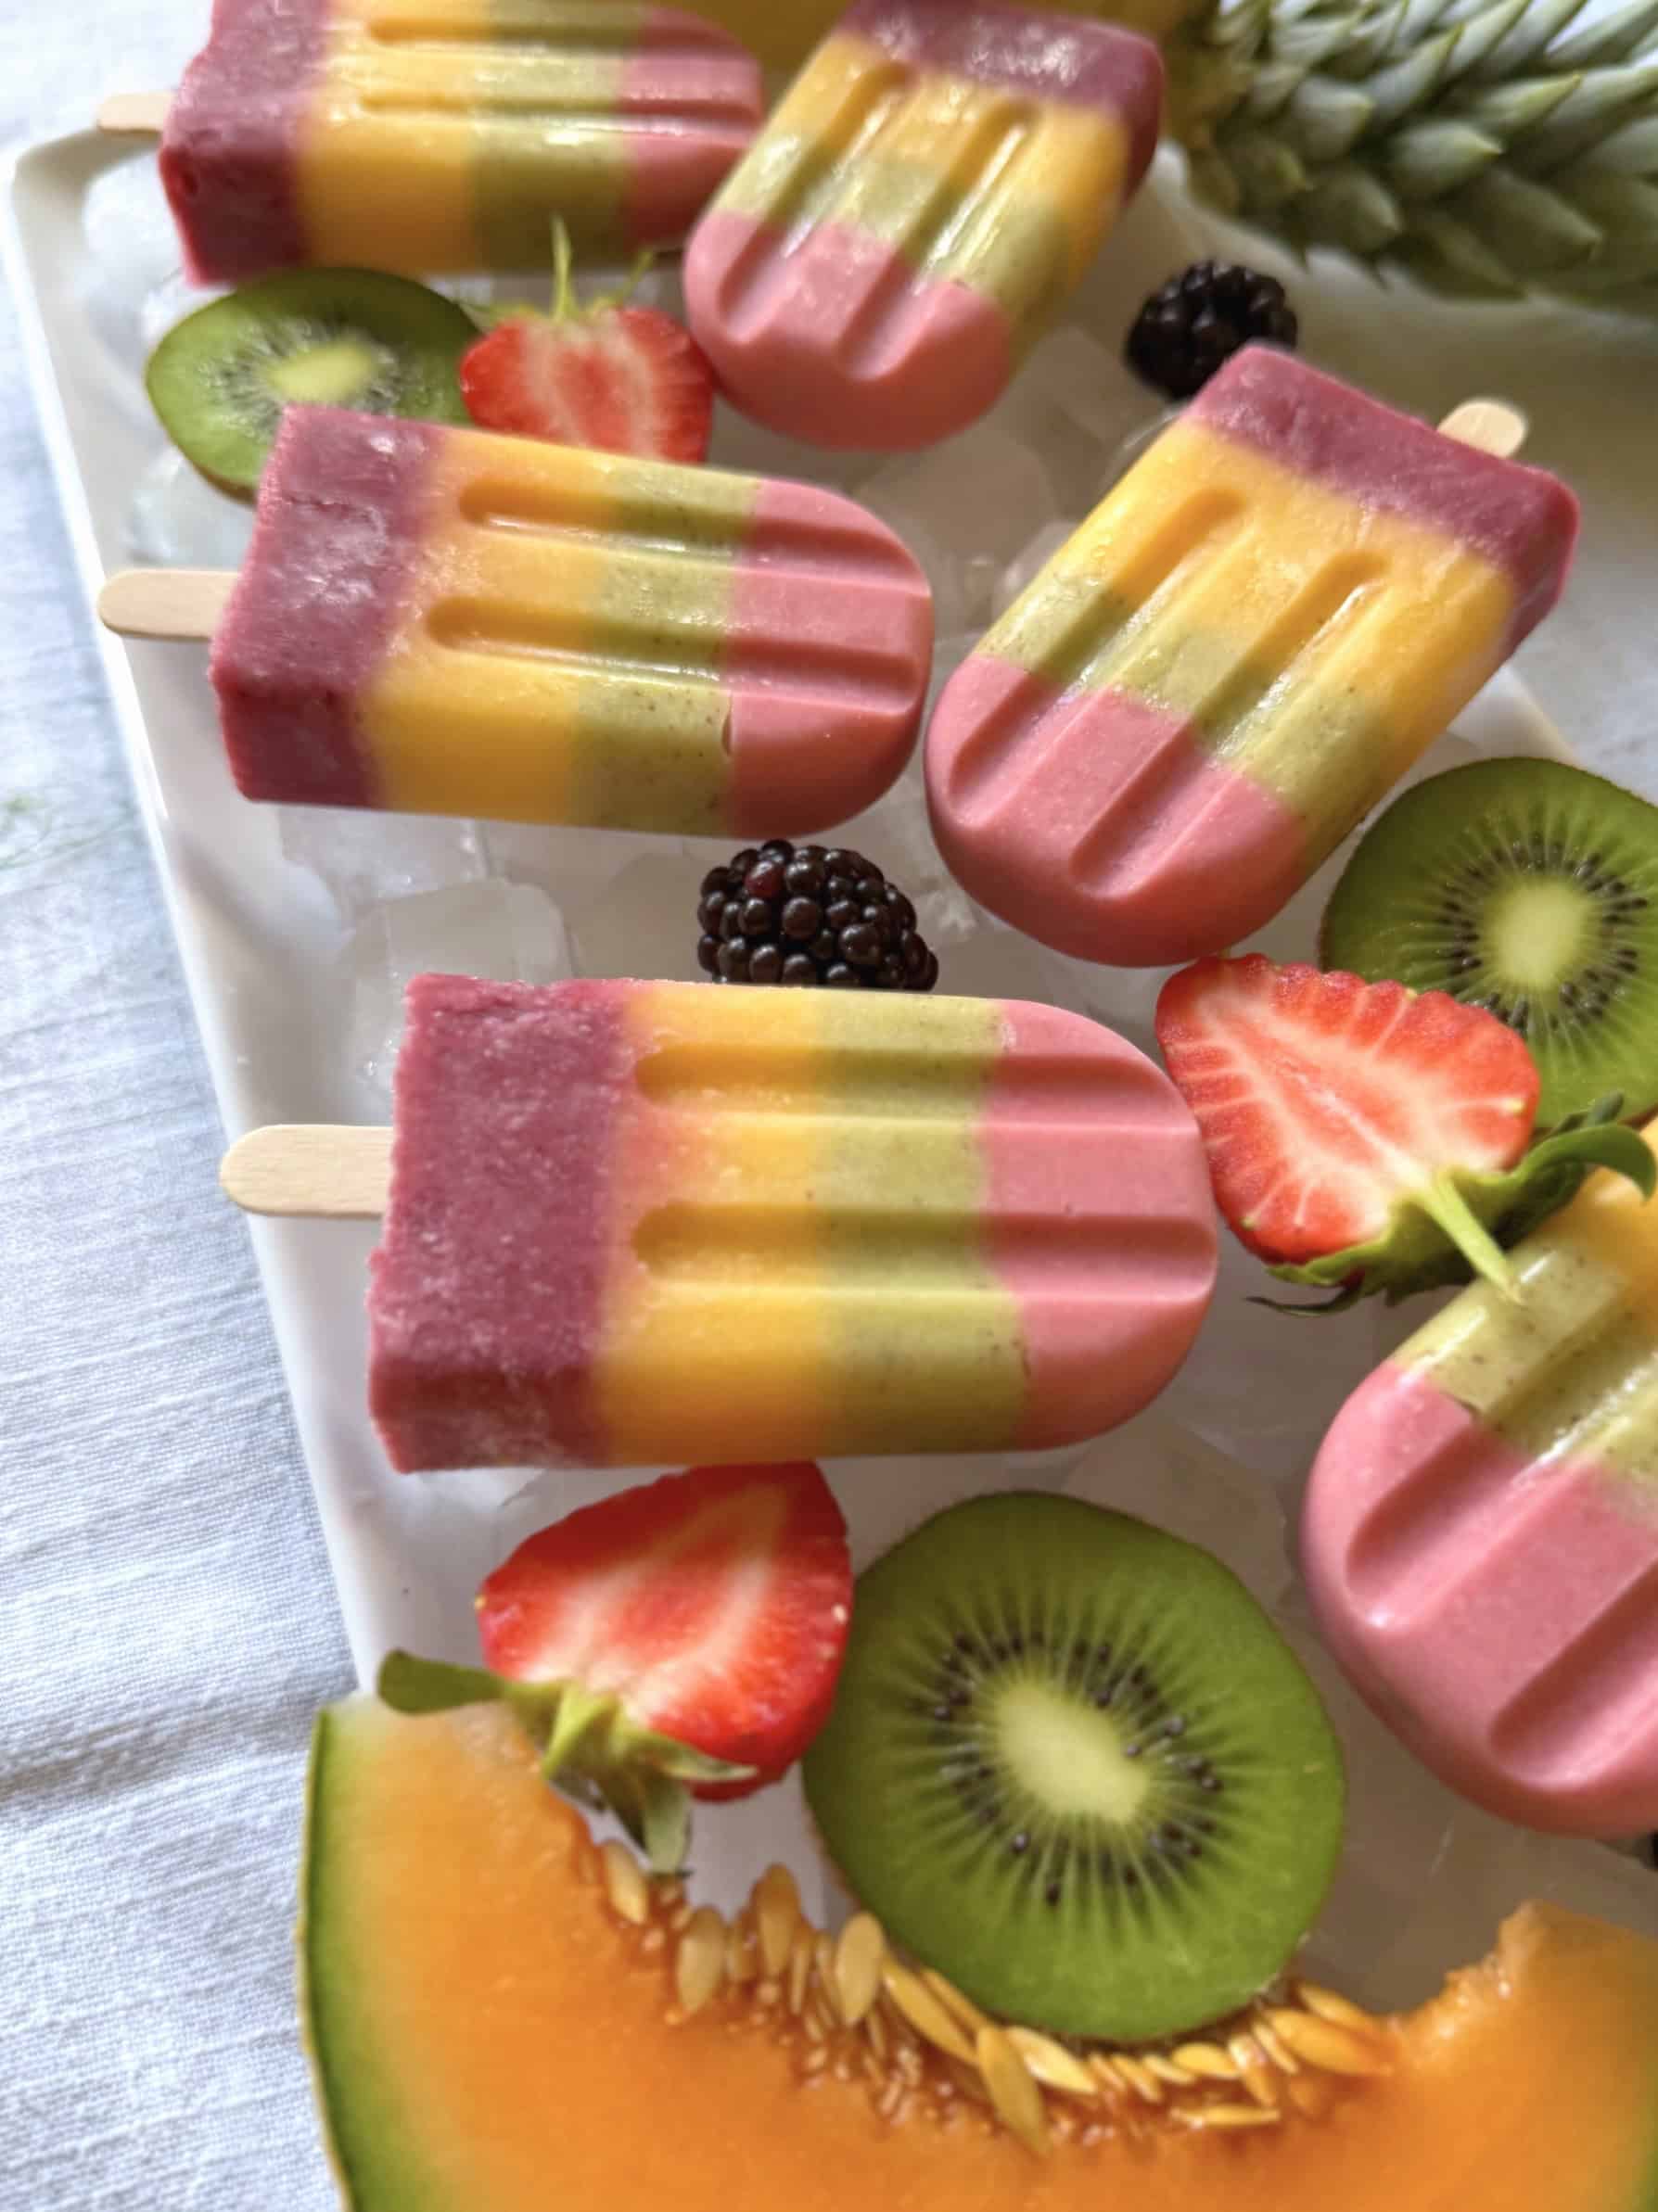
Making these homemade rainbow popsicles is simple and fun. Each colourful layer is blended separately using real fruit, coconut milk and a little honey, then frozen one layer at a time to create a bright rainbow effect. For the best results, take your time with each layer and allow it to set before adding the next.
1: Make the strawberry layer – Add the strawberries, banana, 10 tablespoon coconut milk and 2 teaspoon honey to a blender.
Blend until smooth, then pour into a glass and set aside.
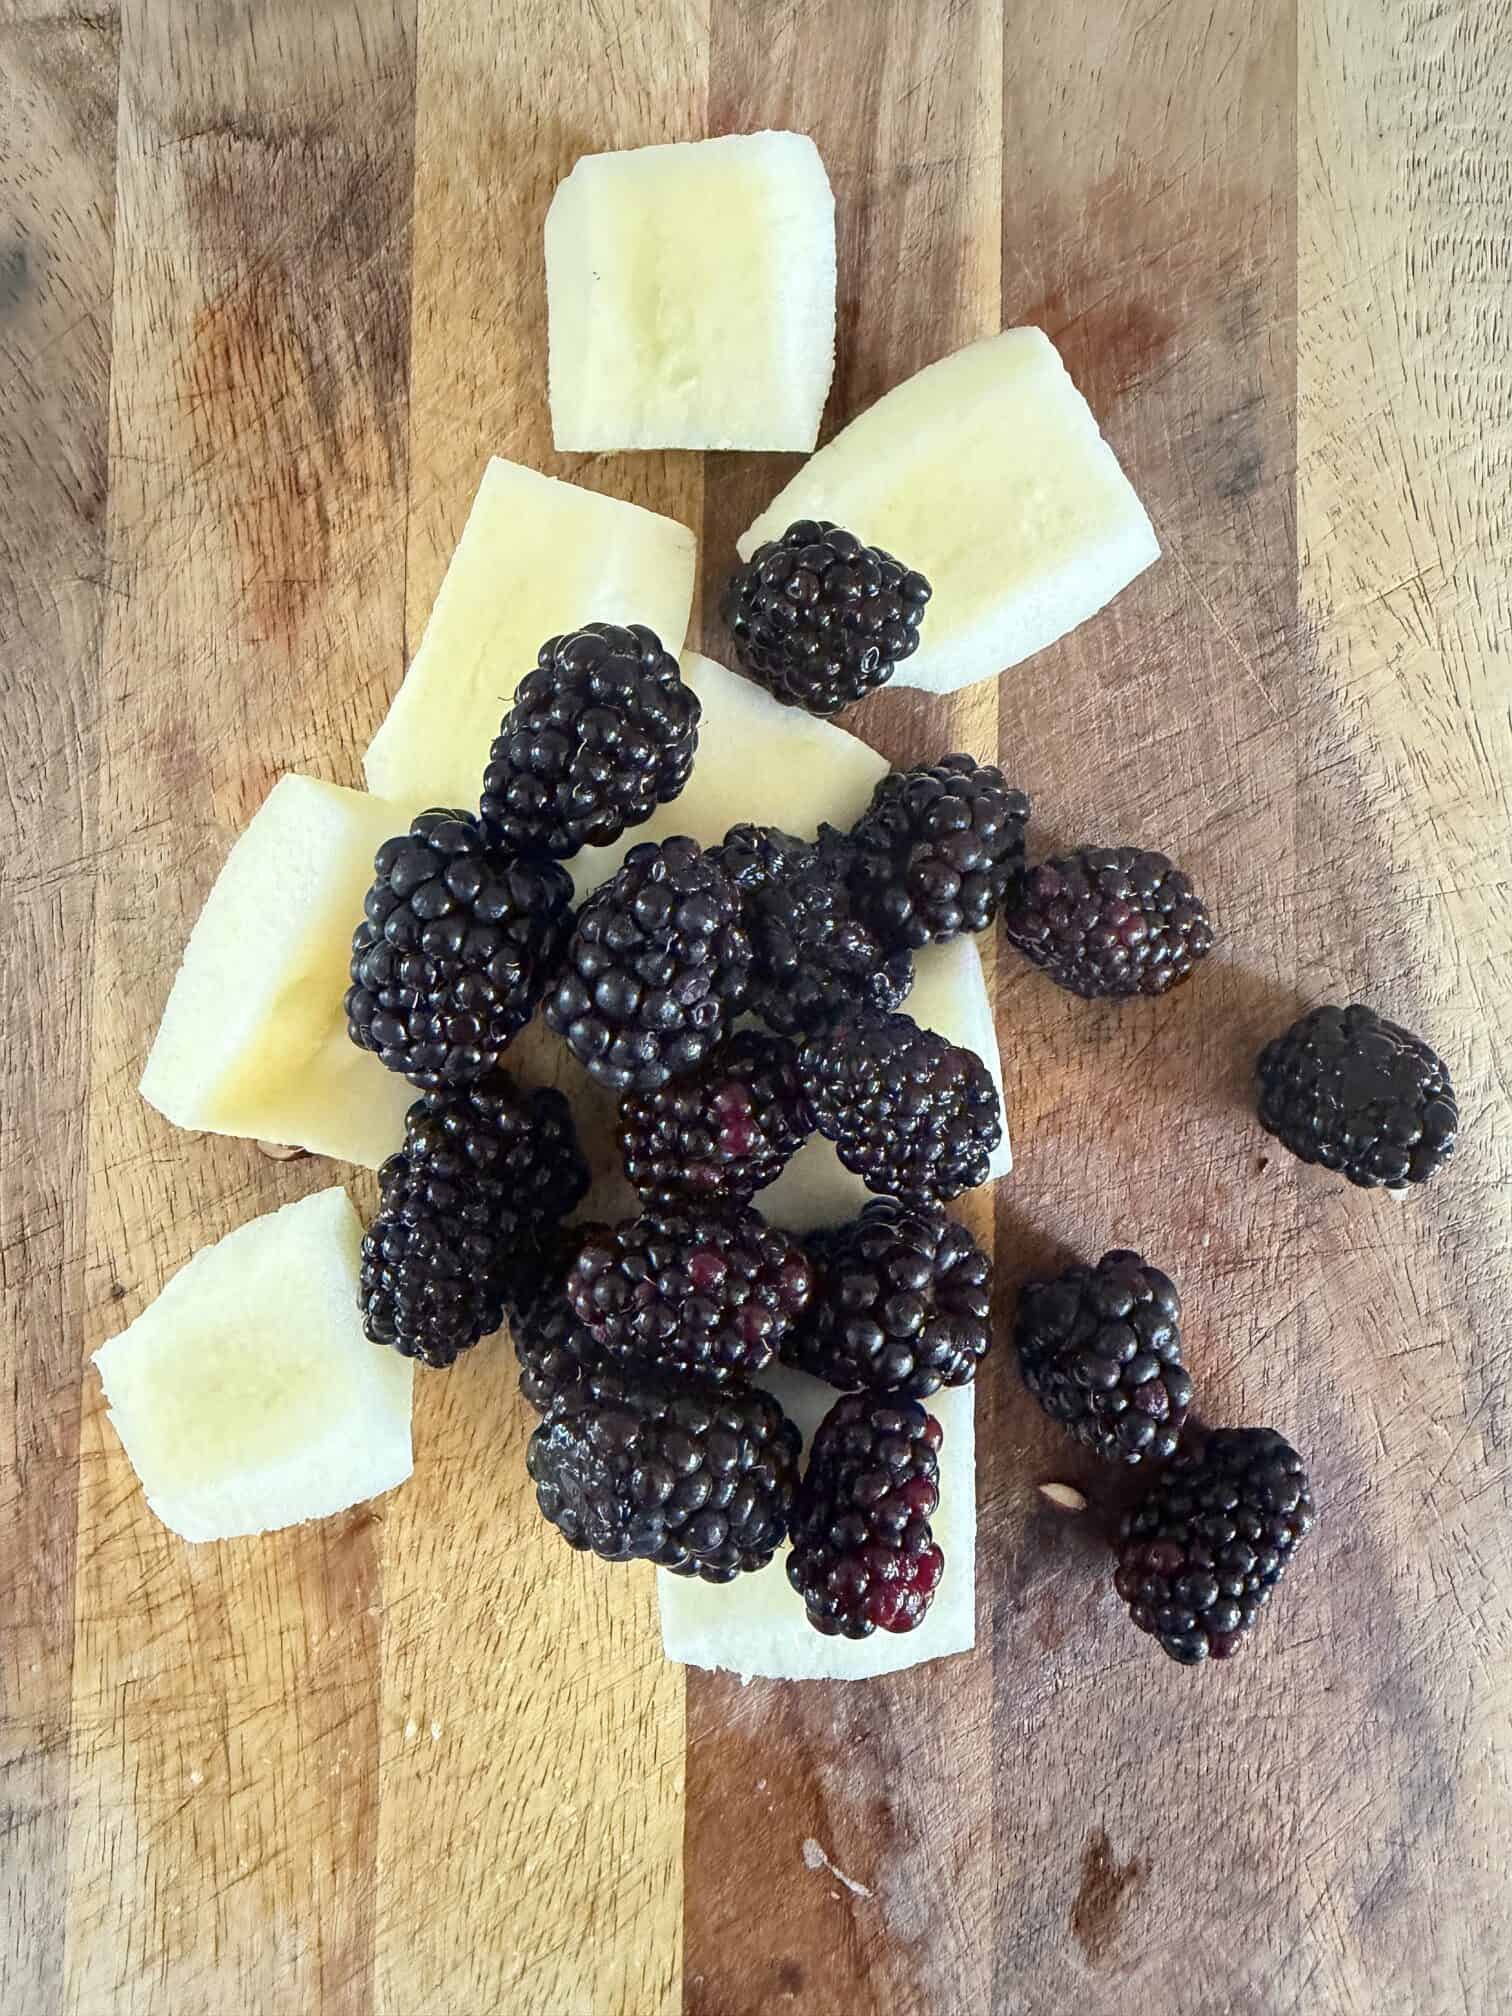
2: Make the blackberry and apple layer – Peel and core the apples, then add them to the blender with the blackberries, 10 tablespoon coconut milk and 2 teaspoon honey. Blend until smooth, pour into a separate glass and set aside.
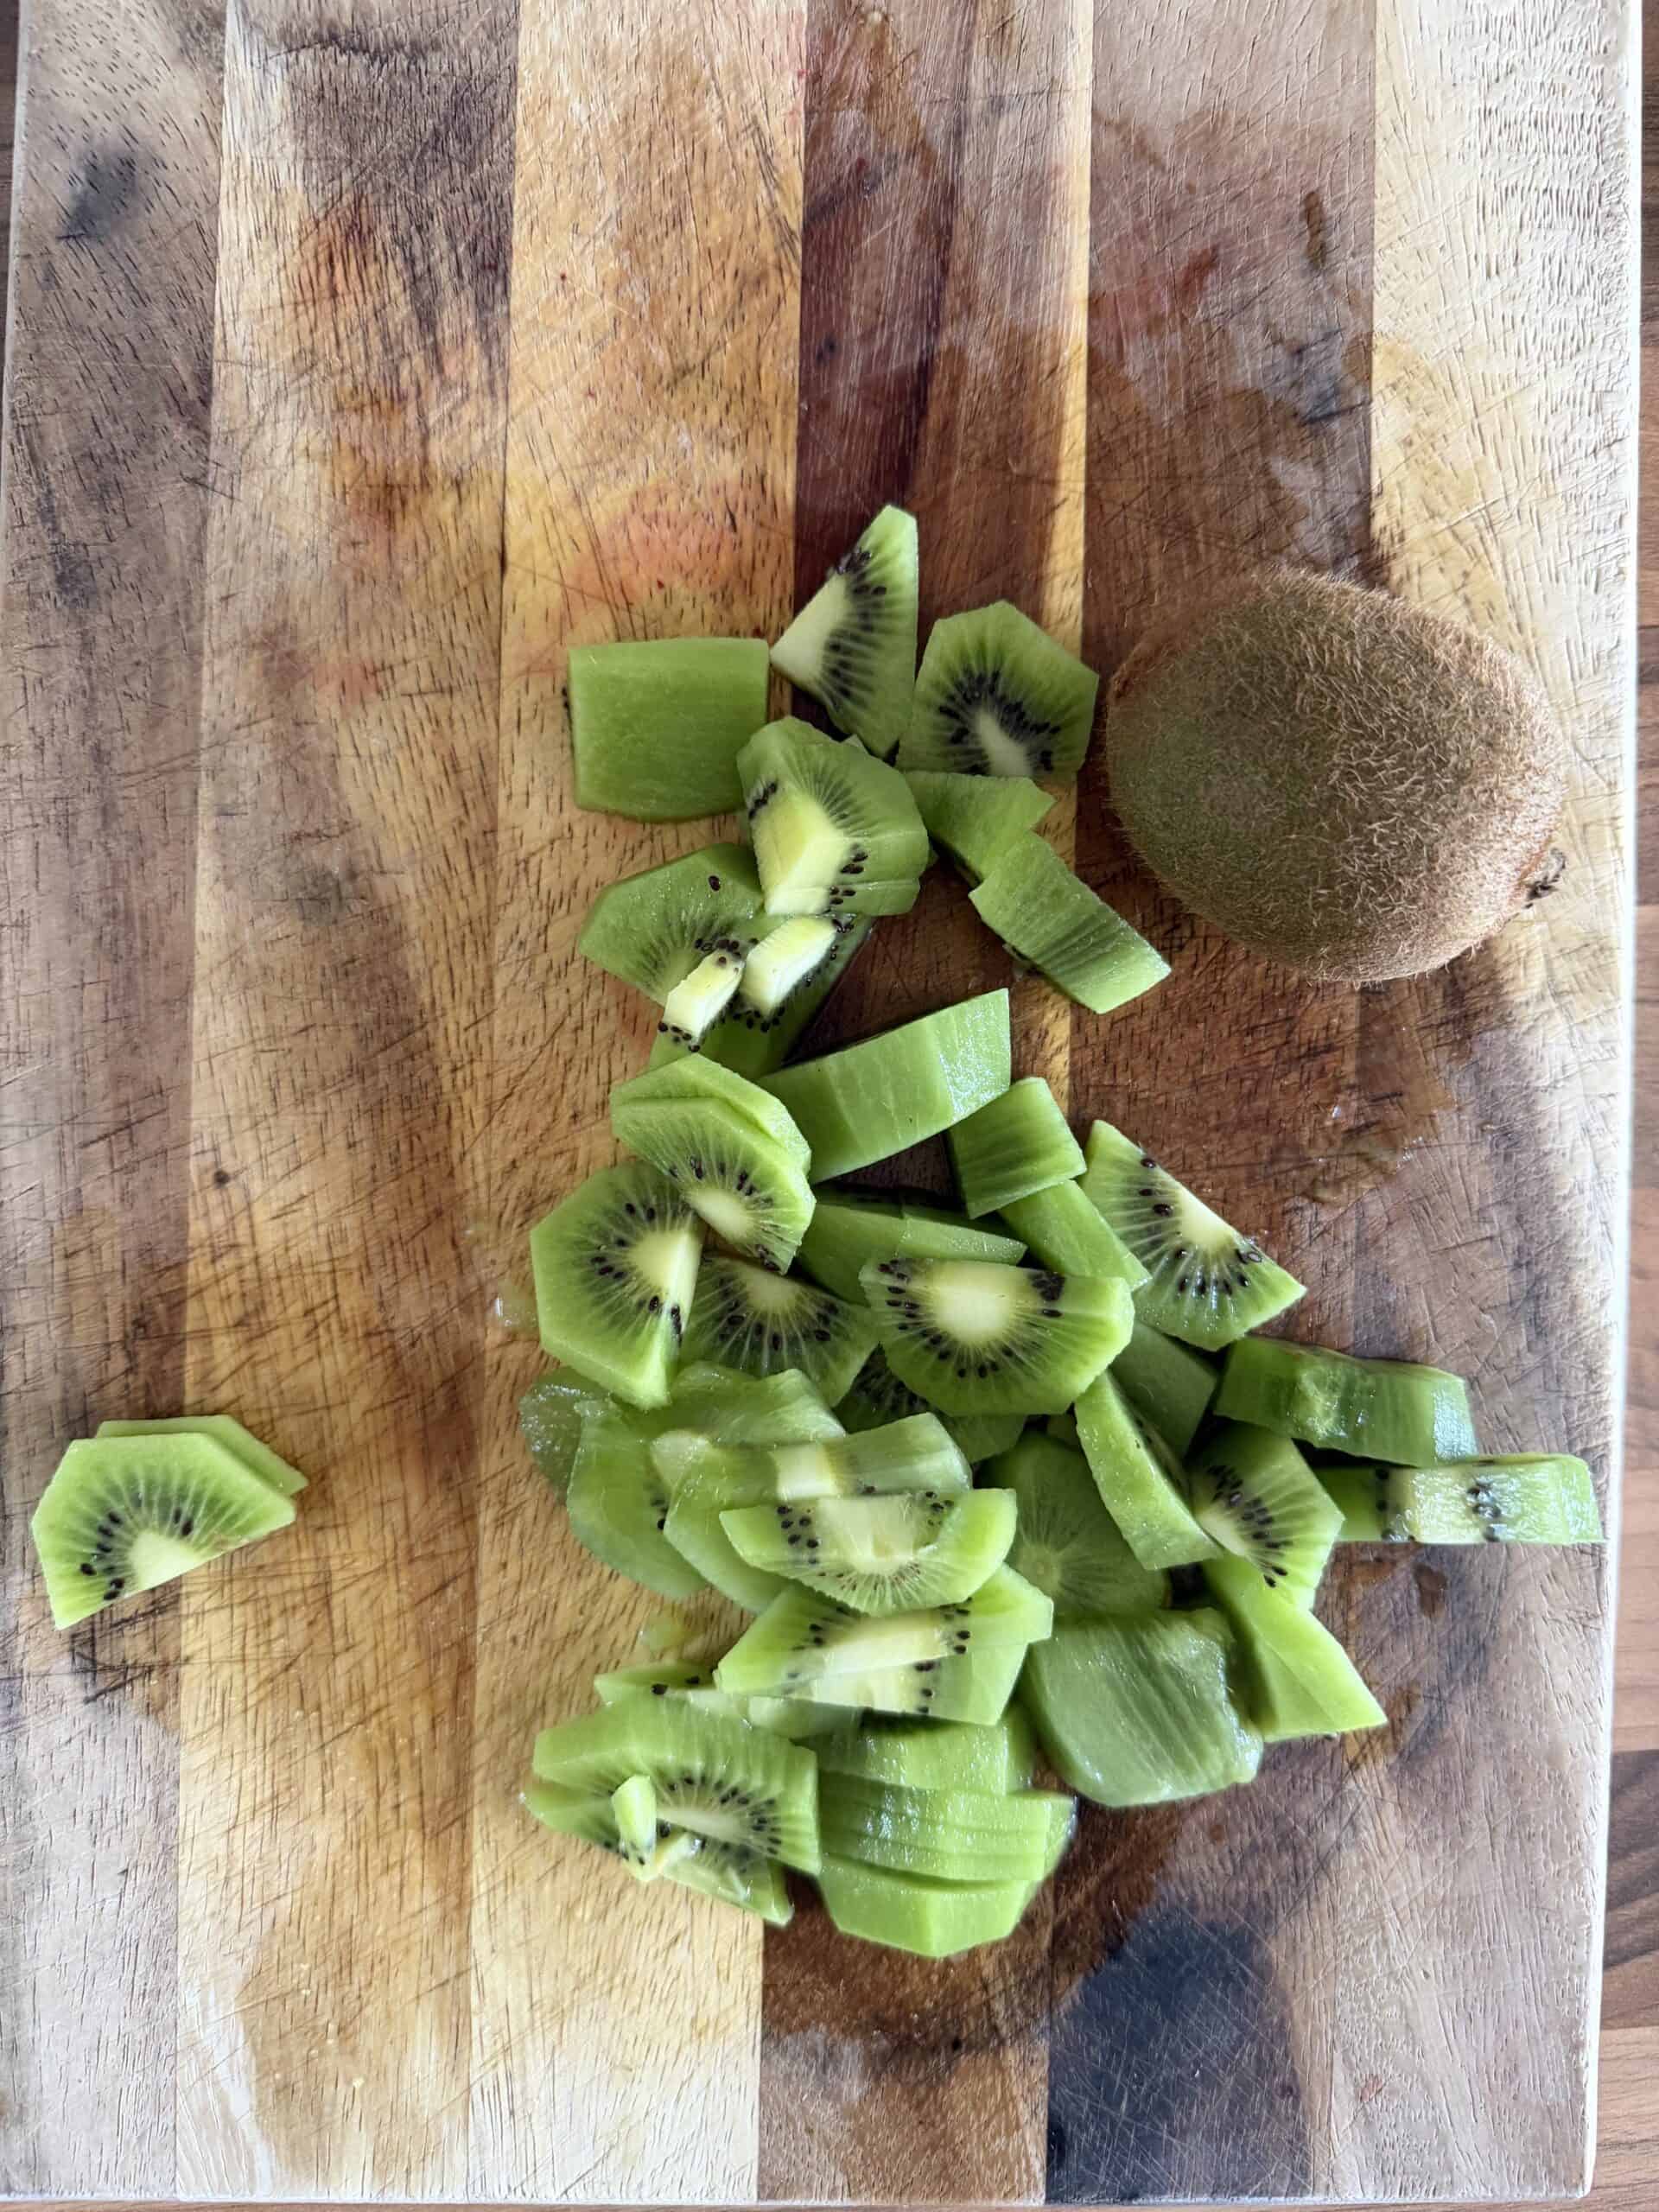
3: Make the kiwi layer – Peel the kiwi fruit and blend with 10 tablespoon coconut milk and 2 teaspoon honey until smooth.
Pour into a glass and set aside
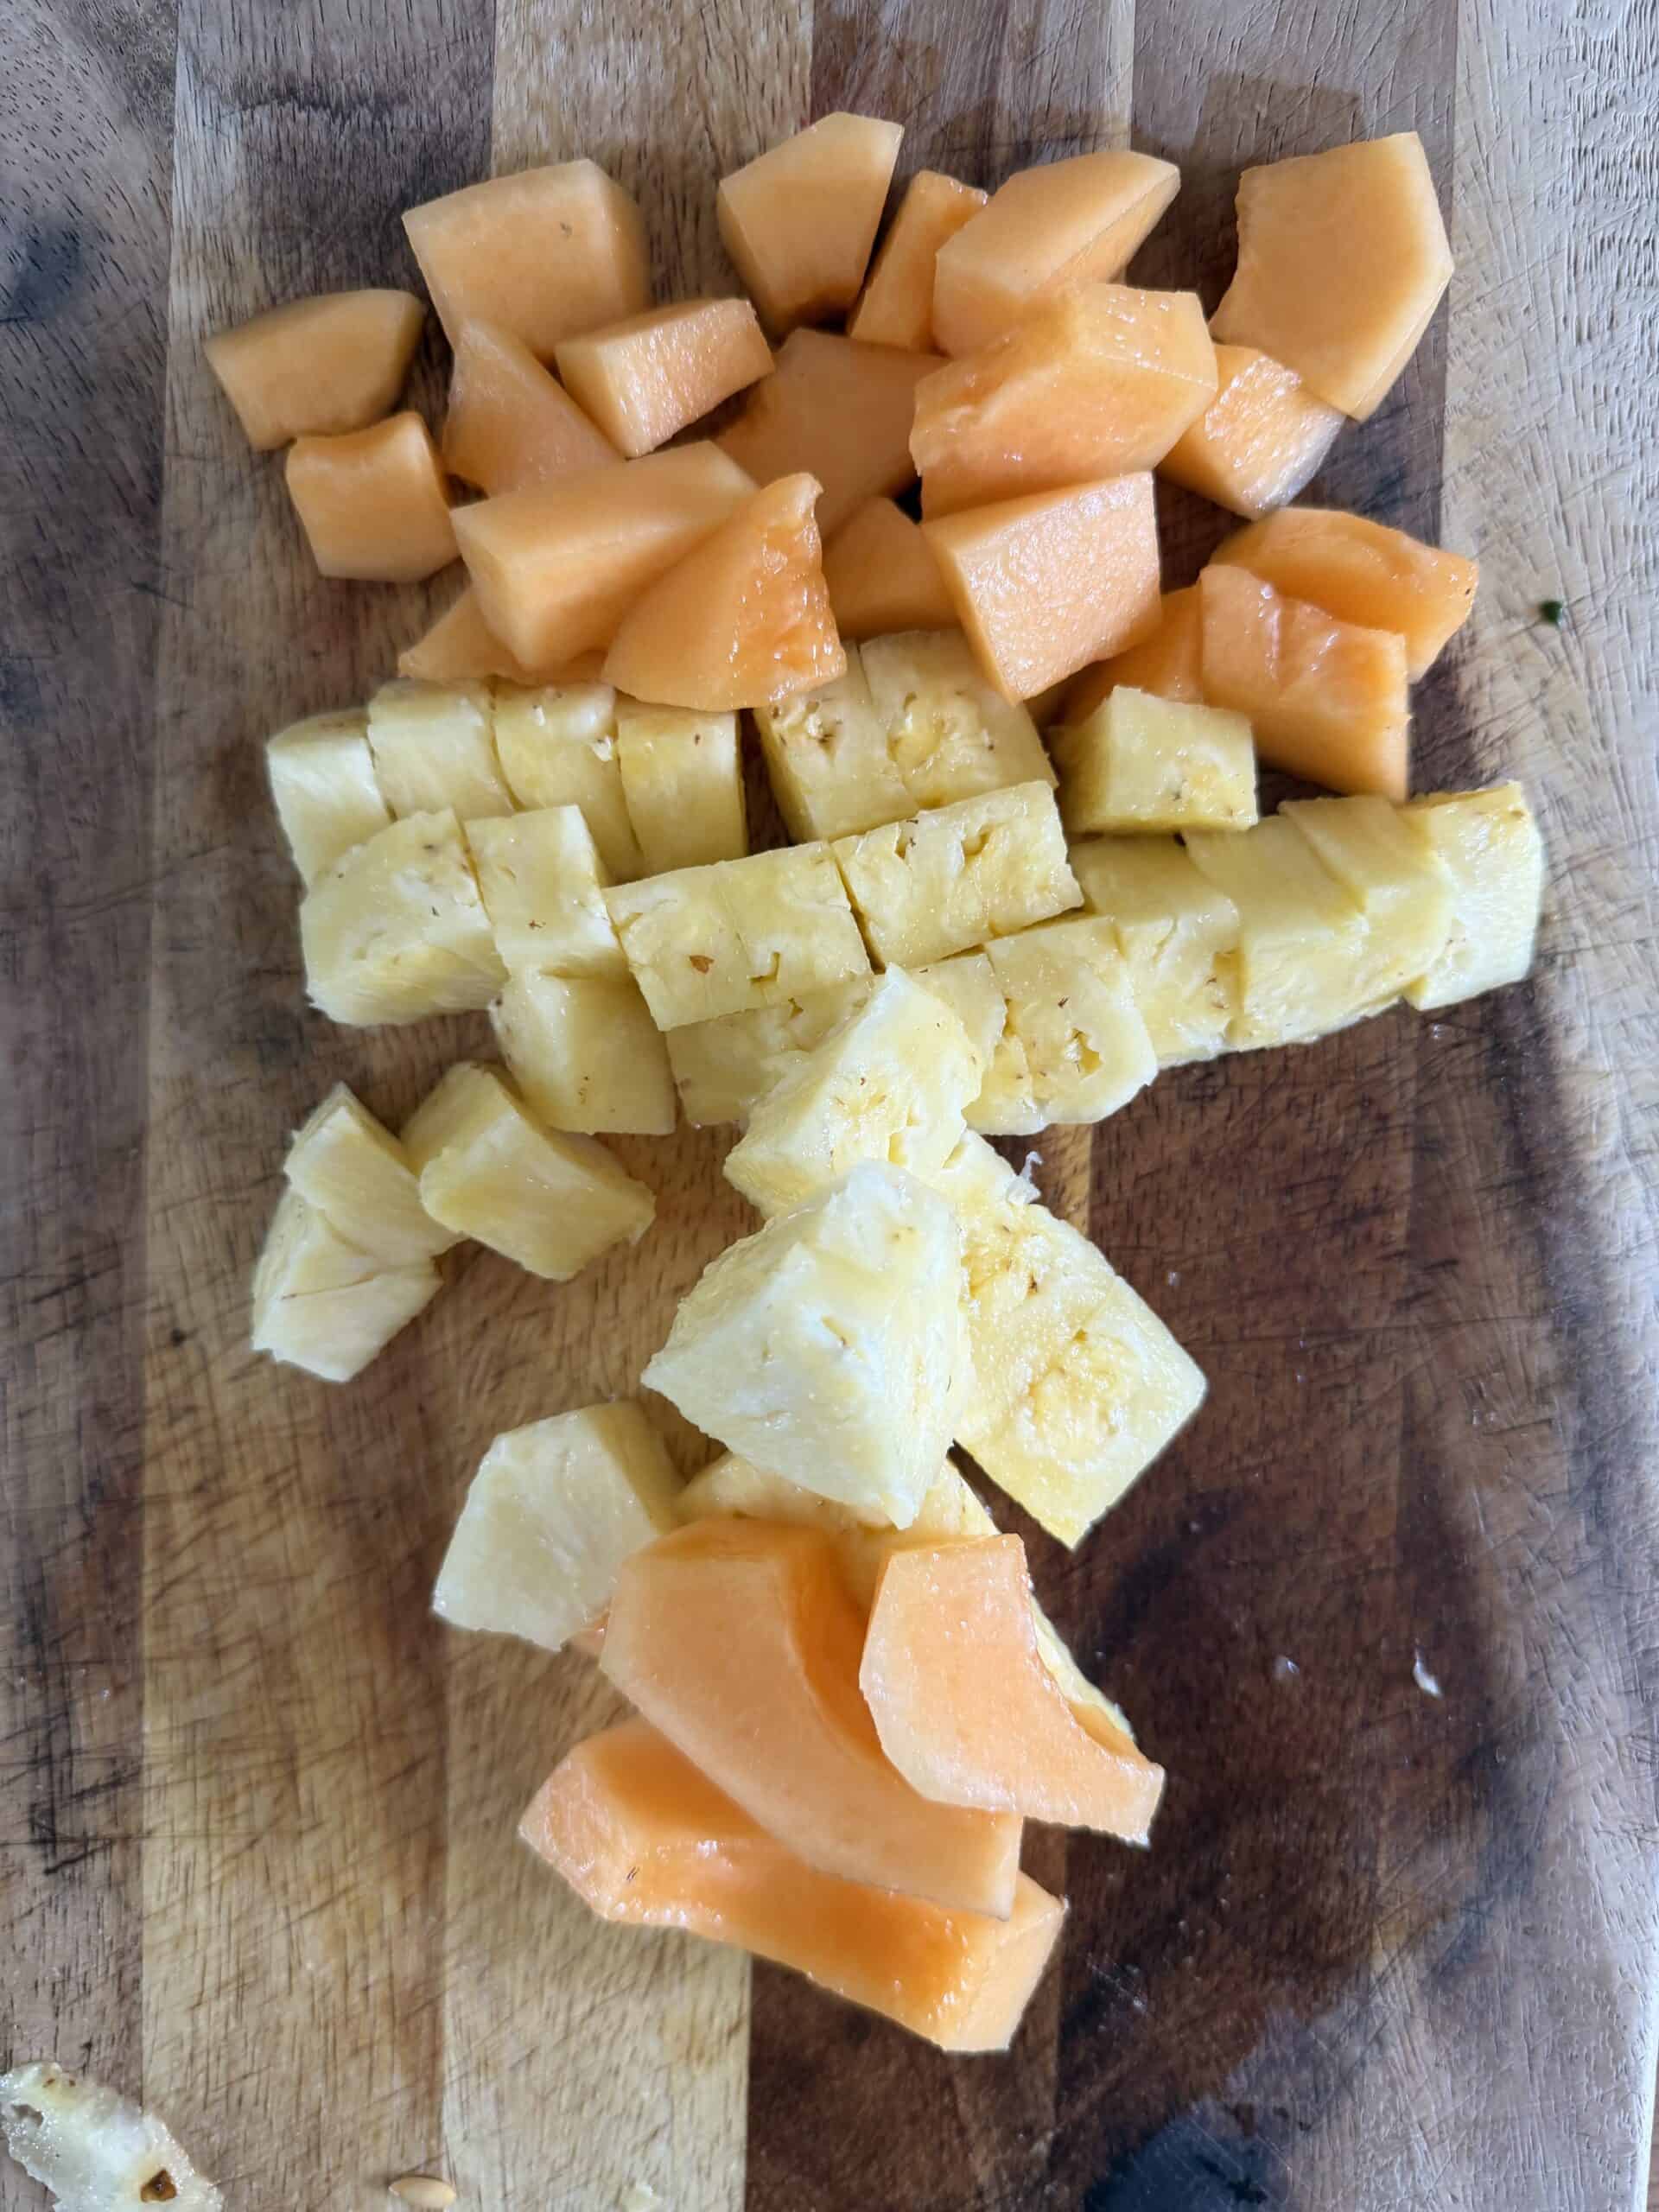
4: Make the pineapple and melon layer – Add the chopped pineapple, chopped melon, 10 tablespoon coconut milk and 2 teaspoon honey to the blender. Blend until smooth, then pour into a glass and set aside.
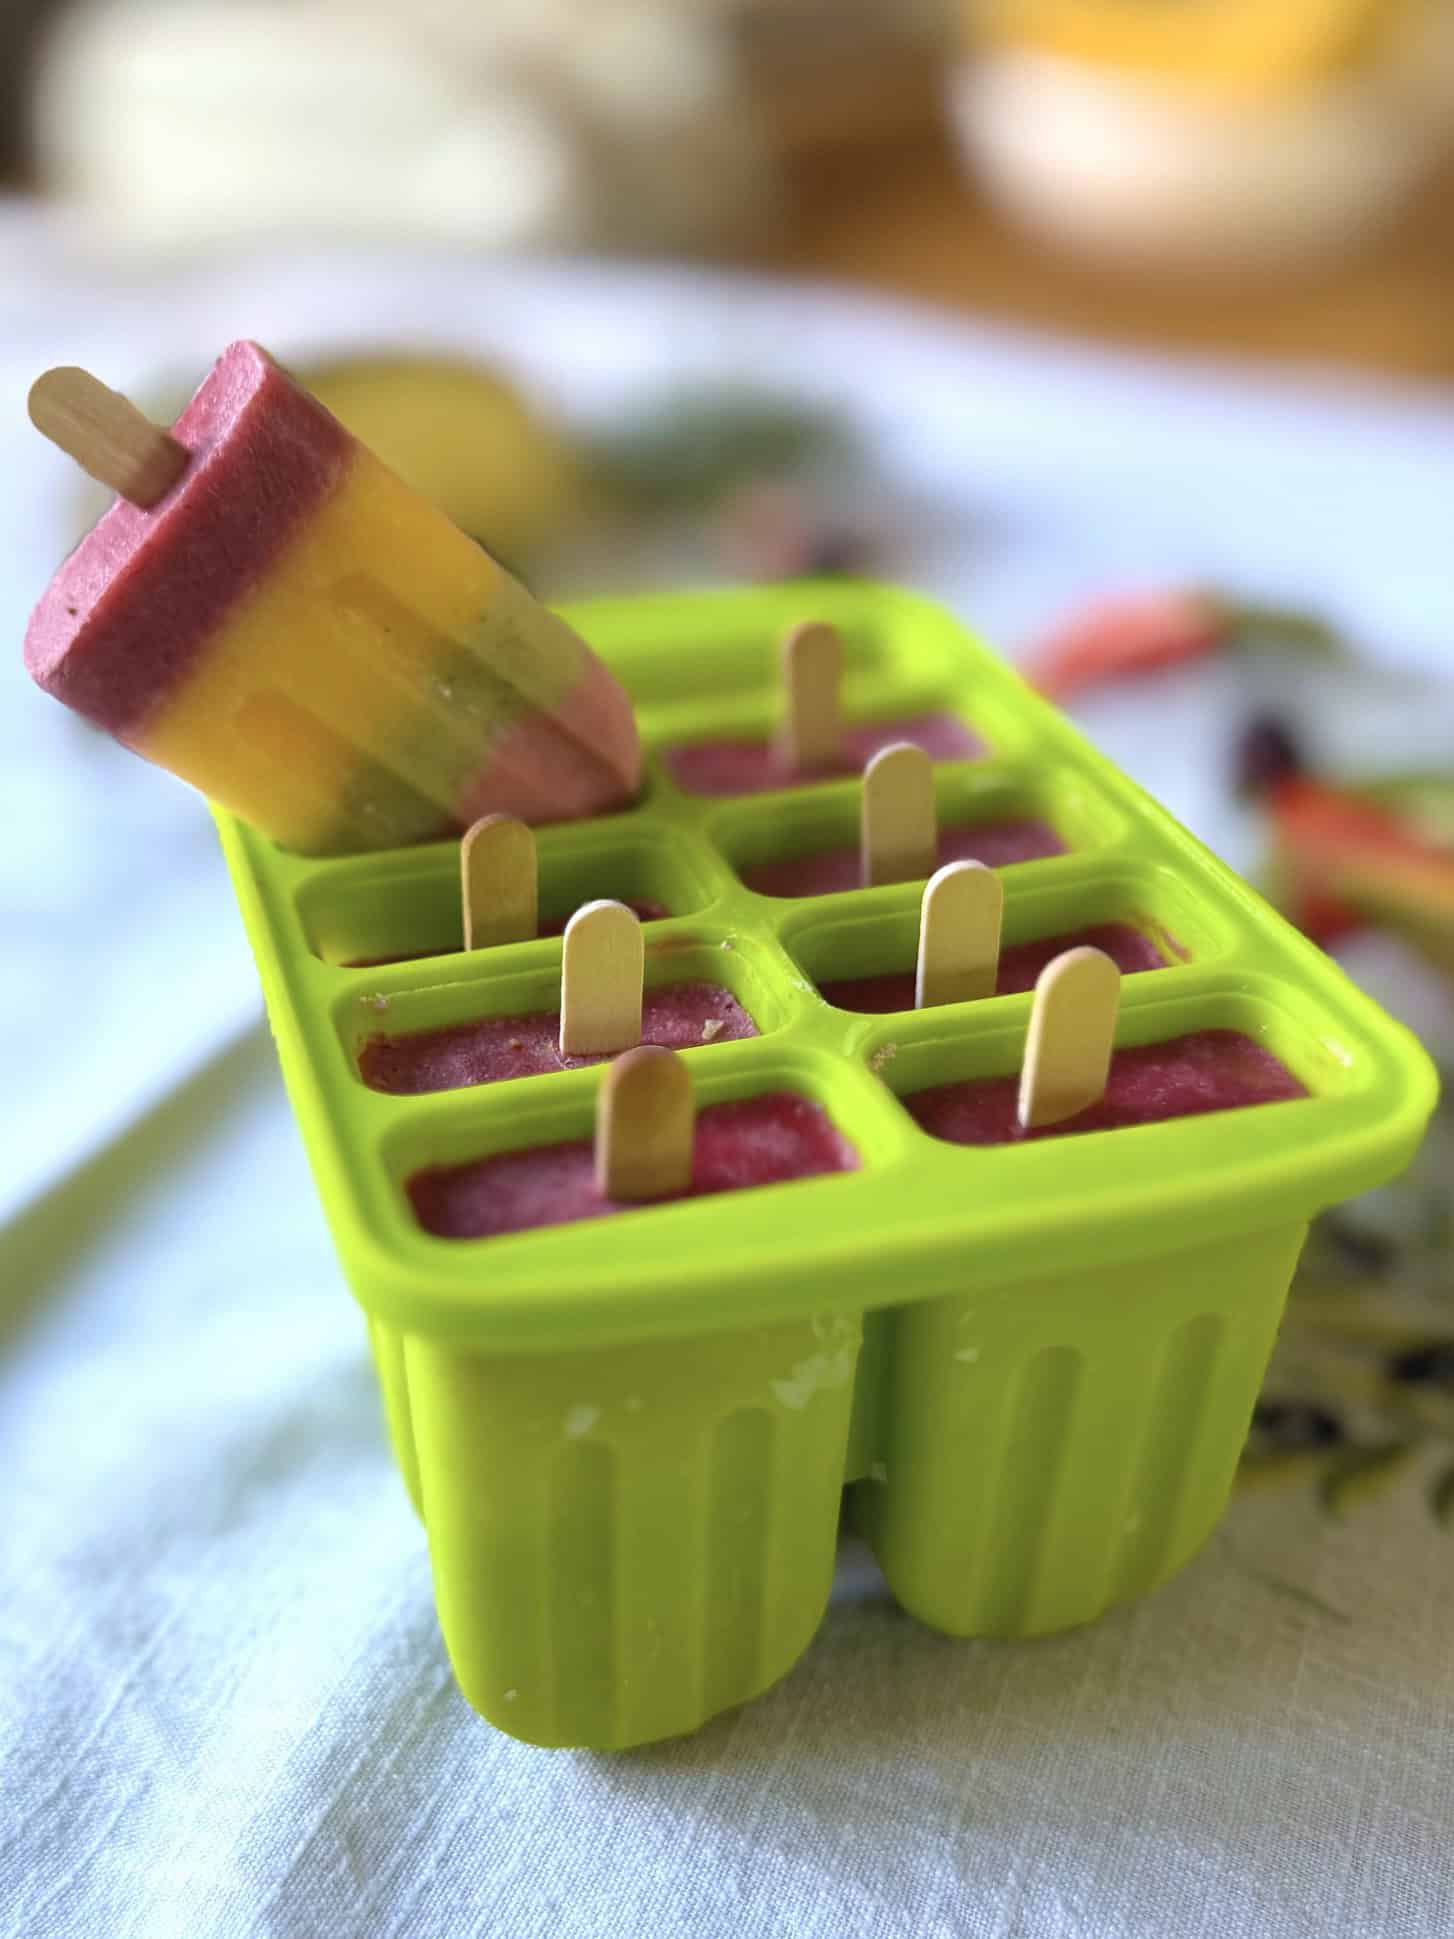
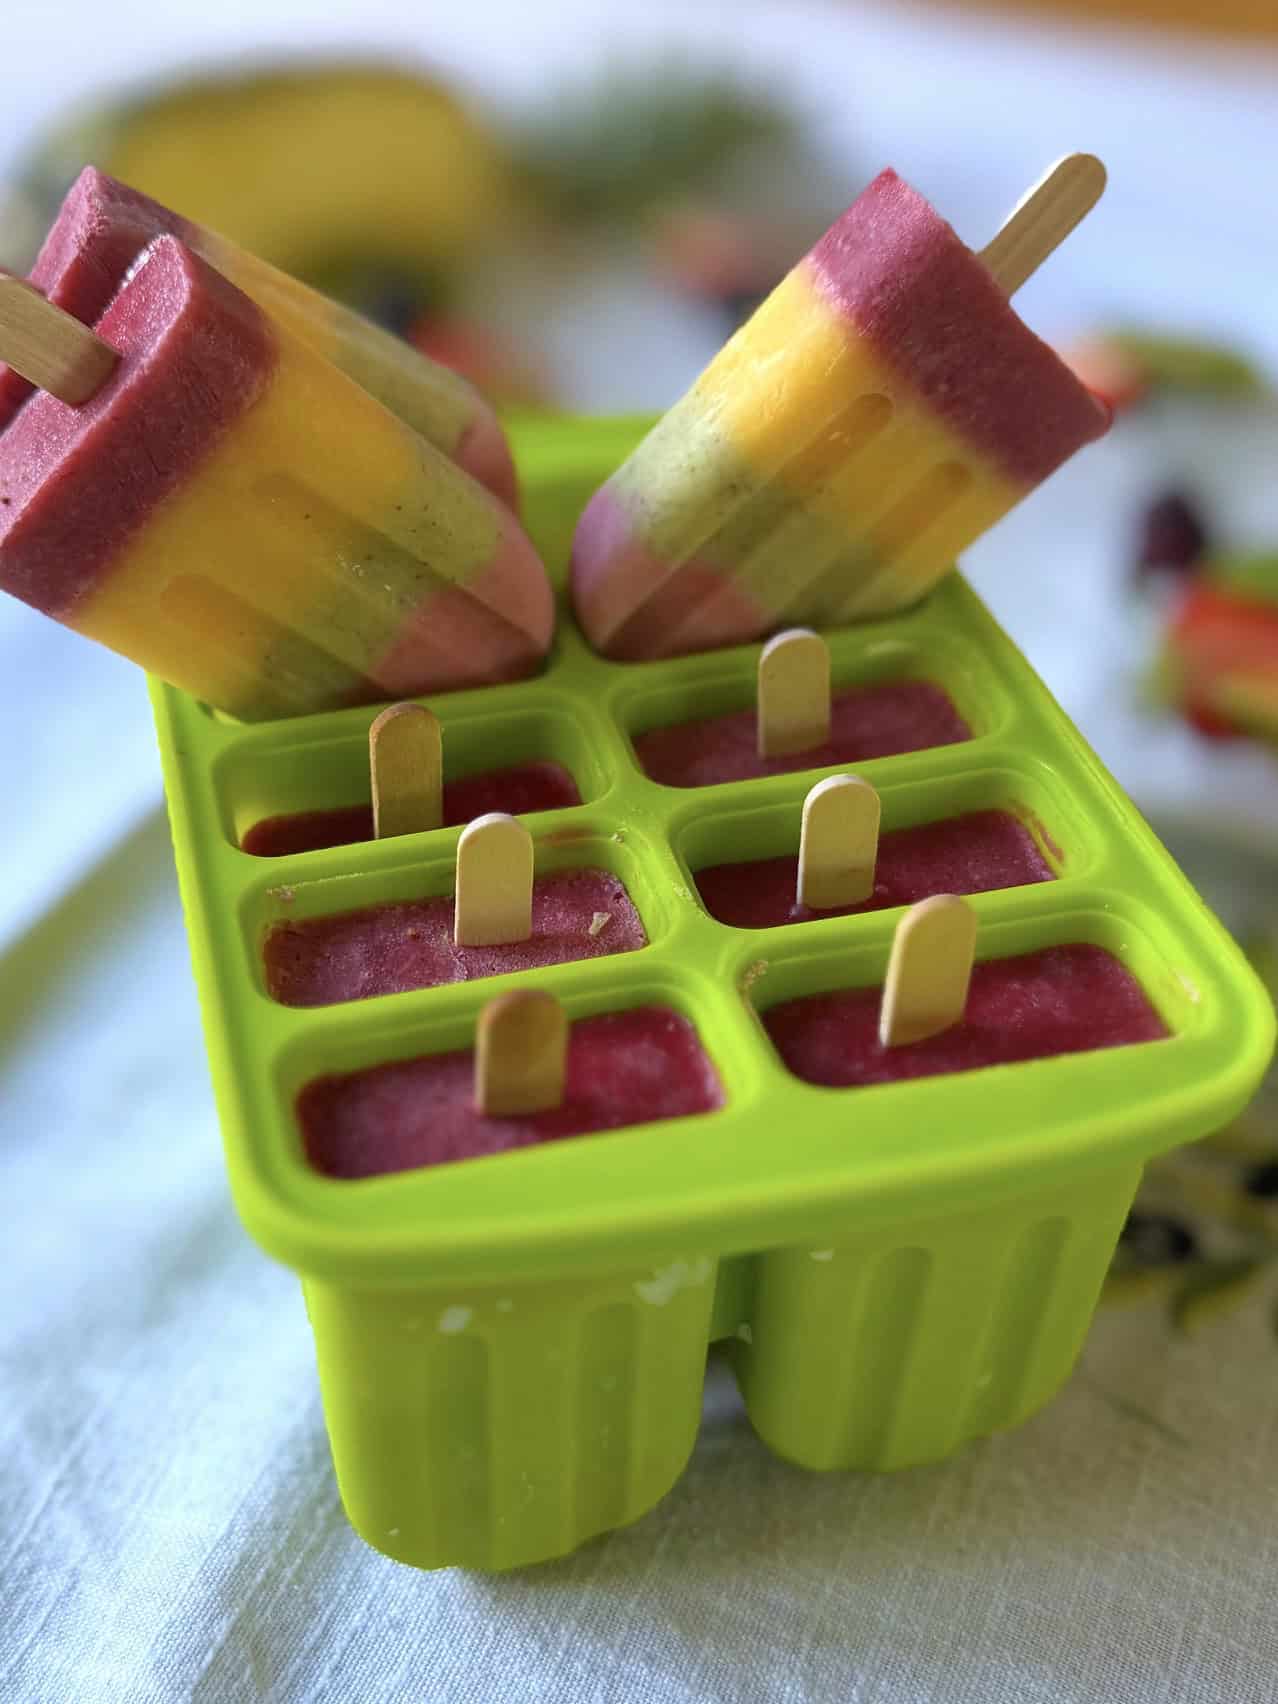
5: Layer the popsicles – carefully pour the first fruit layer into your ice lolly moulds, trying not to splash the mixture onto the sides. Add the sticks and freeze until the layer is set. Once the first layer is firm, carefully pour in the next fruit layer. Freeze before adding the next layer, repeat until all layers have been added.
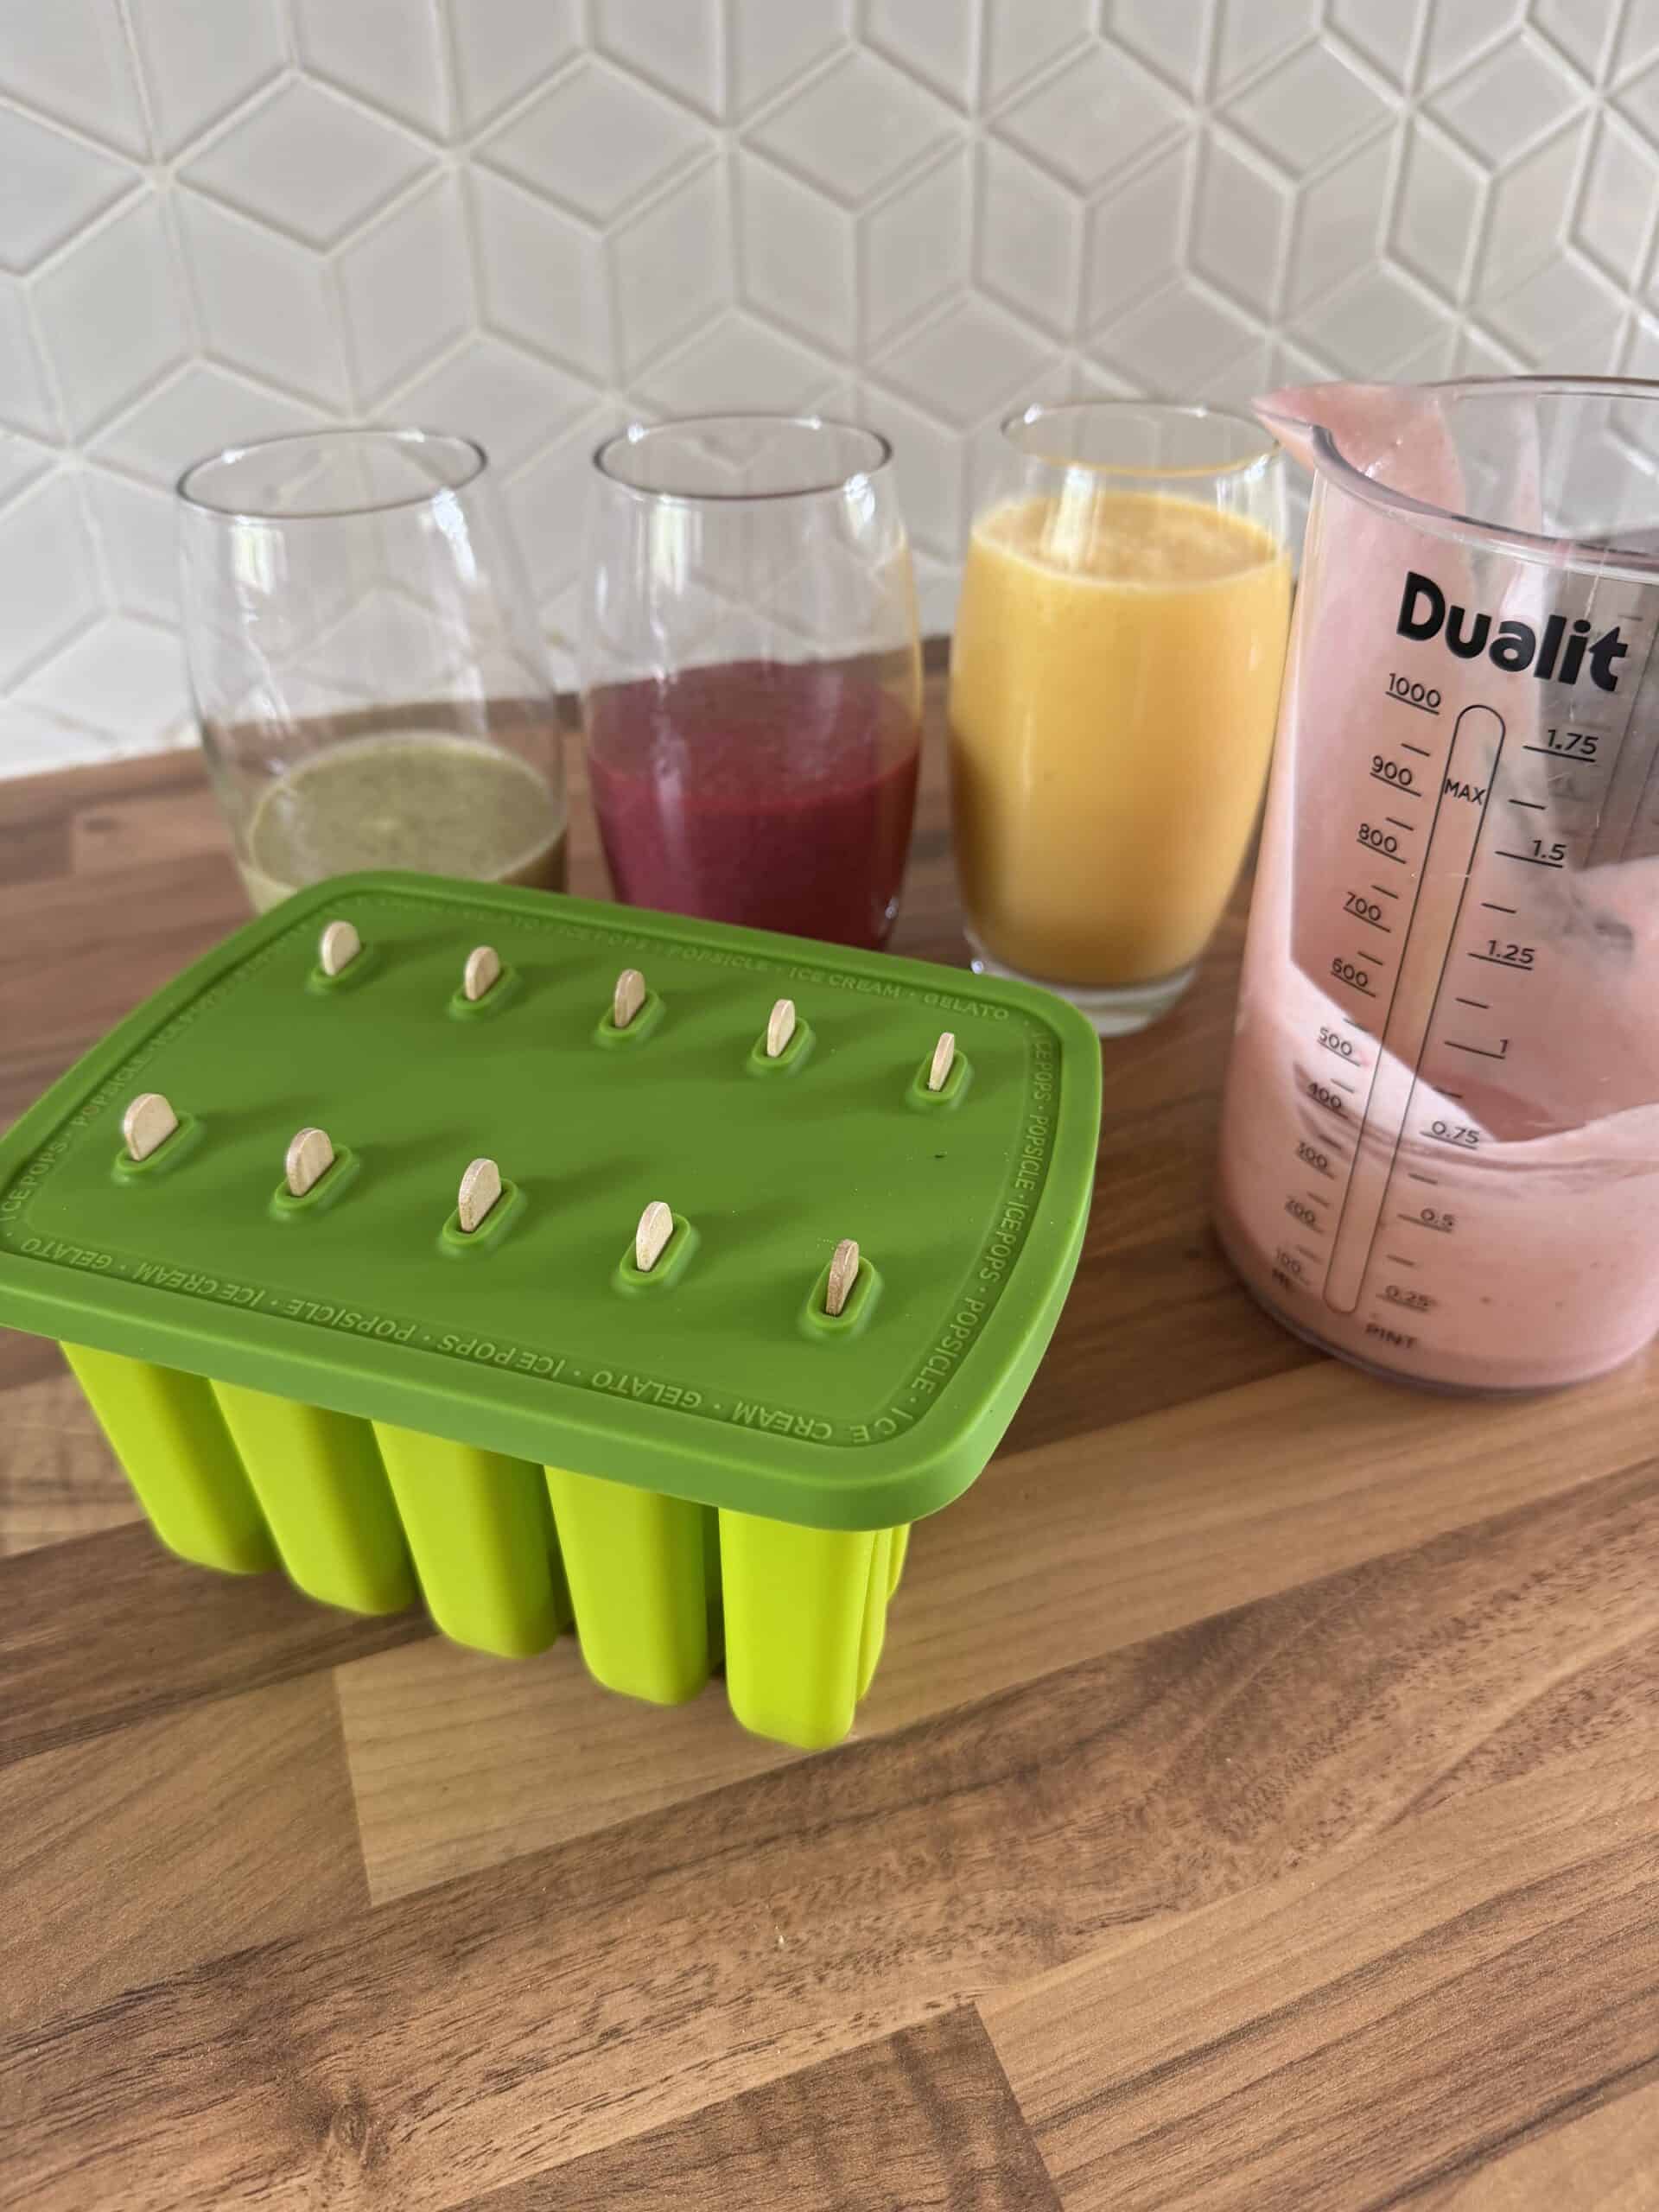
6: Freeze until firm – Leave the rainbow popsicles to freeze completely.
They should be fine after a few hours.
But ideally leave them to freeze overnight, before removing them from the moulds and serving
Serving suggestions for healthy fruit rainbow ice lollies:
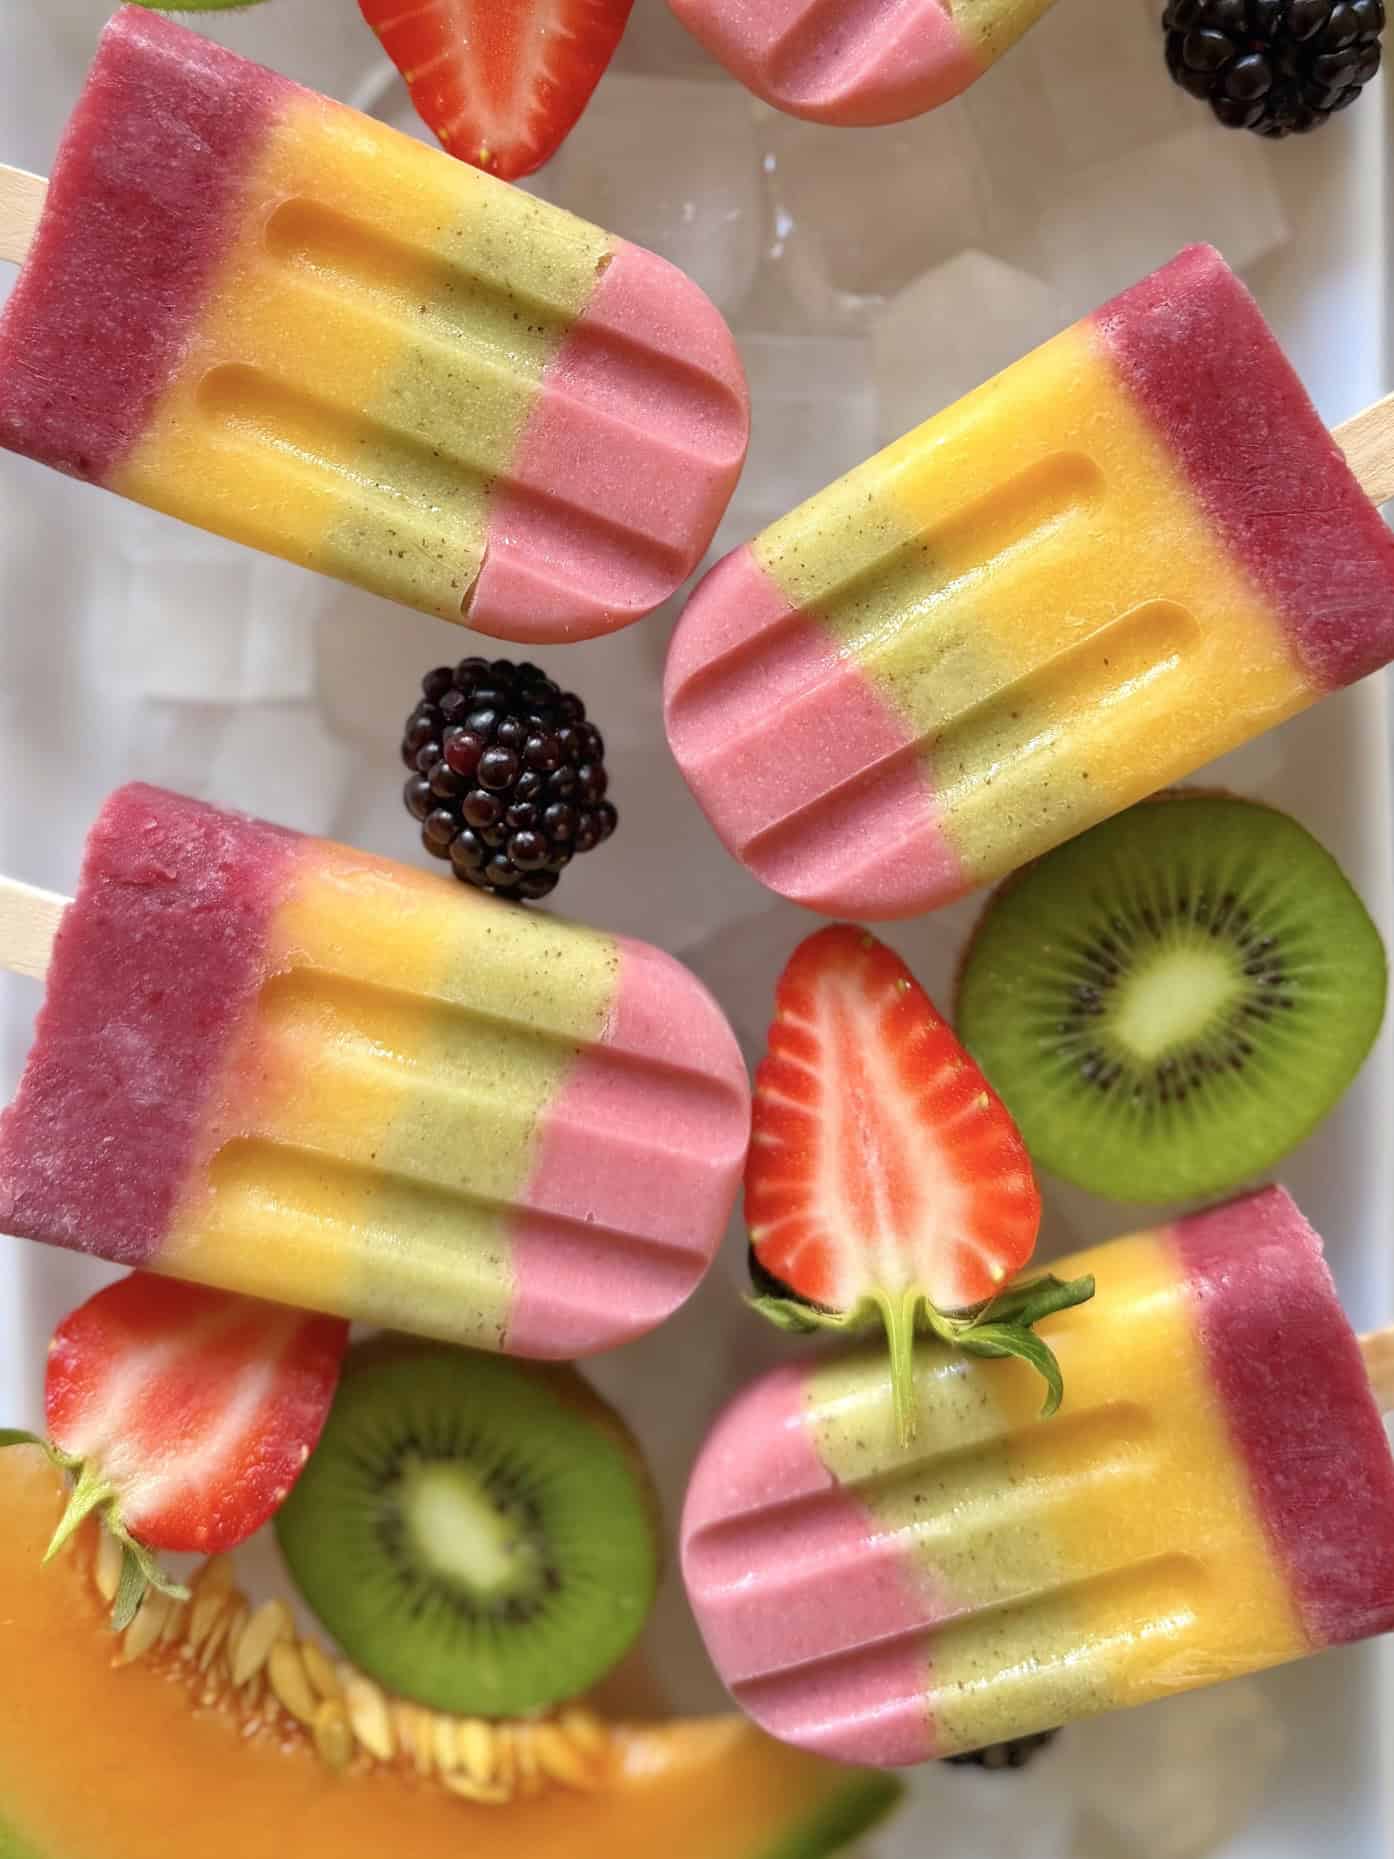
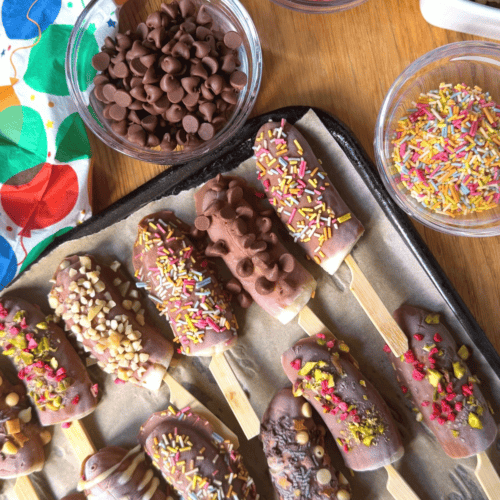
Serve these healthy homemade rainbow popsicles straight from the freezer as a refreshing snack or light dessert. For extra fun, serve them with fresh fruit such as strawberries, mango, kiwi or blueberries. You can also drizzle them with a little melted chocolate or yoghurt for a more dessert-style frozen treat.
- Healthy snacks for kids
- Summer BBQs and garden parties
- Picnics and lunchbox treats
- After-school snacks
- Children's parties
- A fruity dessert after dinner
Variations of rainbow popsicles:
How to store and freeze Homemade fruit popsicles:
These healthy homemade rainbow popsicles are perfect for making ahead and keeping in the freezer for easy snacks, summer treats, or healthy frozen treats for kids. Once the fruit ice lollies are fully frozen, you can leave them in the popsicle moulds or remove them and store them separately.
For best results, freeze the rainbow popsicles for at least 6 hours, or until completely solid. Overnight freezing works really well, especially if you are making layered rainbow ice lollies, as it gives each layer time to set properly.
Homemade rainbow popsicles are best enjoyed within 1-2 months for the freshest flavour and best texture. They will still be safe to eat after this, but the fruit flavour and creamy texture may not be quite as good.
If your popsicles are difficult to remove from the mould, run the outside of the mould under warm water for a few seconds. Be careful not to use hot water for too long, as this can start to melt the fruit ice lollies.
For lunchboxes, picnics, or hot days, keep the popsicles in a cool bag with ice packs until ready to serve. Because these ice lollies are made with real fruit and naturally sweet ingredients, they may melt a little faster than shop-bought popsicles.

- Use ripe fruit for the sweetest flavour – The riper the fruit, the sweeter and tastier your popsicles will be. Mango, strawberries, banana, pineapple and peaches are great choices because they add natural sweetness without needing lots of extra sugar.
- Blend each colour separately – For bright rainbow popsicles, blend each fruit layer on its own. This helps keep the colours clear and beautiful instead of mixing together. Try strawberries for red, mango for yellow, kiwi for green and blueberries for purple.
- Freeze each layer before adding the next – For neat rainbow layers, pour one fruit mixture into the mould and freeze it until slightly firm before adding the next layer. This helps create those lovely colourful stripes in homemade rainbow popsicles.
- Taste before freezing – Always taste each fruit mixture before pouring it into the moulds. If the fruit is not sweet enough, add a little honey, maple syrup or a ripe banana for natural sweetness.
- Run the mould under warm water – If the popsicles are hard to remove, run the outside of the mould under warm water for a few seconds. This helps loosen the fruit ice lollies without melting them too much.
- Make them fun for kids – Let children help choose the fruit colours, pour the layers or add the sticks. These rainbow ice lollies are a fun way to serve healthy snacks for kids, especially on warm days.
FAQ
How to make the best fruit popsicles?
To make the best fruit popsicles, use ripe, naturally sweet fruit for the brightest flavour and colour. For healthy homemade rainbow popsicles, blend each fruit separately with a little yoghurt, coconut milk, fruit juice, or water, then layer the mixtures into popsicle moulds. Freeze each layer slightly before adding the next one to create a clear rainbow popsicle effect. Using real fruit gives these ice lollies a fresh, naturally sweet taste without needing lots of added sugar.
Can you use frozen fruit for popsicles?
Yes, you can use frozen fruit for popsicles. Frozen fruit works really well in a rainbow popsicle recipe because it is often picked at peak ripeness and blends into a thick, smooth mixture. Let the fruit soften slightly before blending, or add a splash of milk, yoghurt, coconut milk, or juice to help it blend easily. Frozen berries, mango, pineapple, and peaches are all great choices for homemade rainbow popsicles and fruit ice lollies.
How to make ice lollies with real fruit?
To make ice lollies with real fruit, blend fresh or frozen fruit until smooth, then pour the mixture into ice lolly moulds. For rainbow ice lollies, prepare different fruit blends in separate colours, such as strawberries for red, mango for yellow, kiwi for green, and blueberries for purple. Layer each colour into the moulds and freeze between layers for the best rainbow effect. These fruit ice lollies recipe ideas are perfect for healthy snacks for kids and refreshing frozen treats.
How to you made popsicles creamy and not icy?
To make popsicles creamy and not icy, add ingredients such as Greek yoghurt, coconut milk, full-fat yoghurt, banana, or blended mango. These ingredients help create a softer, smoother texture in milky ice lollies. Avoid adding too much plain water, as this can make popsicles harder and icier. For creamy rainbow popsicles, blend each fruit with yoghurt or milk before layering into the moulds.
How do you make rainbow popsicles naturally sweetened?
To make rainbow popsicles naturally sweetened, use ripe fruit with plenty of natural sweetness, such as mango, banana, strawberries, peaches, pineapple, and blueberries. If needed, you can add a small amount of honey or maple syrup, but many homemade rainbow popsicle recipes taste sweet enough without any extra sweetener. The key is to choose fruit that is fully ripe and flavourful.
What are the best fruits for homemade rainbow popsicle layers?
The best fruits for homemade rainbow popsicle layers are colourful fruits that blend smoothly. Strawberries, raspberries, mango, pineapple, kiwi, blueberries, blackberries, and banana all work well. You can mix and match fruit from local fruit shops or use frozen fruit from the freezer aisle. These colourful layers make rainbow popsicles fun for children and perfect as healthy frozen treats on warm day
Did you enjoy this recipe? have a question? It would mean so much to me if you please leave a comment and a rating below!
Healthy homemade rainbow popsicles made with real fruit (Naturally sweetened)
Equipment
Ingredients
- ½ banana
- 8 strawberries
- 8 teaspoon Honey
- 40 tablespoon coconut milk Approximately 1 tin
- 2 apples
- handful blackberries
- 4 kiwi
- ½ Pineapple
- ½ Cantaloupe melon
Instructions
- Make the strawberry layer – Add the strawberries, banana, 10 tablespoon coconut milk and 2 teaspoon honey to a blender. Blend until smooth, then pour into a glass and set aside.
- Make the blackberry and apple layer – Peel and core the apples, then add them to the blender with the blackberries, 10 tablespoon coconut milk and 2 teaspoon honey. Blend until smooth, pour into a separate glass and set aside.
- Make the kiwi layer – Peel the kiwi fruit and blend with 10 tablespoon coconut milk and 2 teaspoon honey until smooth. Pour into a glass and set aside.
- Make the pineapple and melon layer – Add the chopped pineapple, chopped melon, 10 tablespoon coconut milk and 2 teaspoon honey to the blender. Blend until smooth, then pour into a glass and set aside.
- Layer the popsicles – Using a small pouring jug, carefully pour the first fruit layer into your ice lolly moulds, trying not to splash the mixture onto the sides. Add the lolly sticks and freeze until the layer is set.
- Add the remaining layers – Once the first layer is firm, carefully pour in the next fruit layer. Freeze fully before adding the next layer, repeating until all the colours have been added.
- Freeze until firm – Leave the rainbow popsicles to freeze completely, ideally overnight, before removing them from the moulds and serving.
Notes
- For the brightest rainbow layers, freeze each layer fully before adding the next one.
- Try not to splash the mixture onto the sides of the moulds when pouring, as this helps keep the layers neat and defined.
- Honey can be swapped for maple syrup if making these popsicles for younger children or for a plant-based option.
- The sweetness of the popsicles will depend on how ripe your fruit is, so taste each blended layer and adjust if needed.
- If the ice lollies are difficult to remove from the moulds, briefly run the outside of the mould under warm water to loosen them.
- These homemade rainbow popsicles are best left to freeze overnight to make sure they are completely set.
Related
Pairing
These are my favorite dishes to serve with [this recipe]: