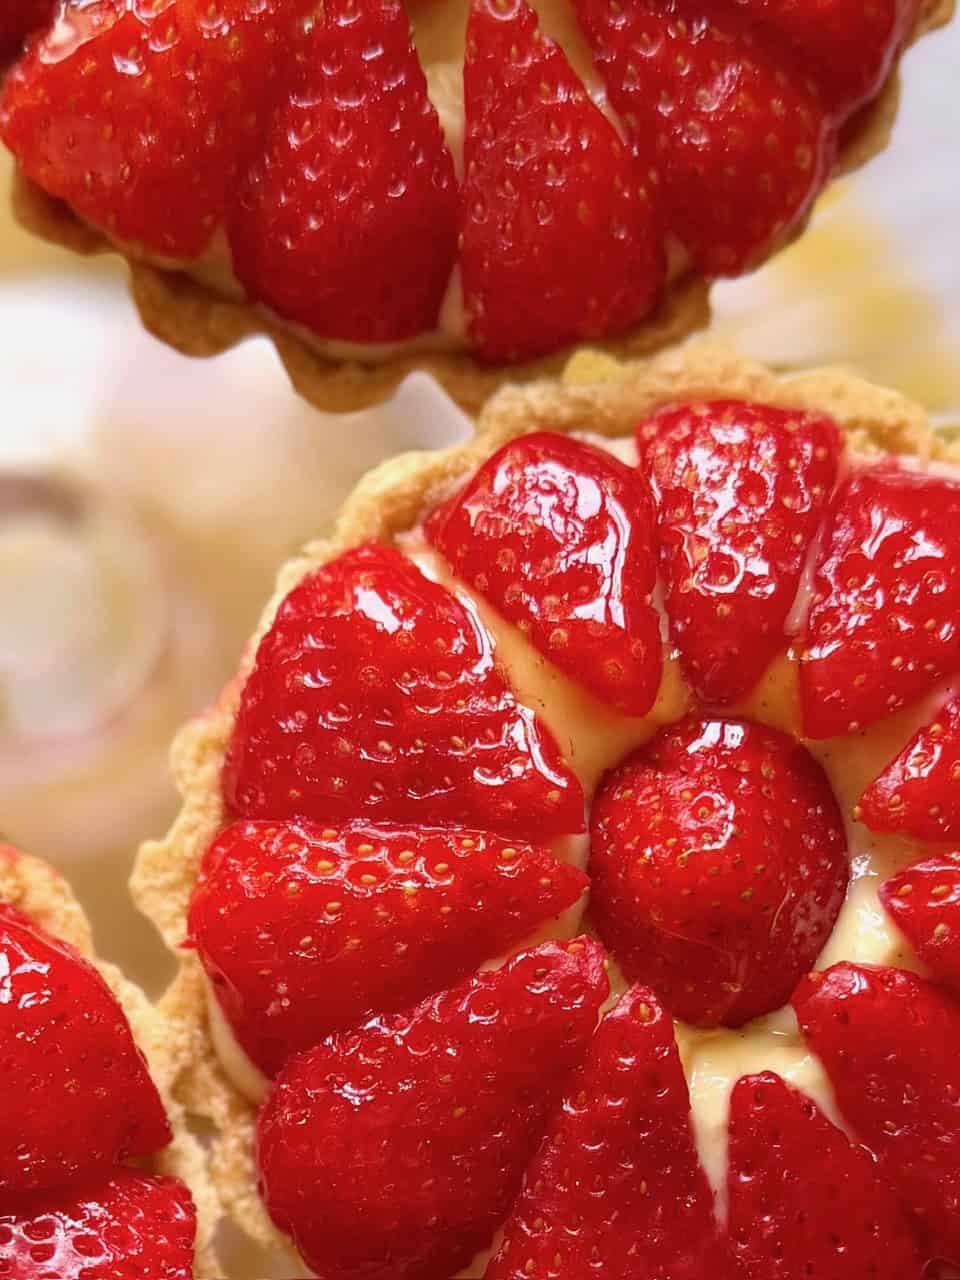
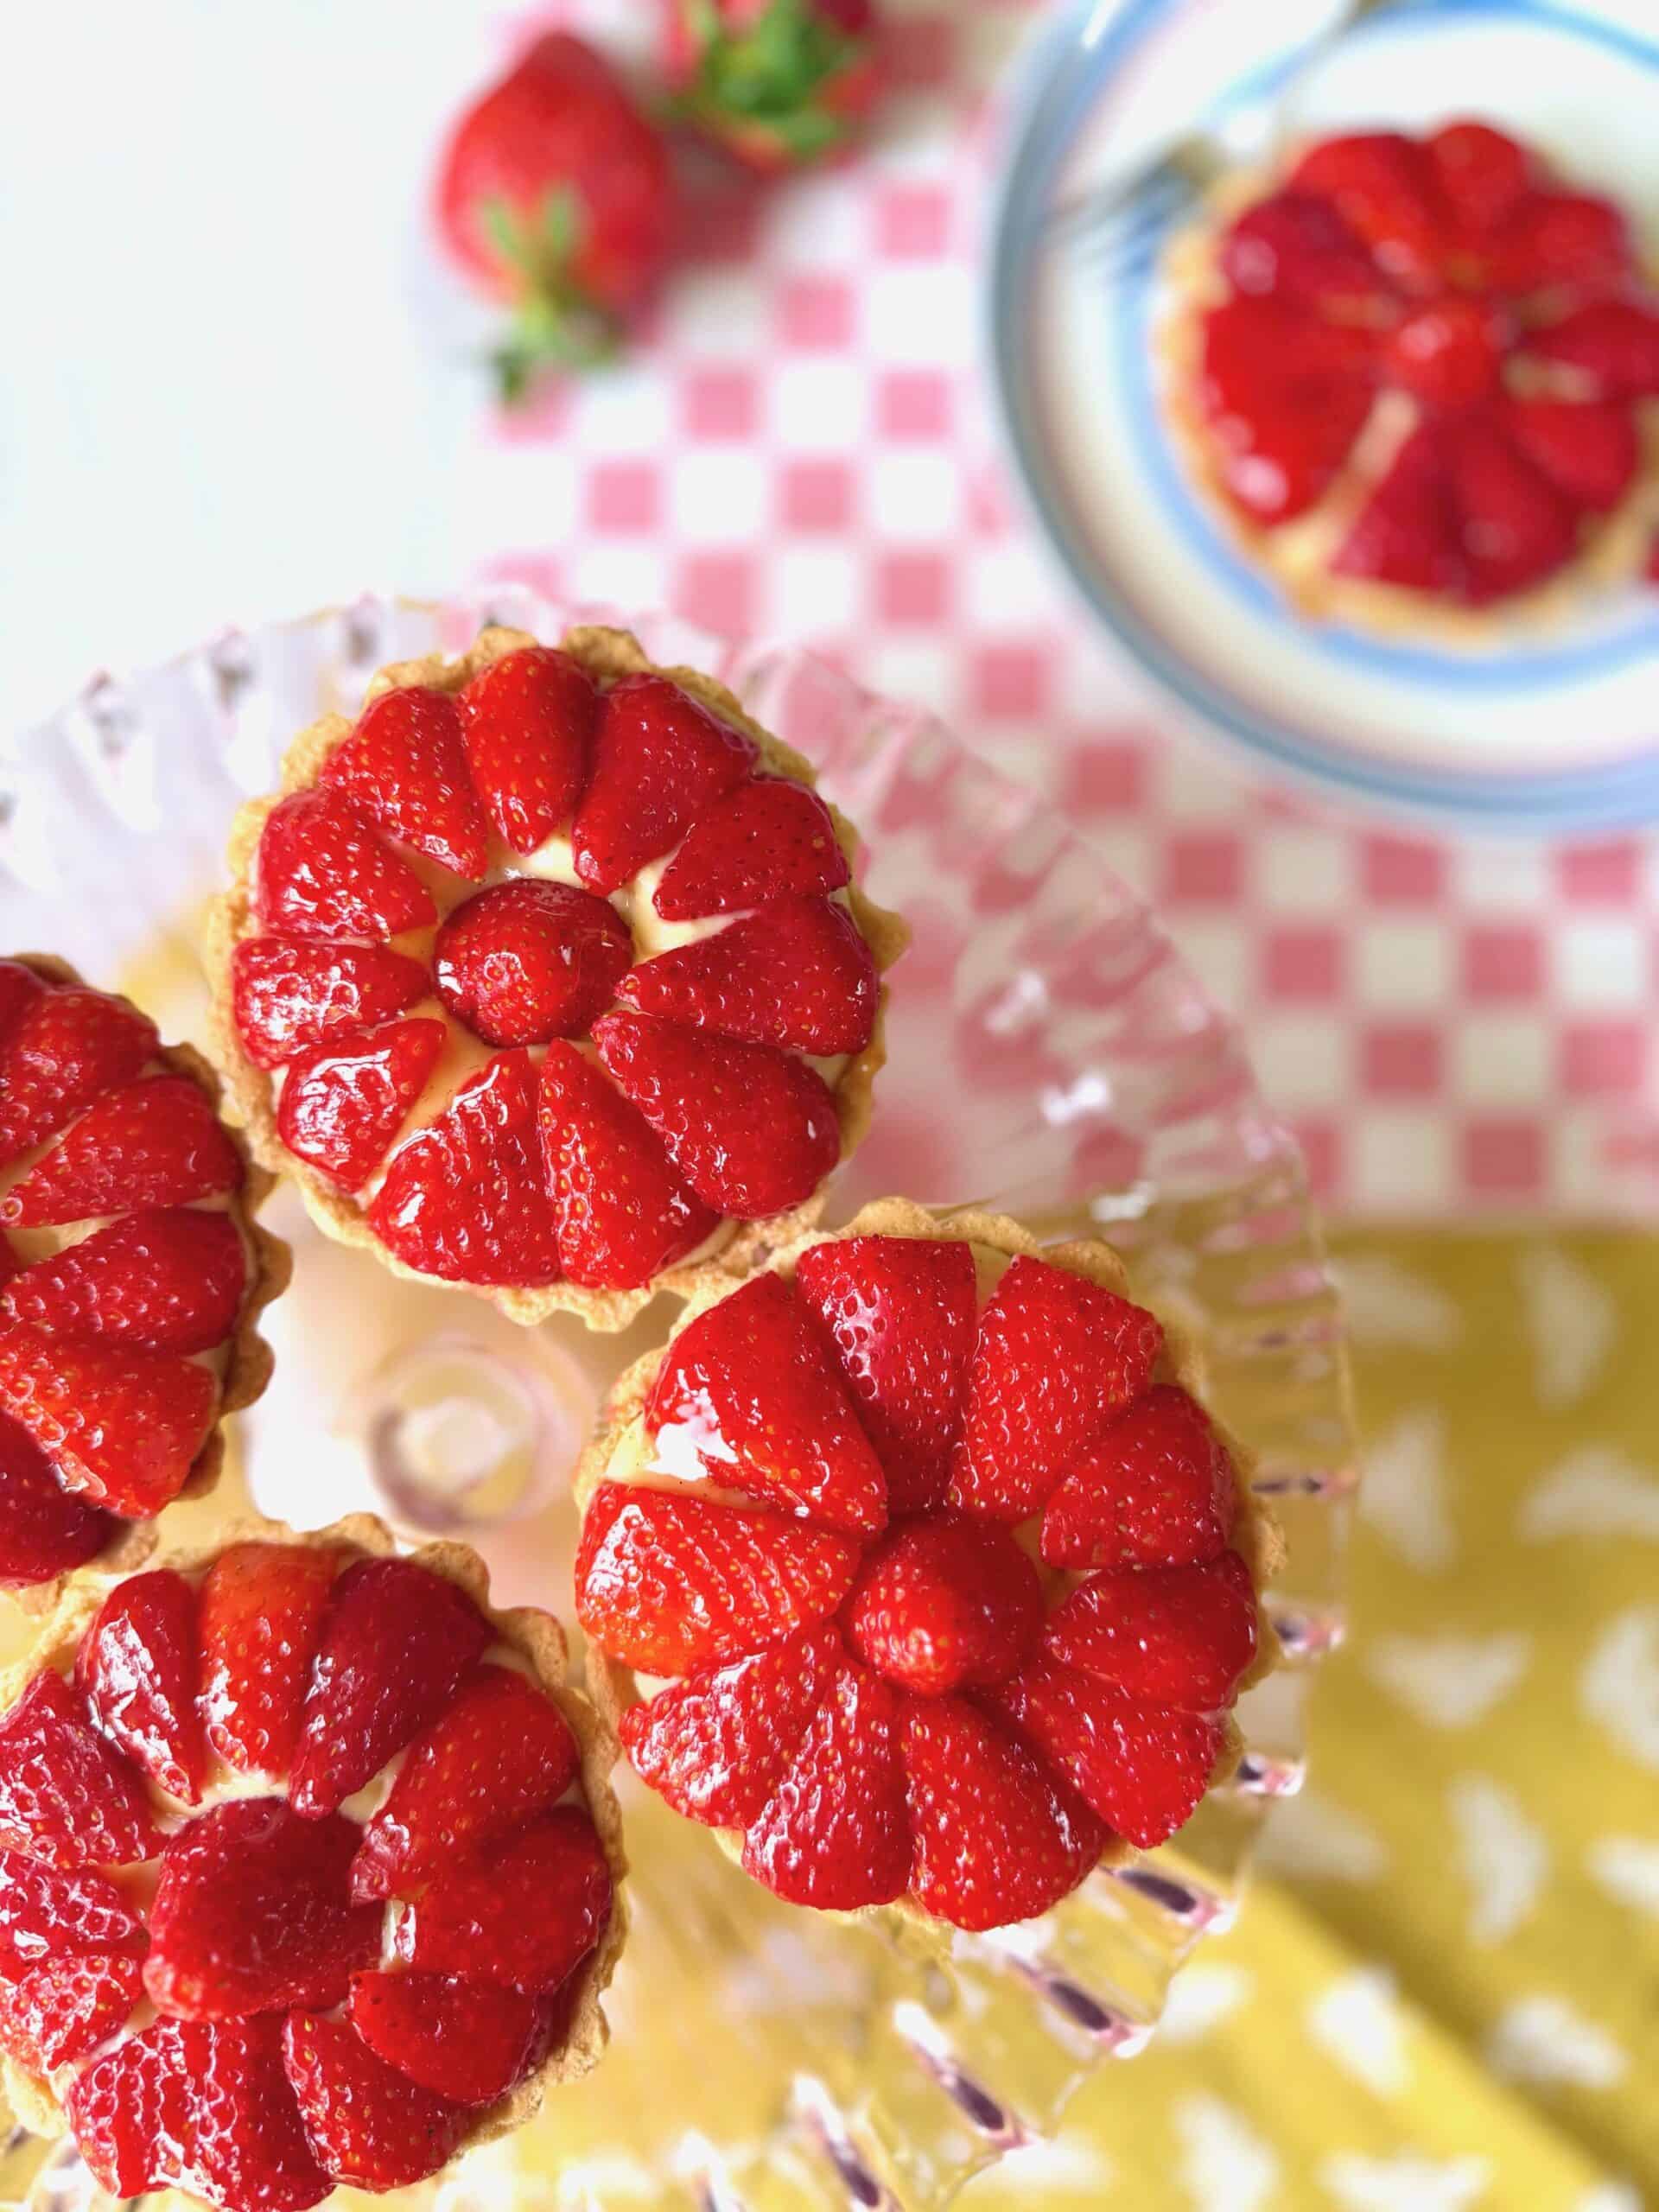
These mini strawberry tarts taste awesome! They look and taste fancy and come together with minimal fuss. Crisp sweet tart pastry, a spoonful of silky vanilla pastry cream, and a pile of fresh glazed strawberries. These Strawberry tartlets are perfect for spring and summer and they're ideal for parties, family gatherings, or when you've come home with far too many berries from a pick‑your‑own trip!
These strawberry tarts with pastry cream are my wife’s favourite! my 5 year old son doesn’t like strawberries but I make him a tart with just the pastry cream and he loves it! Despite him not liking strawberries, once they are in season he loves going to the local pick‑your‑own farm.
This summer strawberry dessert recipe is a real showstopper. They look like something from a patisserie window, but they're easy, relaxed, and perfect for sharing after dinner or taking to a family get‑together.
And because I'm a food nerd at heart, here's a tiny bit of pastry‑chef trivia: pastry cream (or crème pâtissière) has been a French bakery staple since the 17th century. It's the silky custard used in éclairs, fruit tarts, and all those classic patisserie treats. It is rich, smooth, and indulgent. It's the perfect base for these vanilla pastry cream tarts, letting the fresh strawberries shine. It is also surprisingly easy to make following my step by step instructions.
If your family loves these strawberry tarts as much as mine does, you’re in good company - we’ve got plenty more flavour‑packed sweet treats. Here are a few more recipes that always go down well at our table:
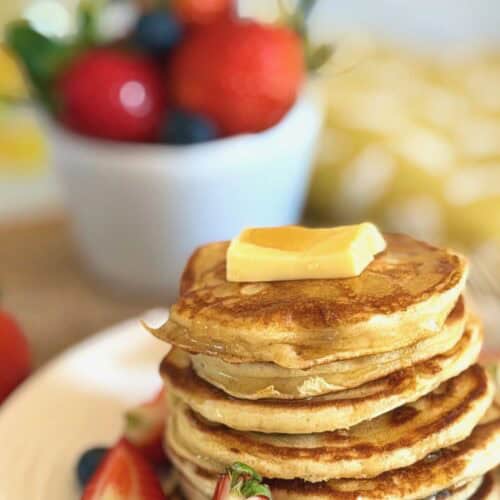
- Cottage cheese pancakes
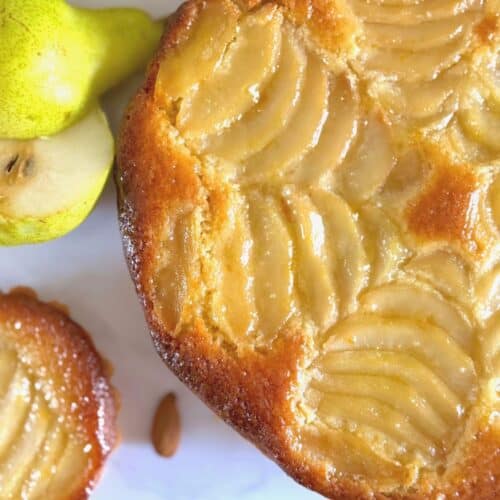
- Poached pear and frangipane tart
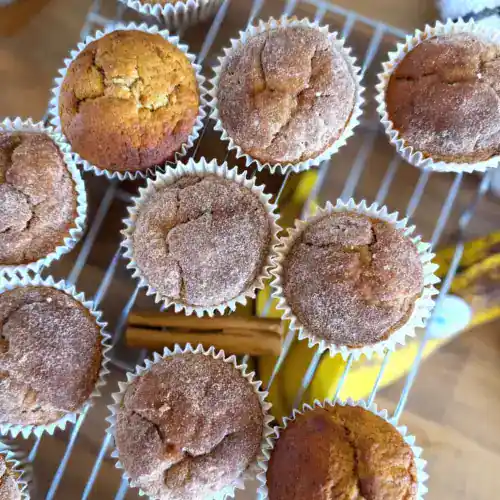
- Cinnamon and maple banana bread muffins
- Big fluffy scones
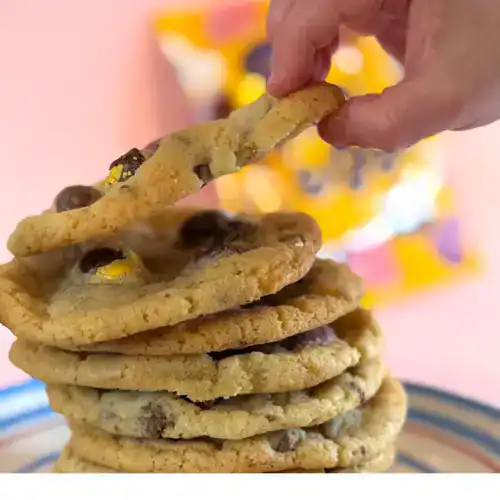
- Mini egg cookies
- Homemade shortbread biscuits
- Vanilla creme brulee
Jump to:
- Ingredients and substitutions for strawberry tarts
- What equipment will you need to make strawberry tarts?
- How do I make Strawberry tarts with Vanilla pastry cream?
- Serving suggestions for strawberry tarts
- Variations of strawberry tarts
- Storage and freezing
- FAQ
- Strawberry tarts with vanilla pastry cream
- Related
- Pairing
Ingredients and substitutions for strawberry tarts
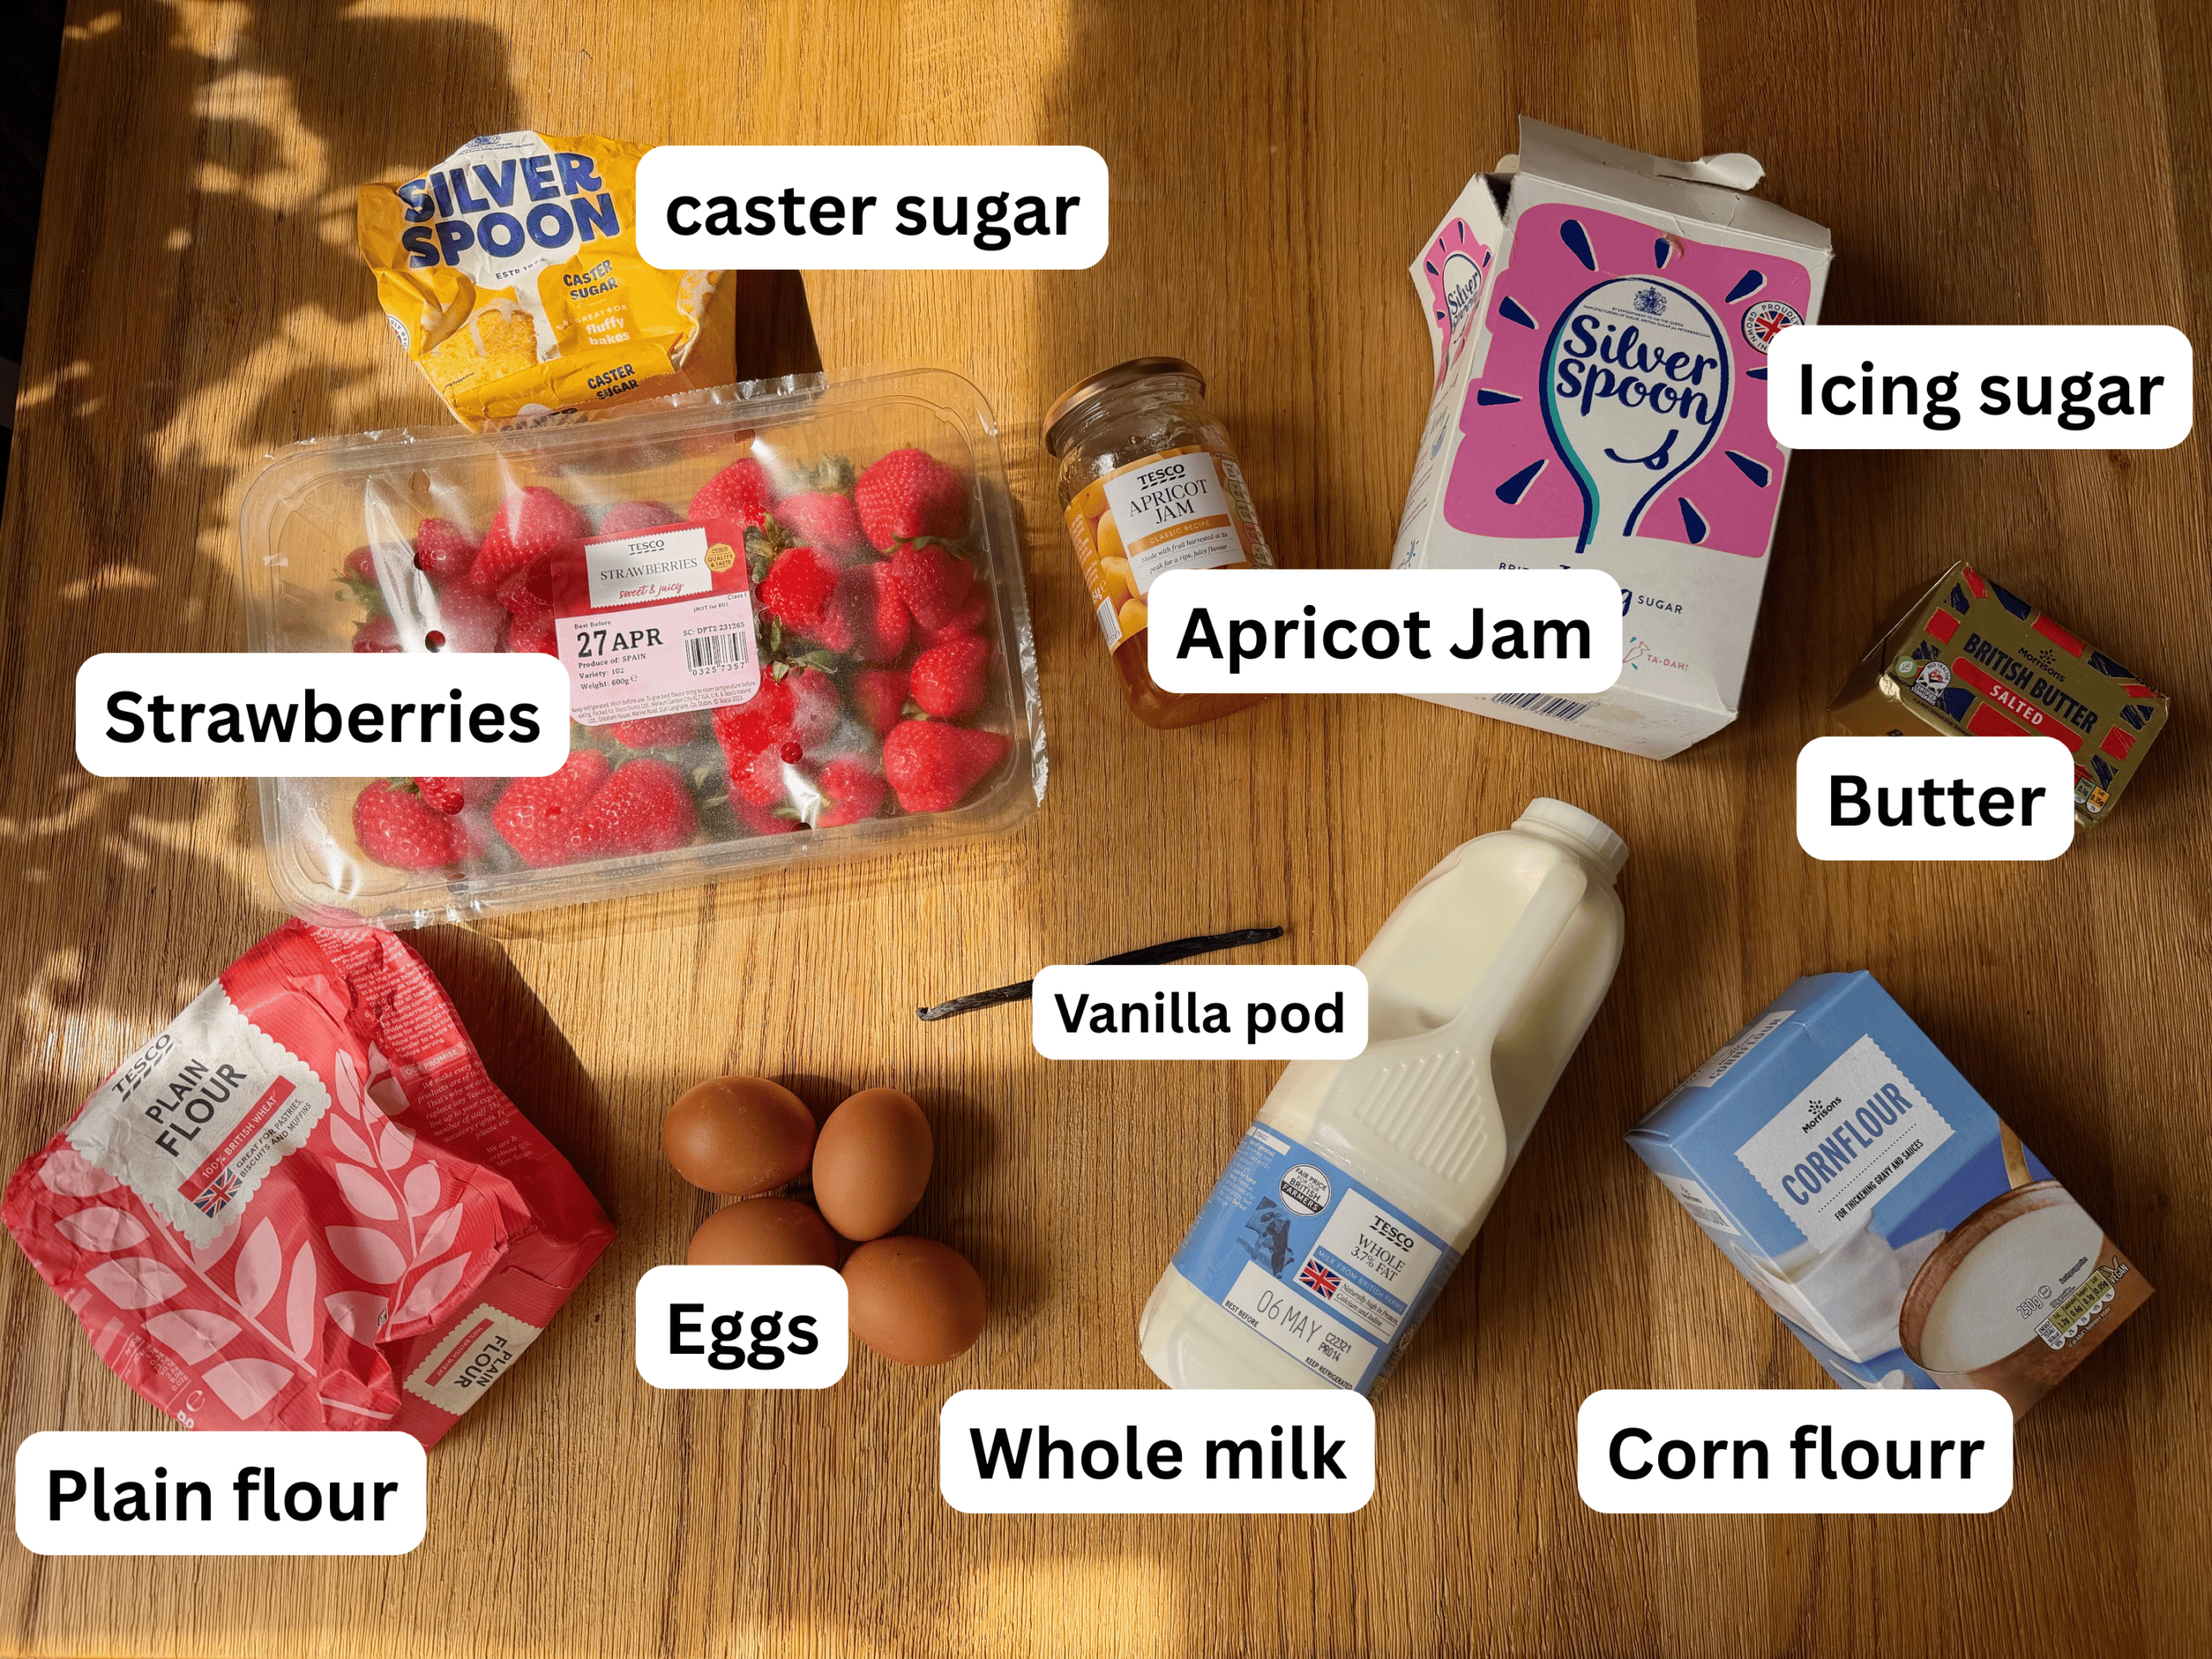
See recipe card for quantities.
- All purpose flour – This forms the base of your pastry. You can swap for plain flour in the UK (they're the same thing). A gluten free blend works too, though the pastry will be a little more delicate.
- Butter – Unsalted butter gives the best flavour and texture. Baking spread is not recommended here as it softens too quickly.
- Icing sugar – This keeps the pastry tender and lightly sweet. Caster sugar works in a pinch, but the texture won't be quite as smooth.
- Egg – Helps bind the dough and gives it richness. If you need an alternative, 1 tablespoon of milk can work, but the pastry will be more crumbly.
- Egg yolks – These give the pastry cream its rich, silky texture. Save the whites for meringues or an omelette.
- Caster sugar – Sweetens the custard without making it heavy. Granulated sugar works too, it just takes a little longer to dissolve.
- Corn flour – This thickens the pastry cream and keeps it smooth.
- All purpose flour – Adds extra stability so the cream sets nicely in the tart cases. You can leave it out if you prefer a softer, looser cream.
- Whole milk – Gives the best flavour and texture. Semi‑skimmed works fine, but avoid skimmed as it won't thicken as well.
- Vanilla pod – The classic choice for vanilla pastry cream. You can swap for vanilla bean paste or extract if that's what you have.
- Fresh strawberries – The star of the show. Use the ripest berries you can find – especially lovely when strawberries are in season or after a family pick‑your‑own trip. Raspberries or sliced peaches also work beautifully.
- Apricot jam – This creates that glossy patisserie‑style finish. You can use strawberry or raspberry jam instead, just warm and strain it first for a smooth glaze
What equipment will you need to make strawberry tarts?
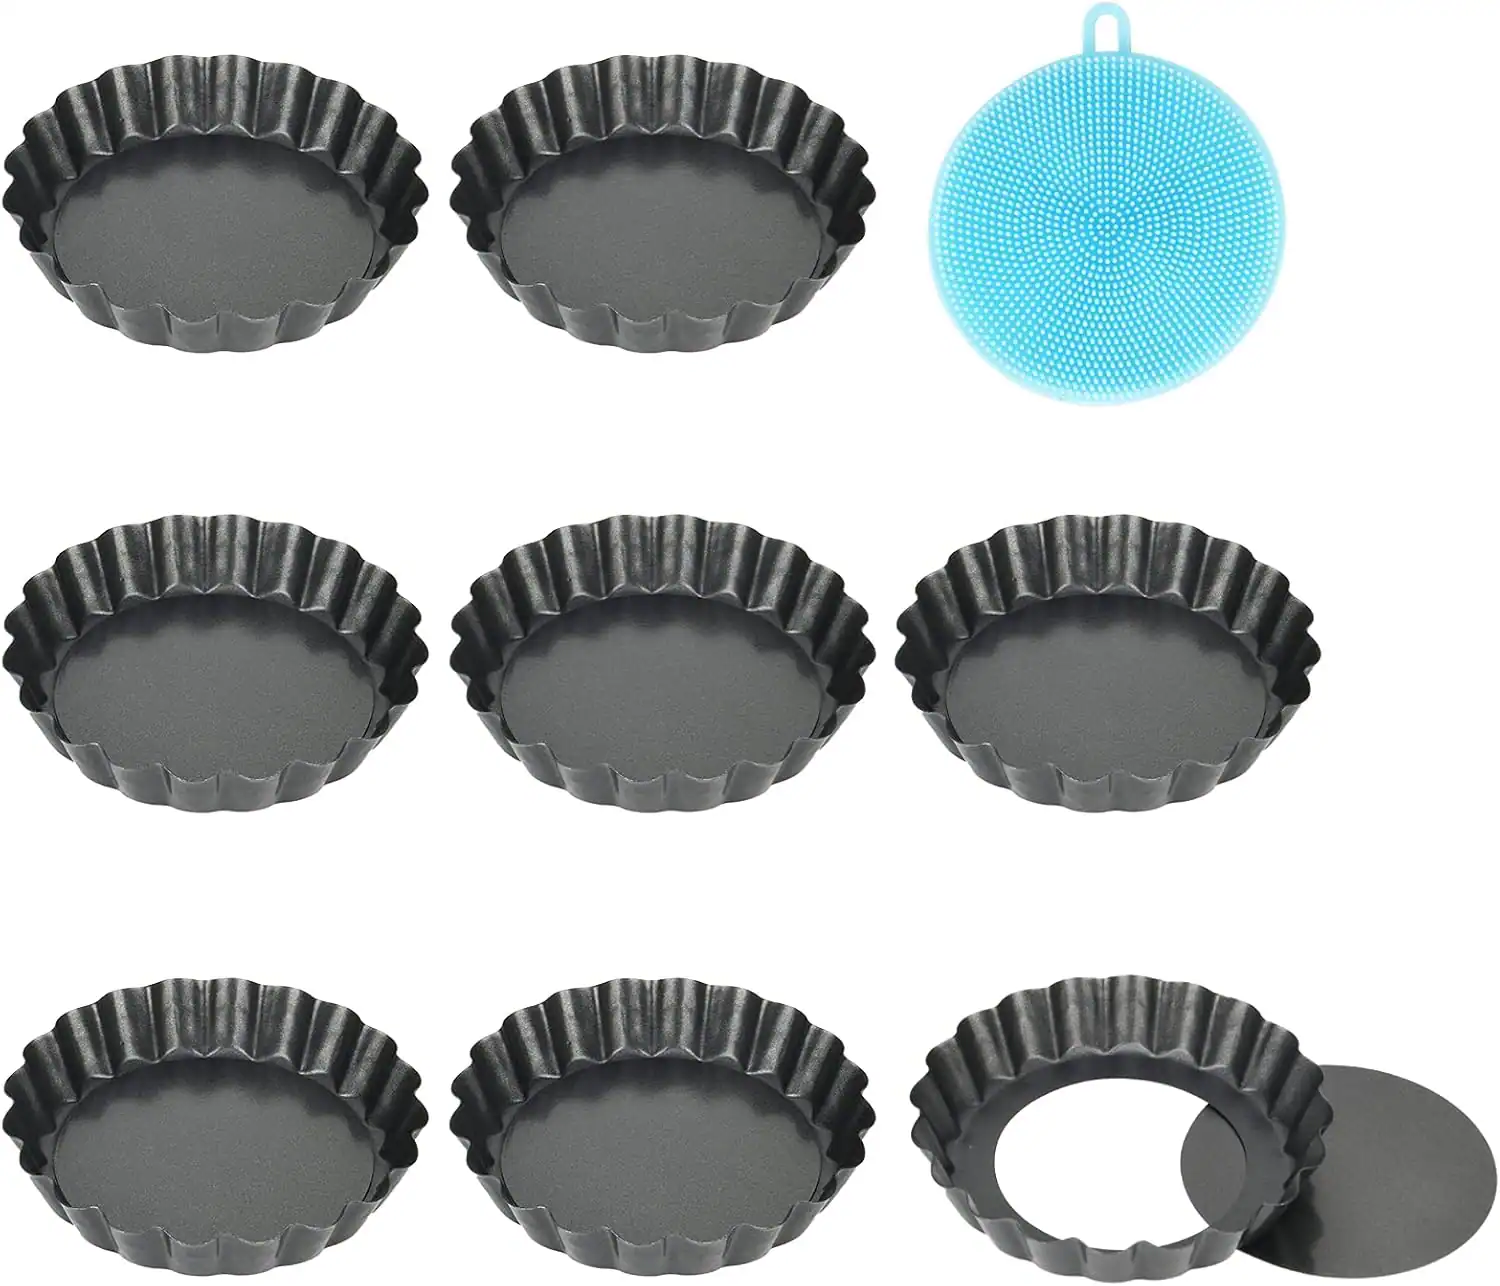
- Individual fluted tart cases – You can’t make these tarts without these cases, these are the cases I use.
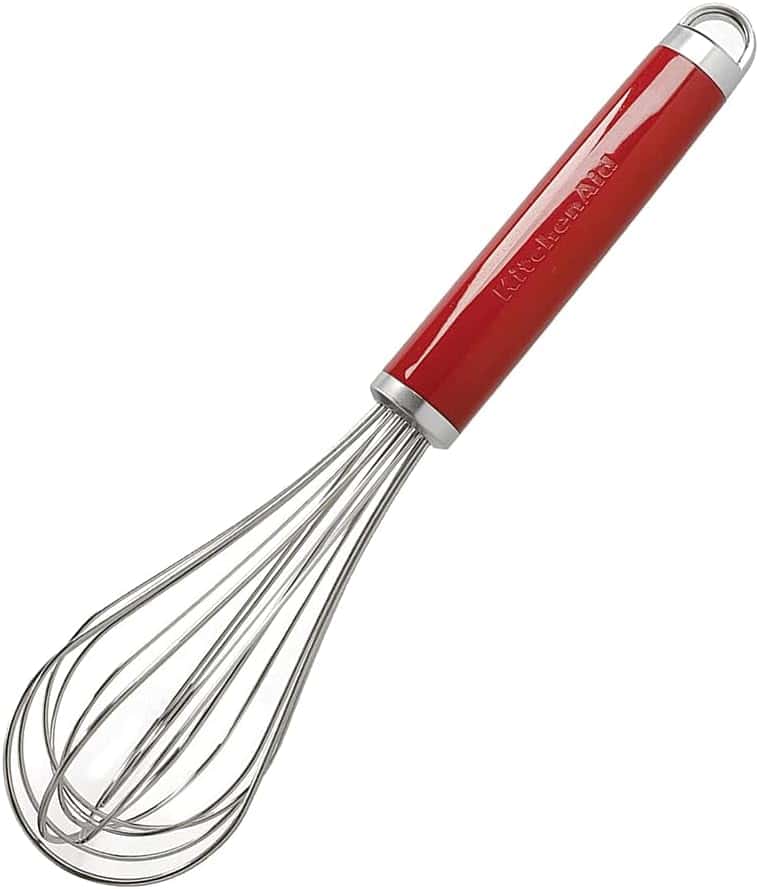
- Hand whisk – This recipe requires vigorous whisking to avoid lumps in the vanilla pastry cream
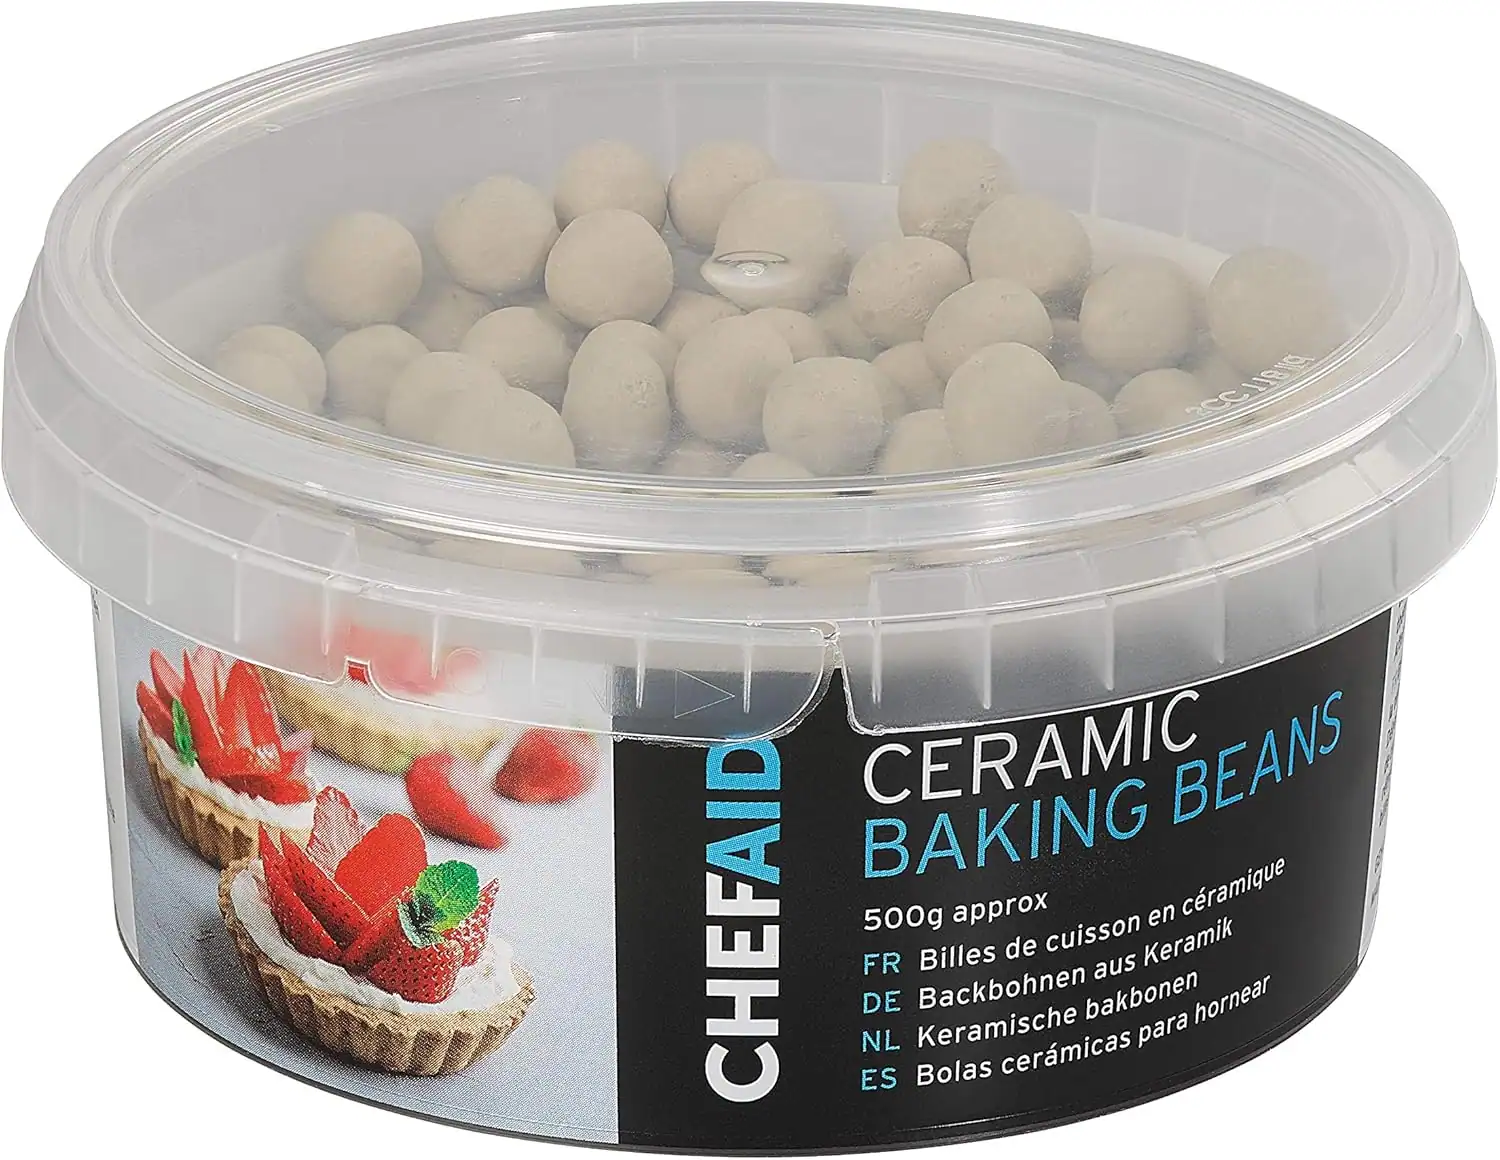
- baking beans – These are great for blind baking and you can re use them over and over again – alternatively you can also use rice
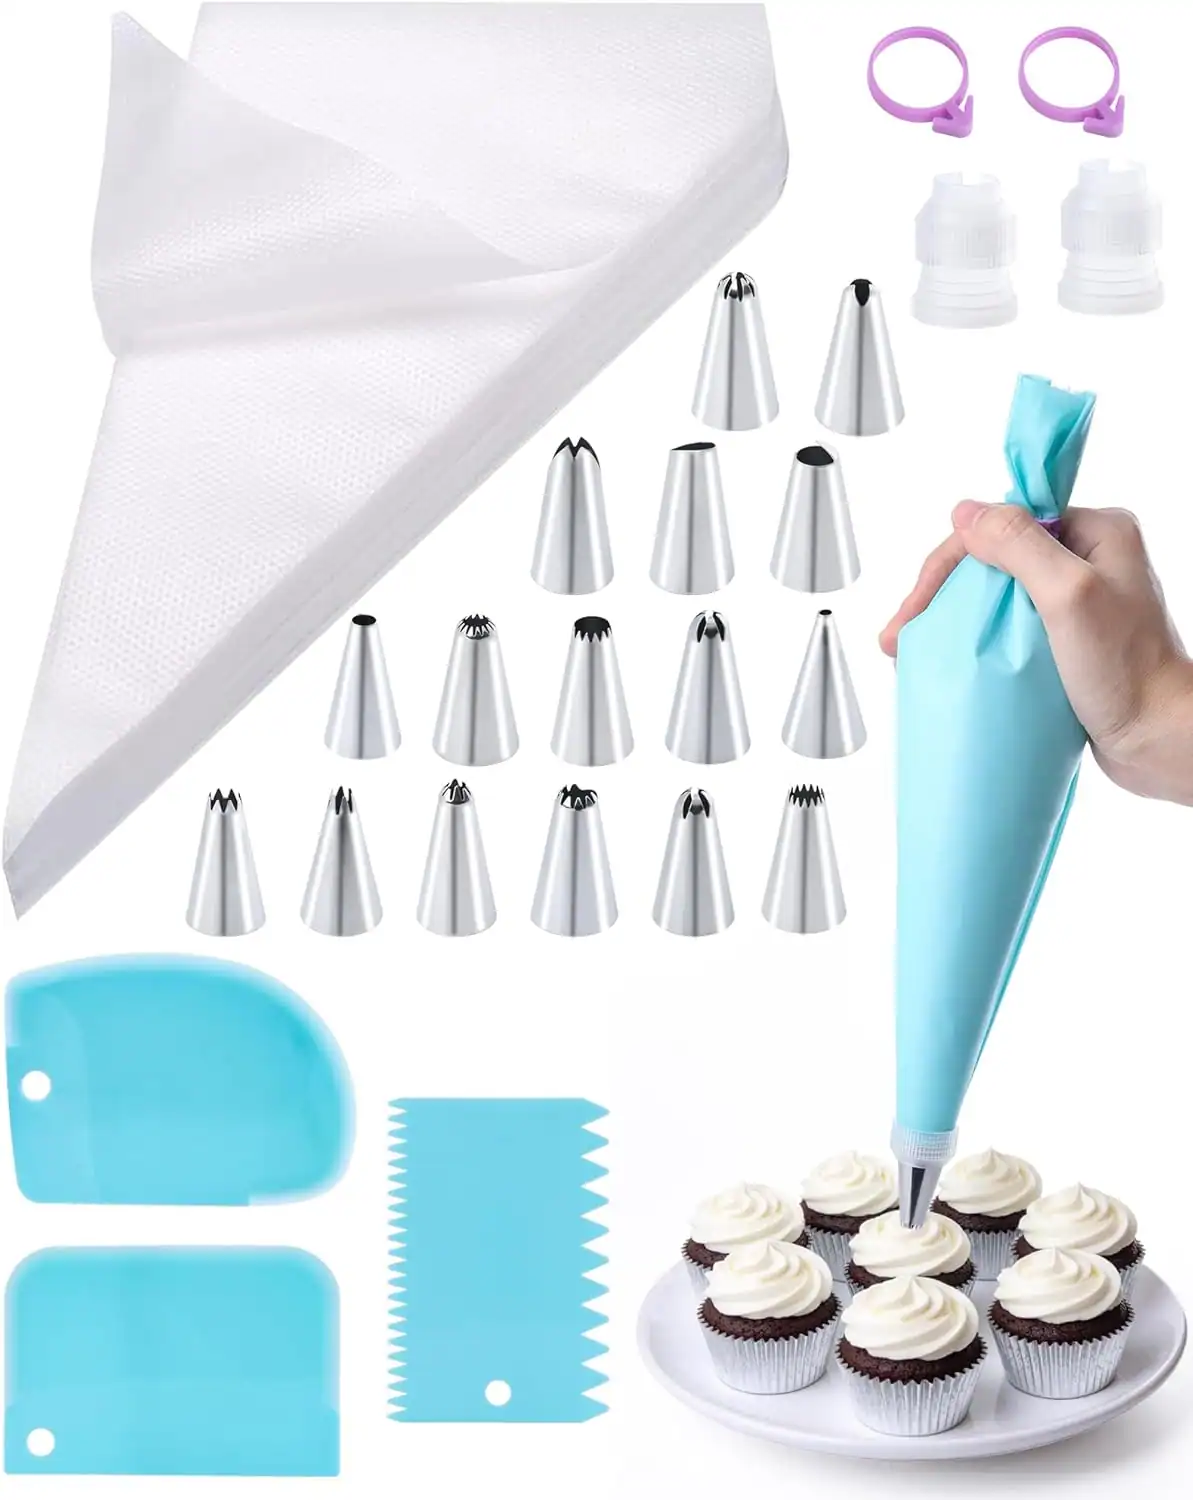
- Disposable piping bags – These are not essential but make this recipe easier, you will also find them useful for lots of other recipes
How do I make Strawberry tarts with Vanilla pastry cream?
This recipe comes together in three simple parts: a crisp sweet pastry, a smooth vanilla pastry cream and a fresh strawberry topping that looks as good as it tastes. Nothing is rushed, nothing is fussy, just a relaxed bit of baking that's easy to follow and lovely to make, especially when the kids are around to help with the strawberries. Lets do it!
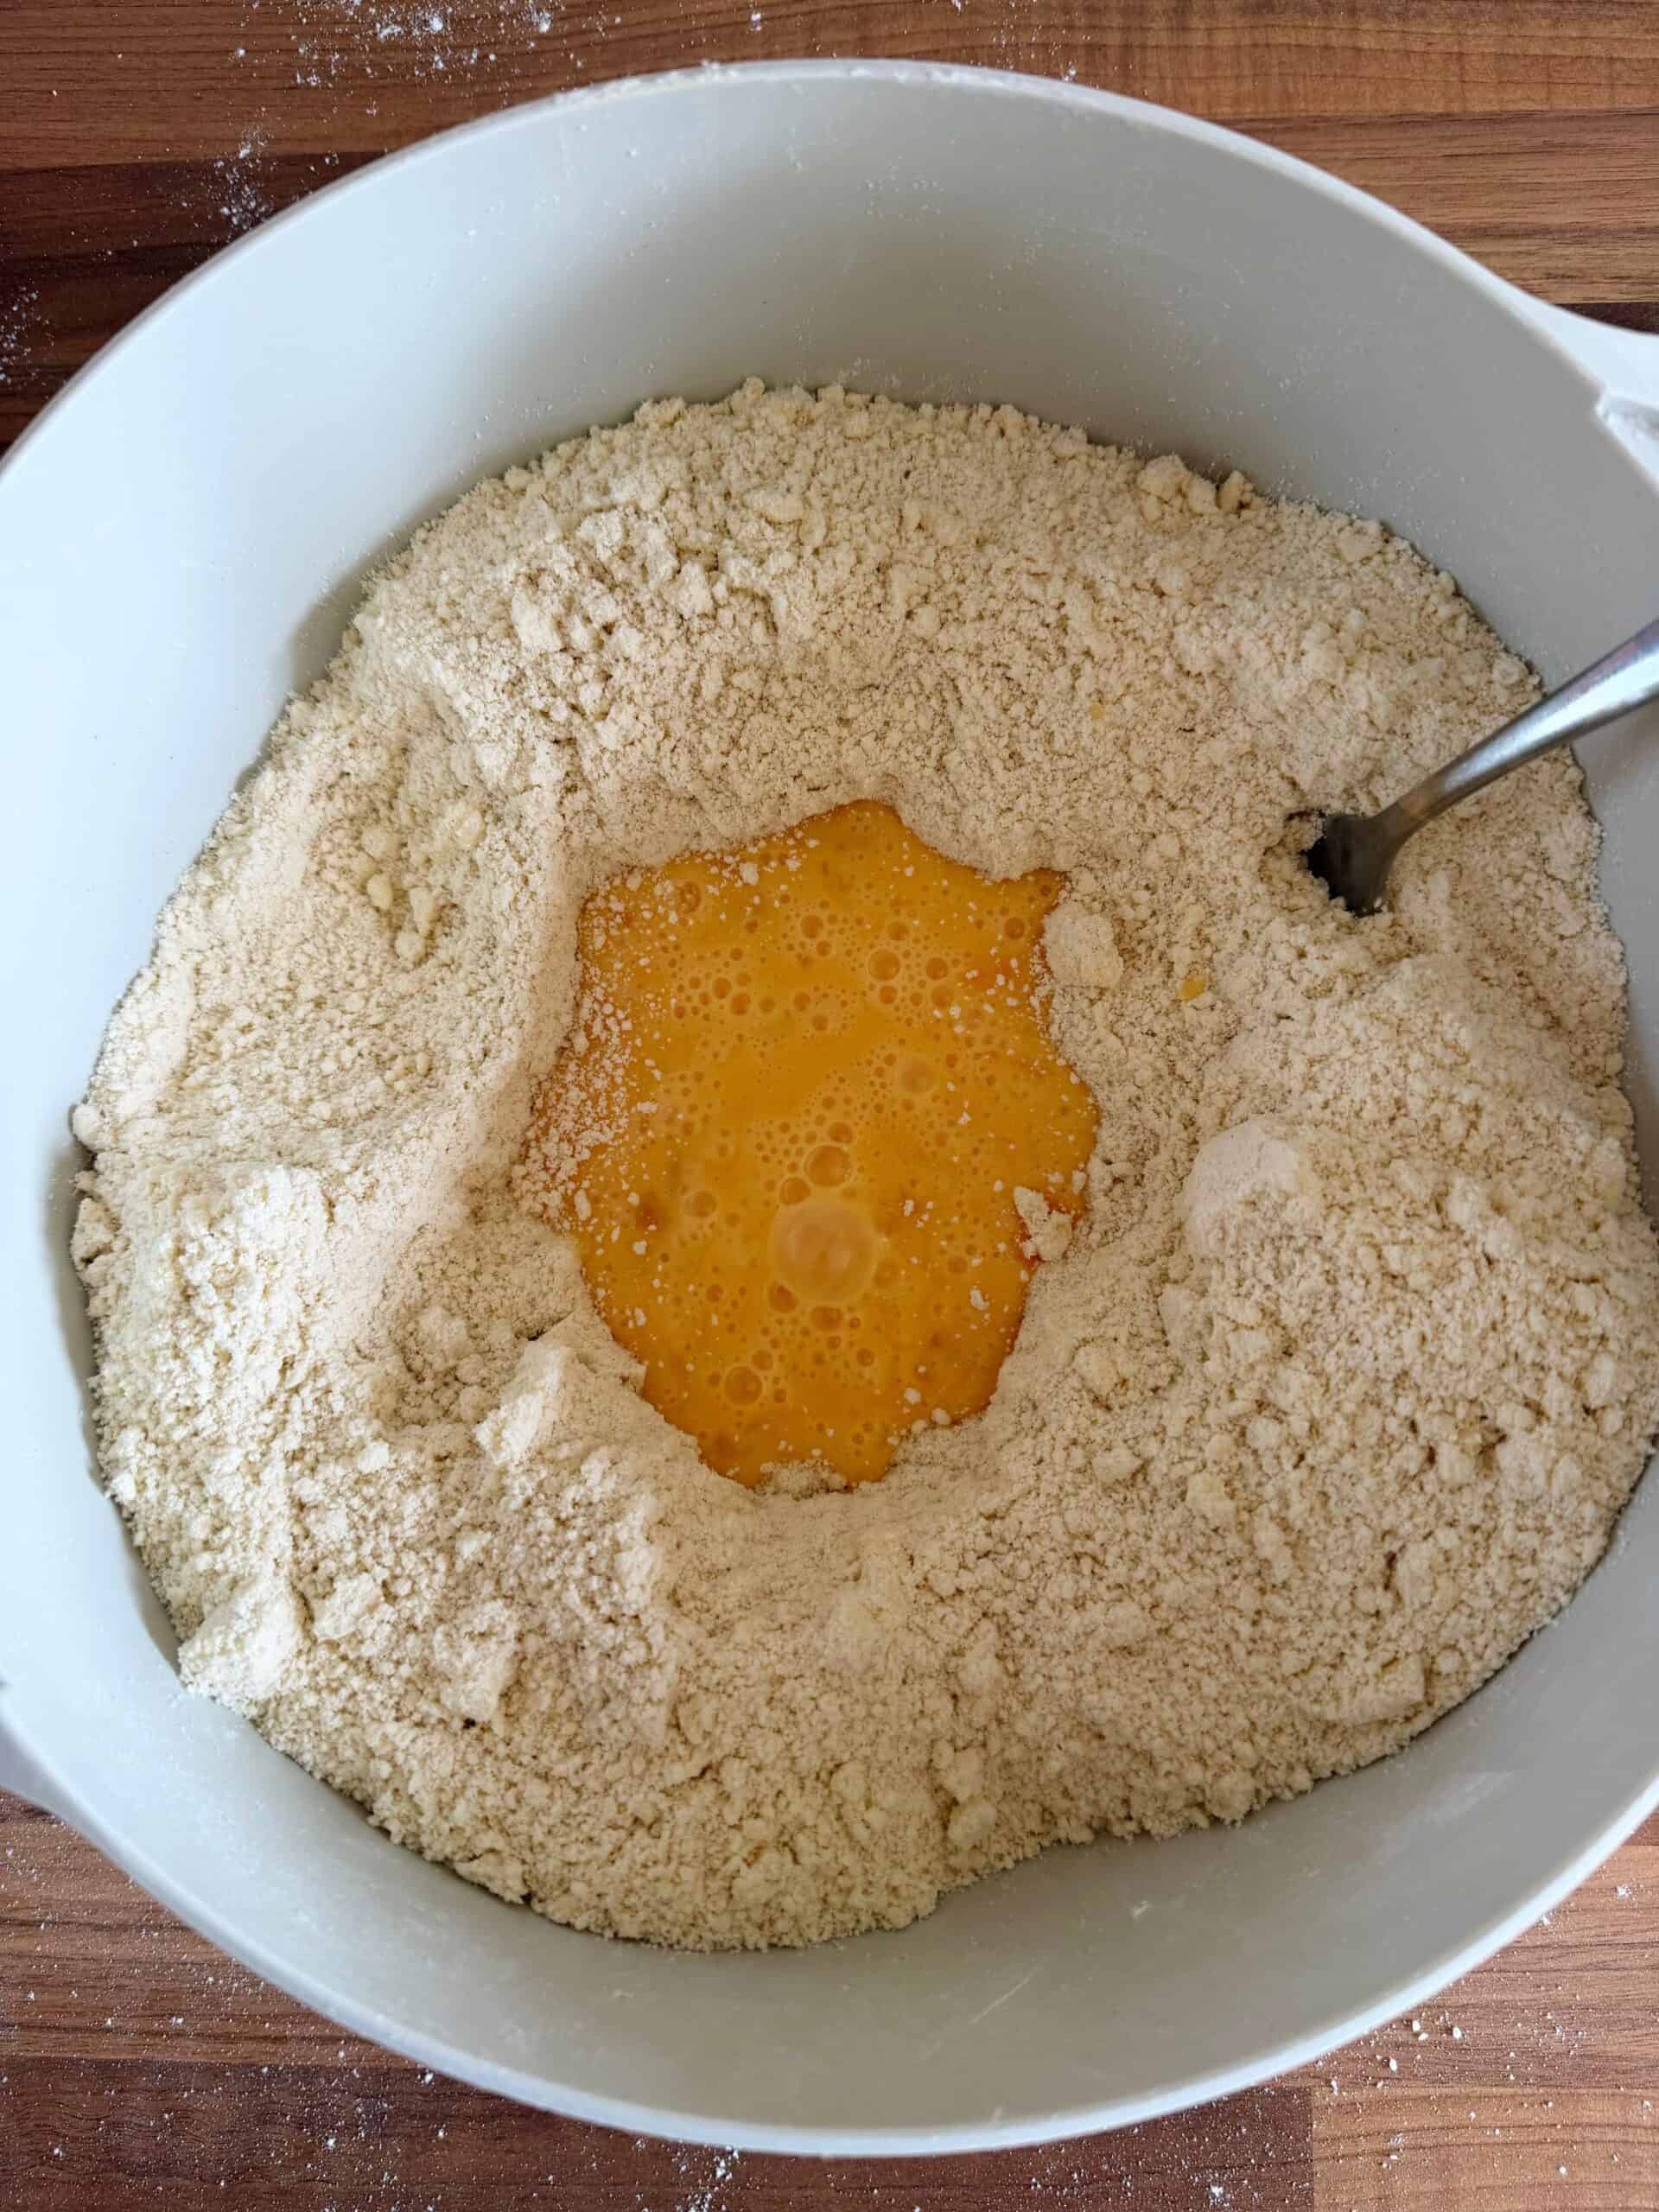
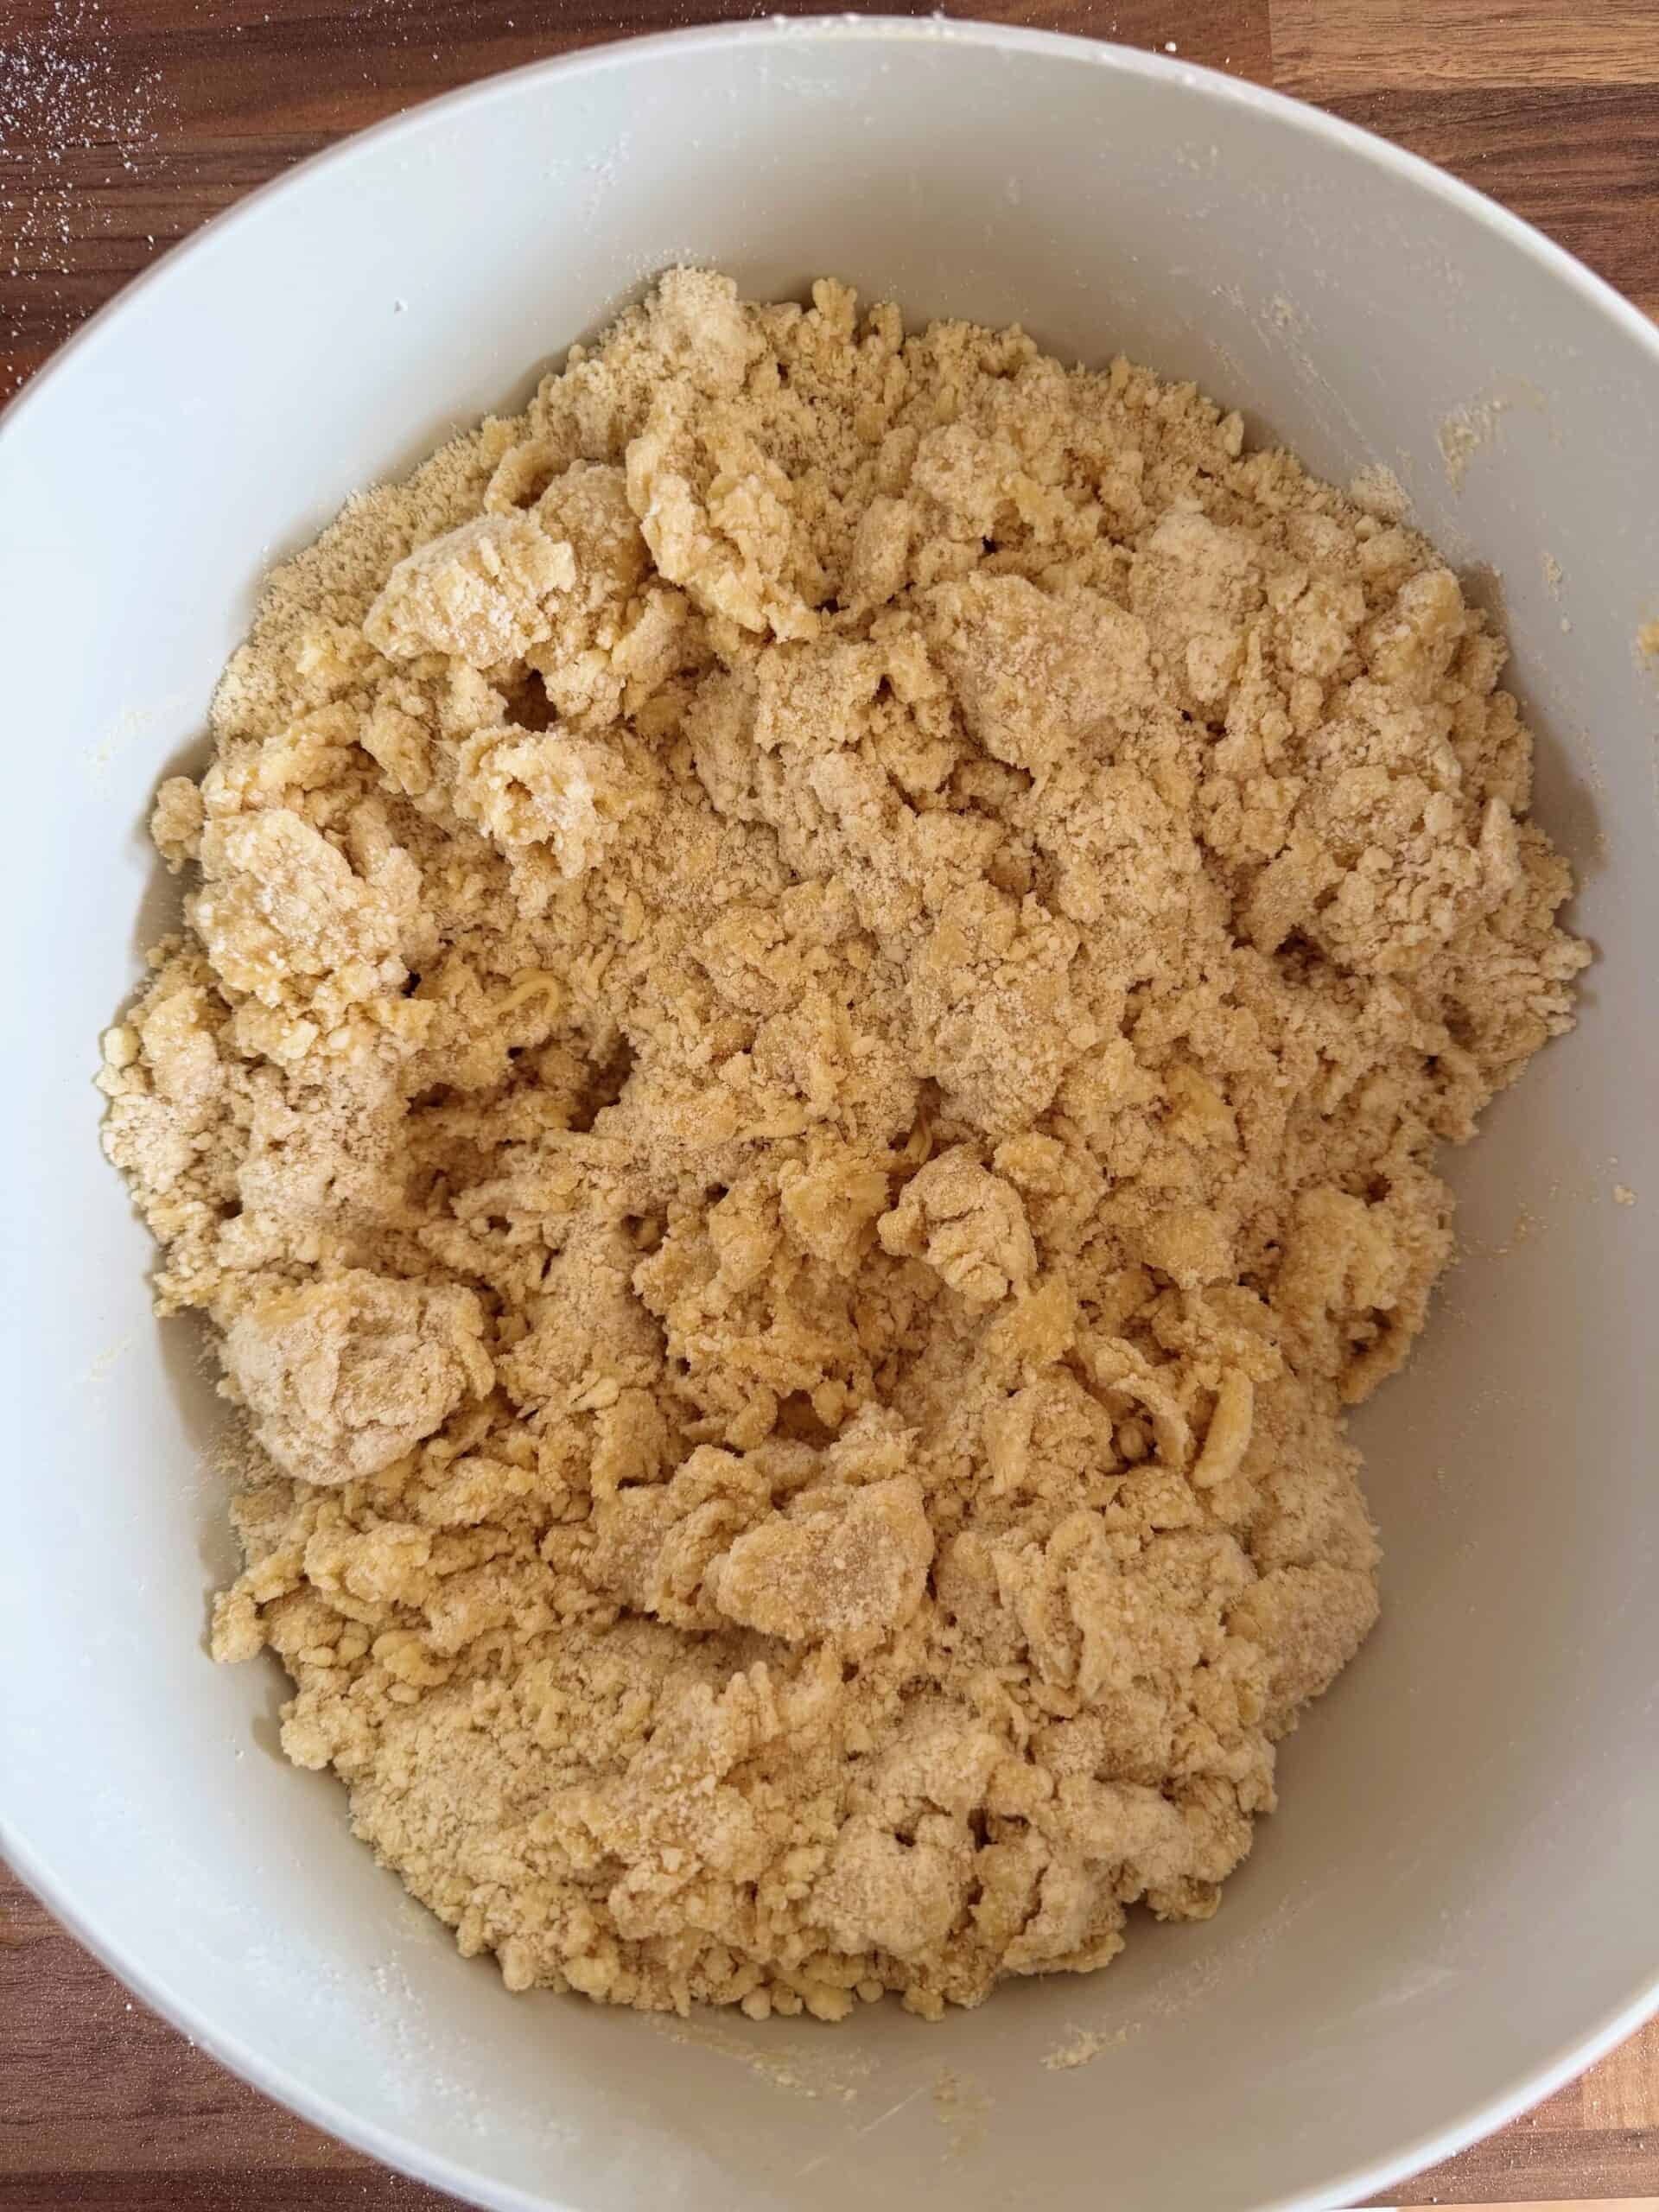
1: Sift the flour, icing sugar and a pinch of salt into a bowl. Add the cold, cubed butter and rub it in with your fingertips until it resembles breadcrumbs .
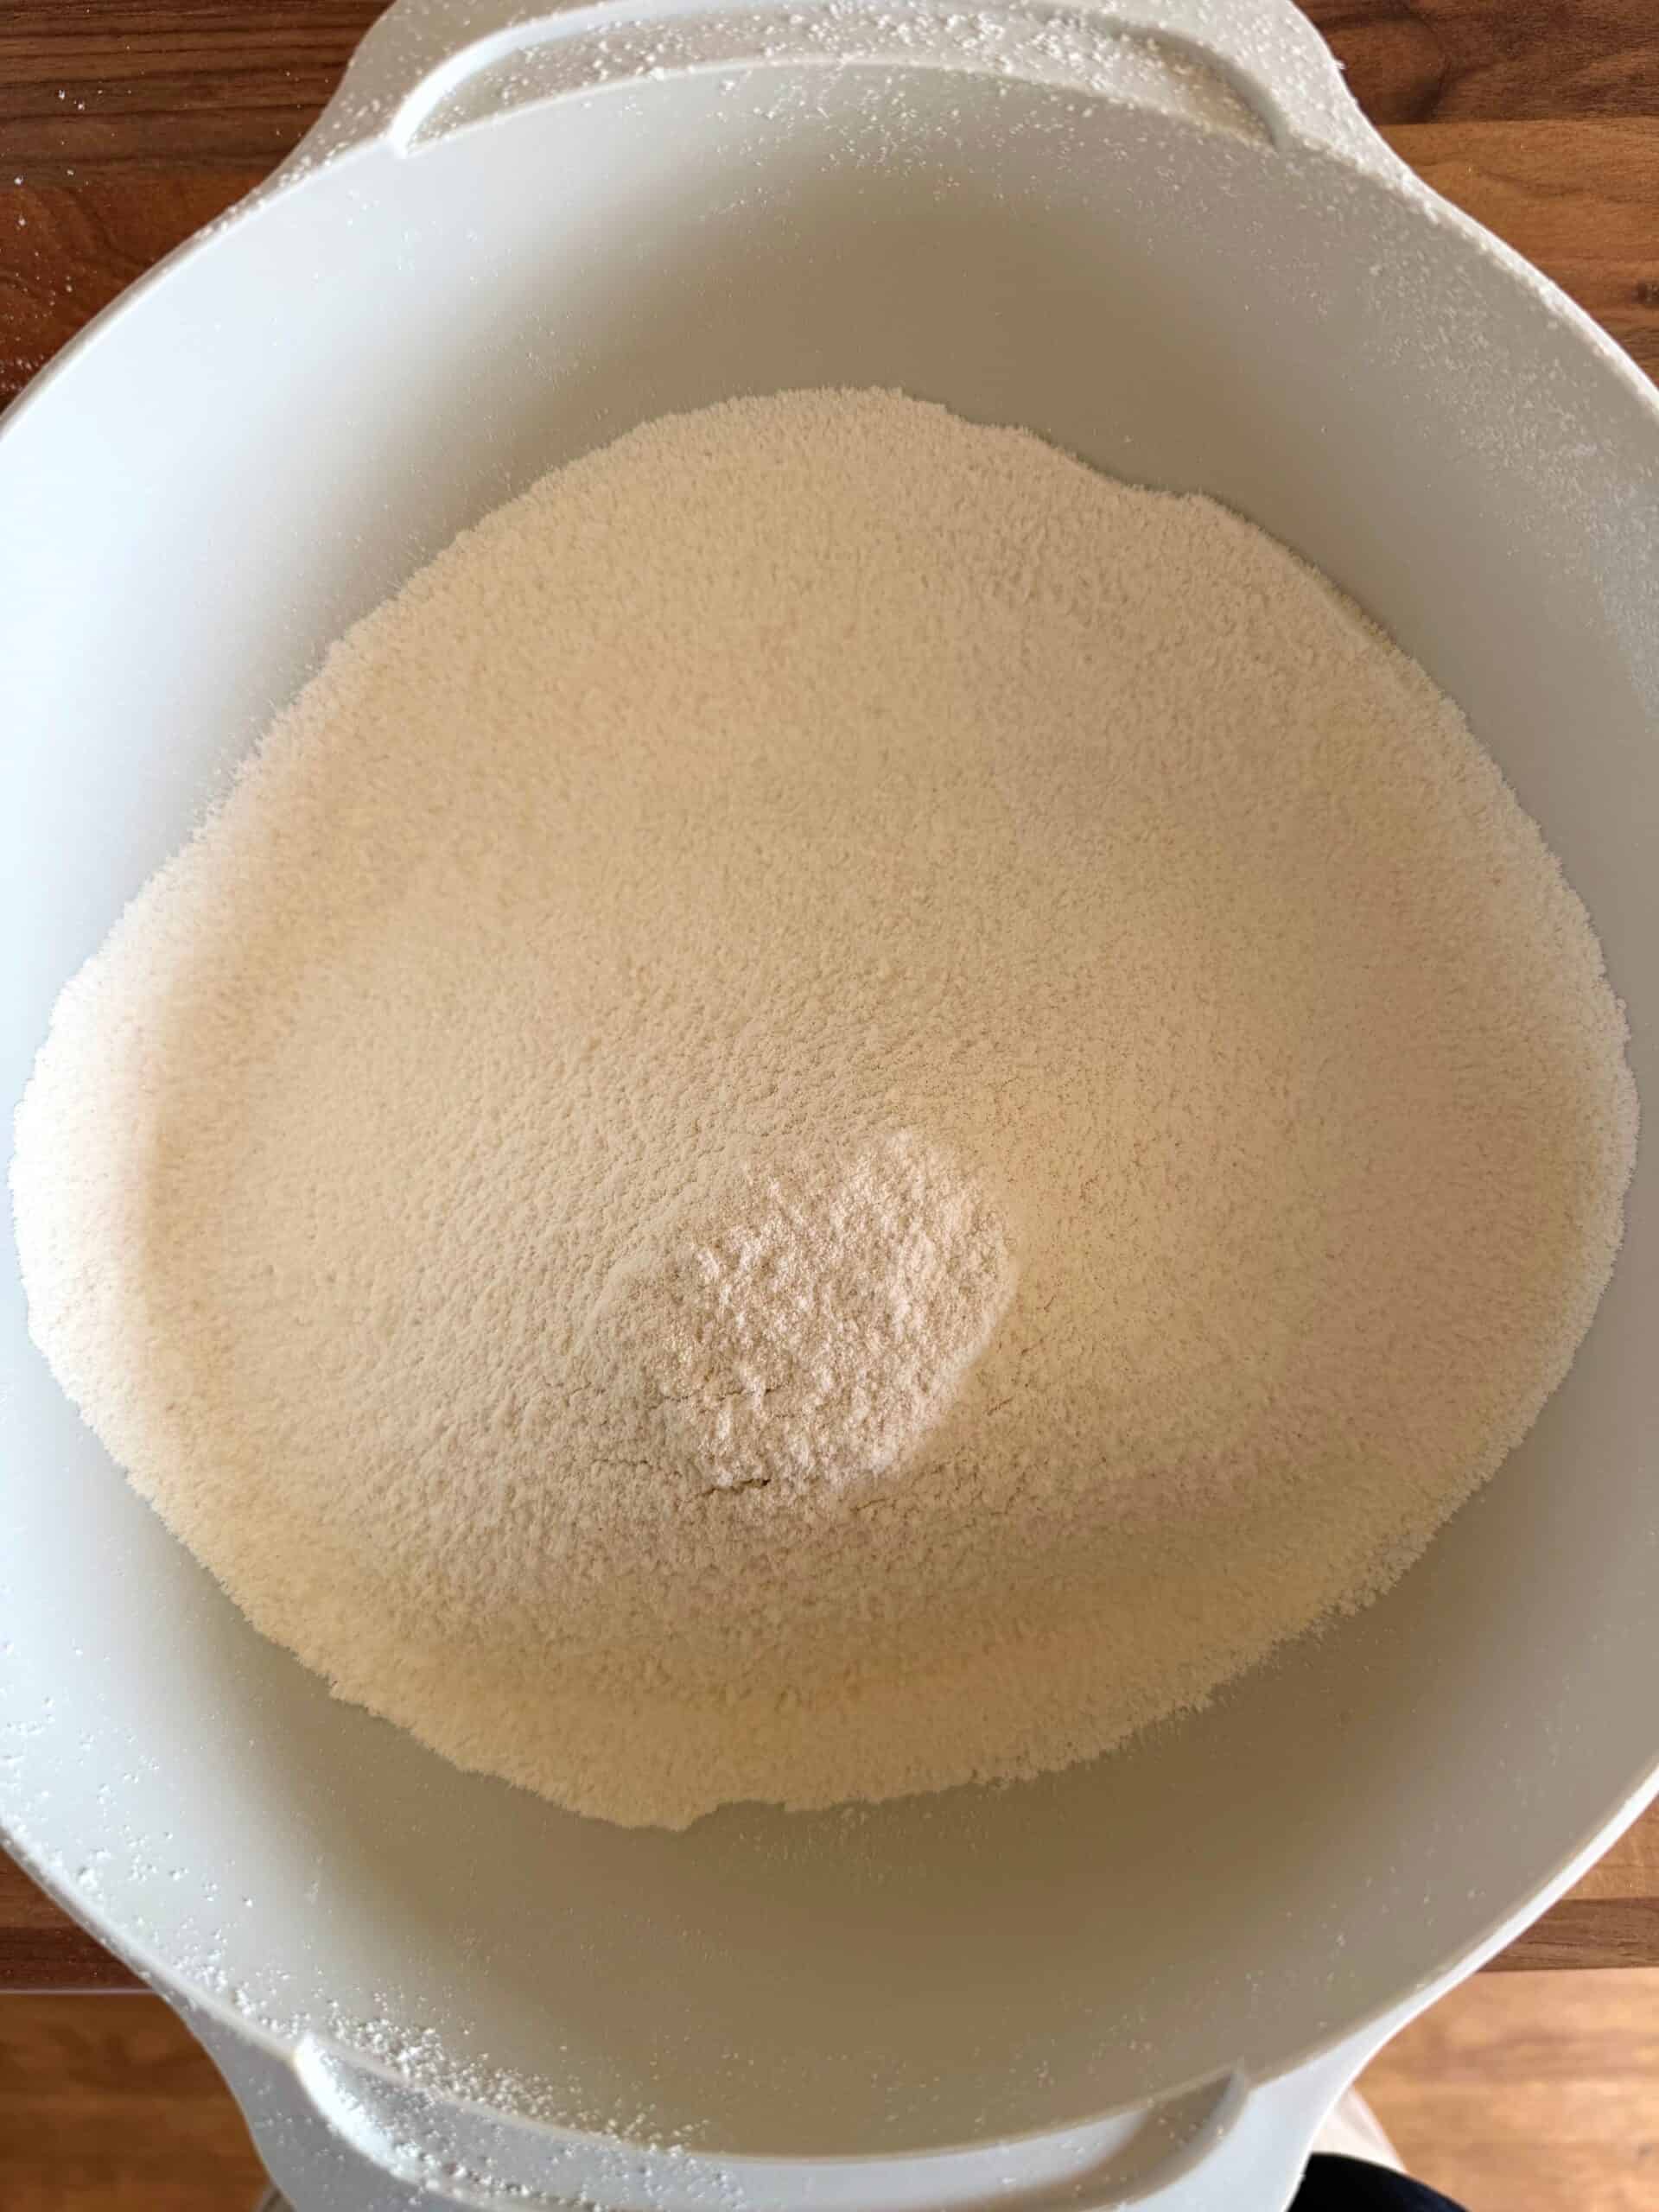
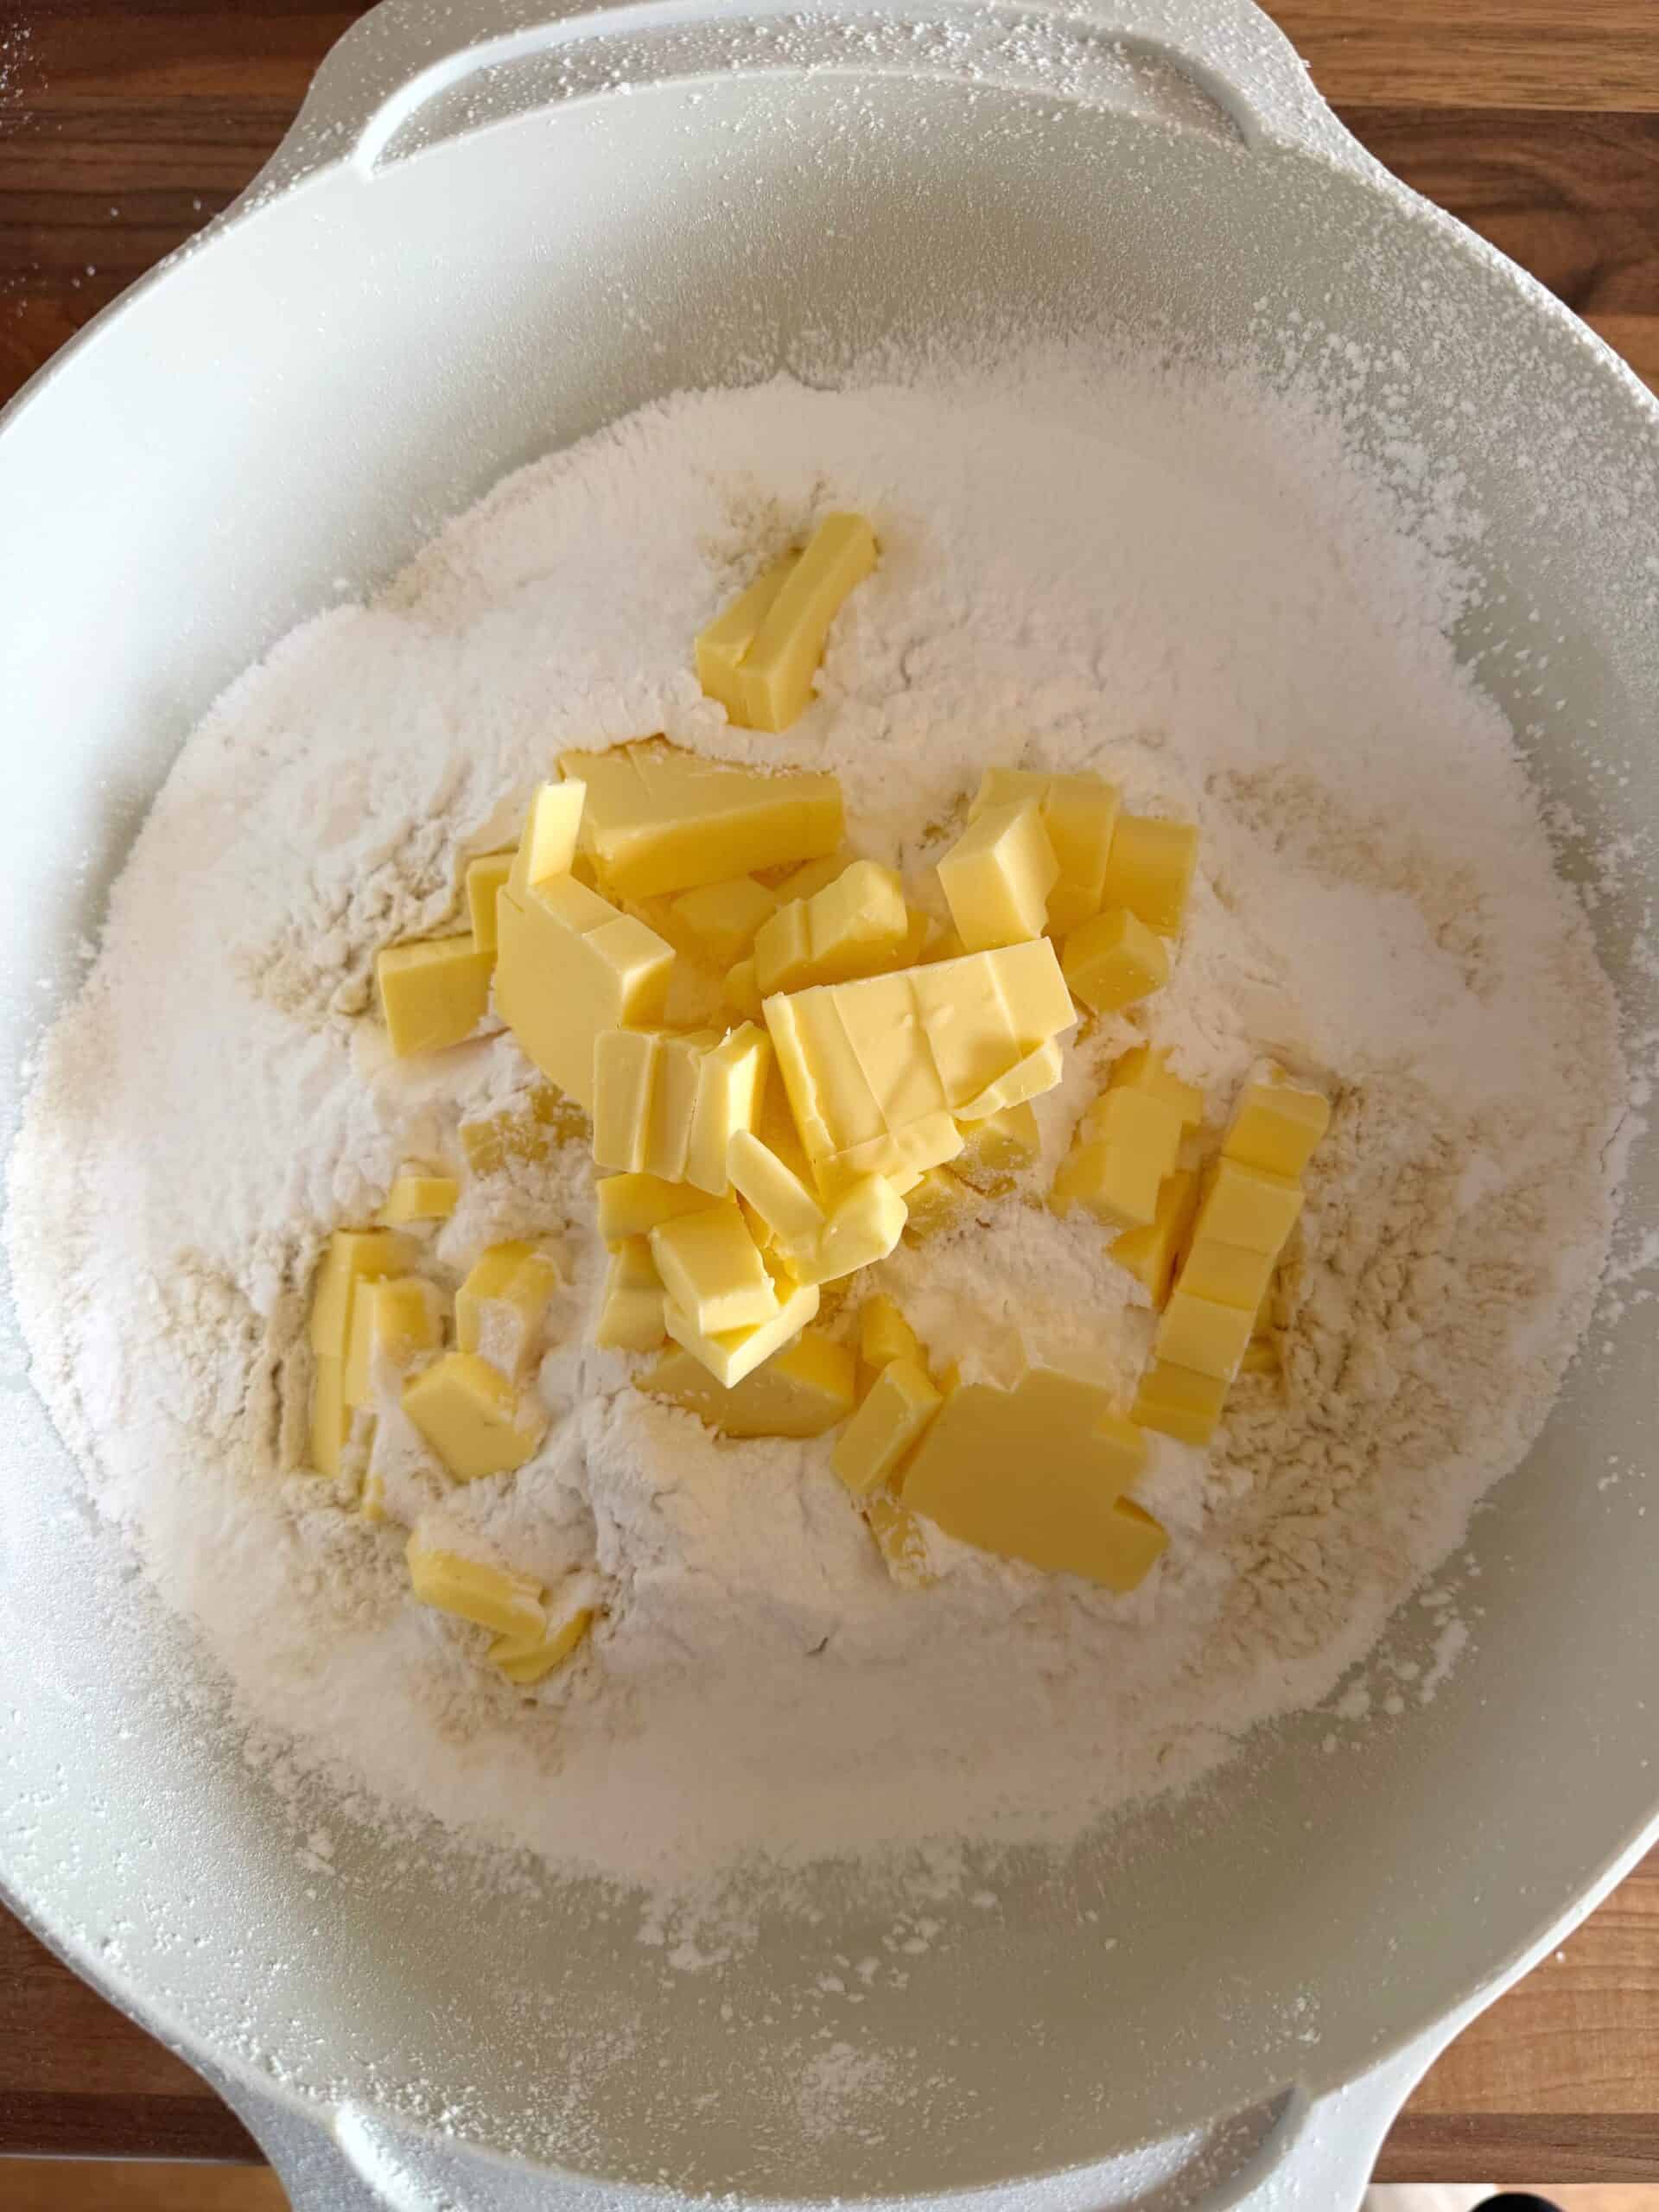
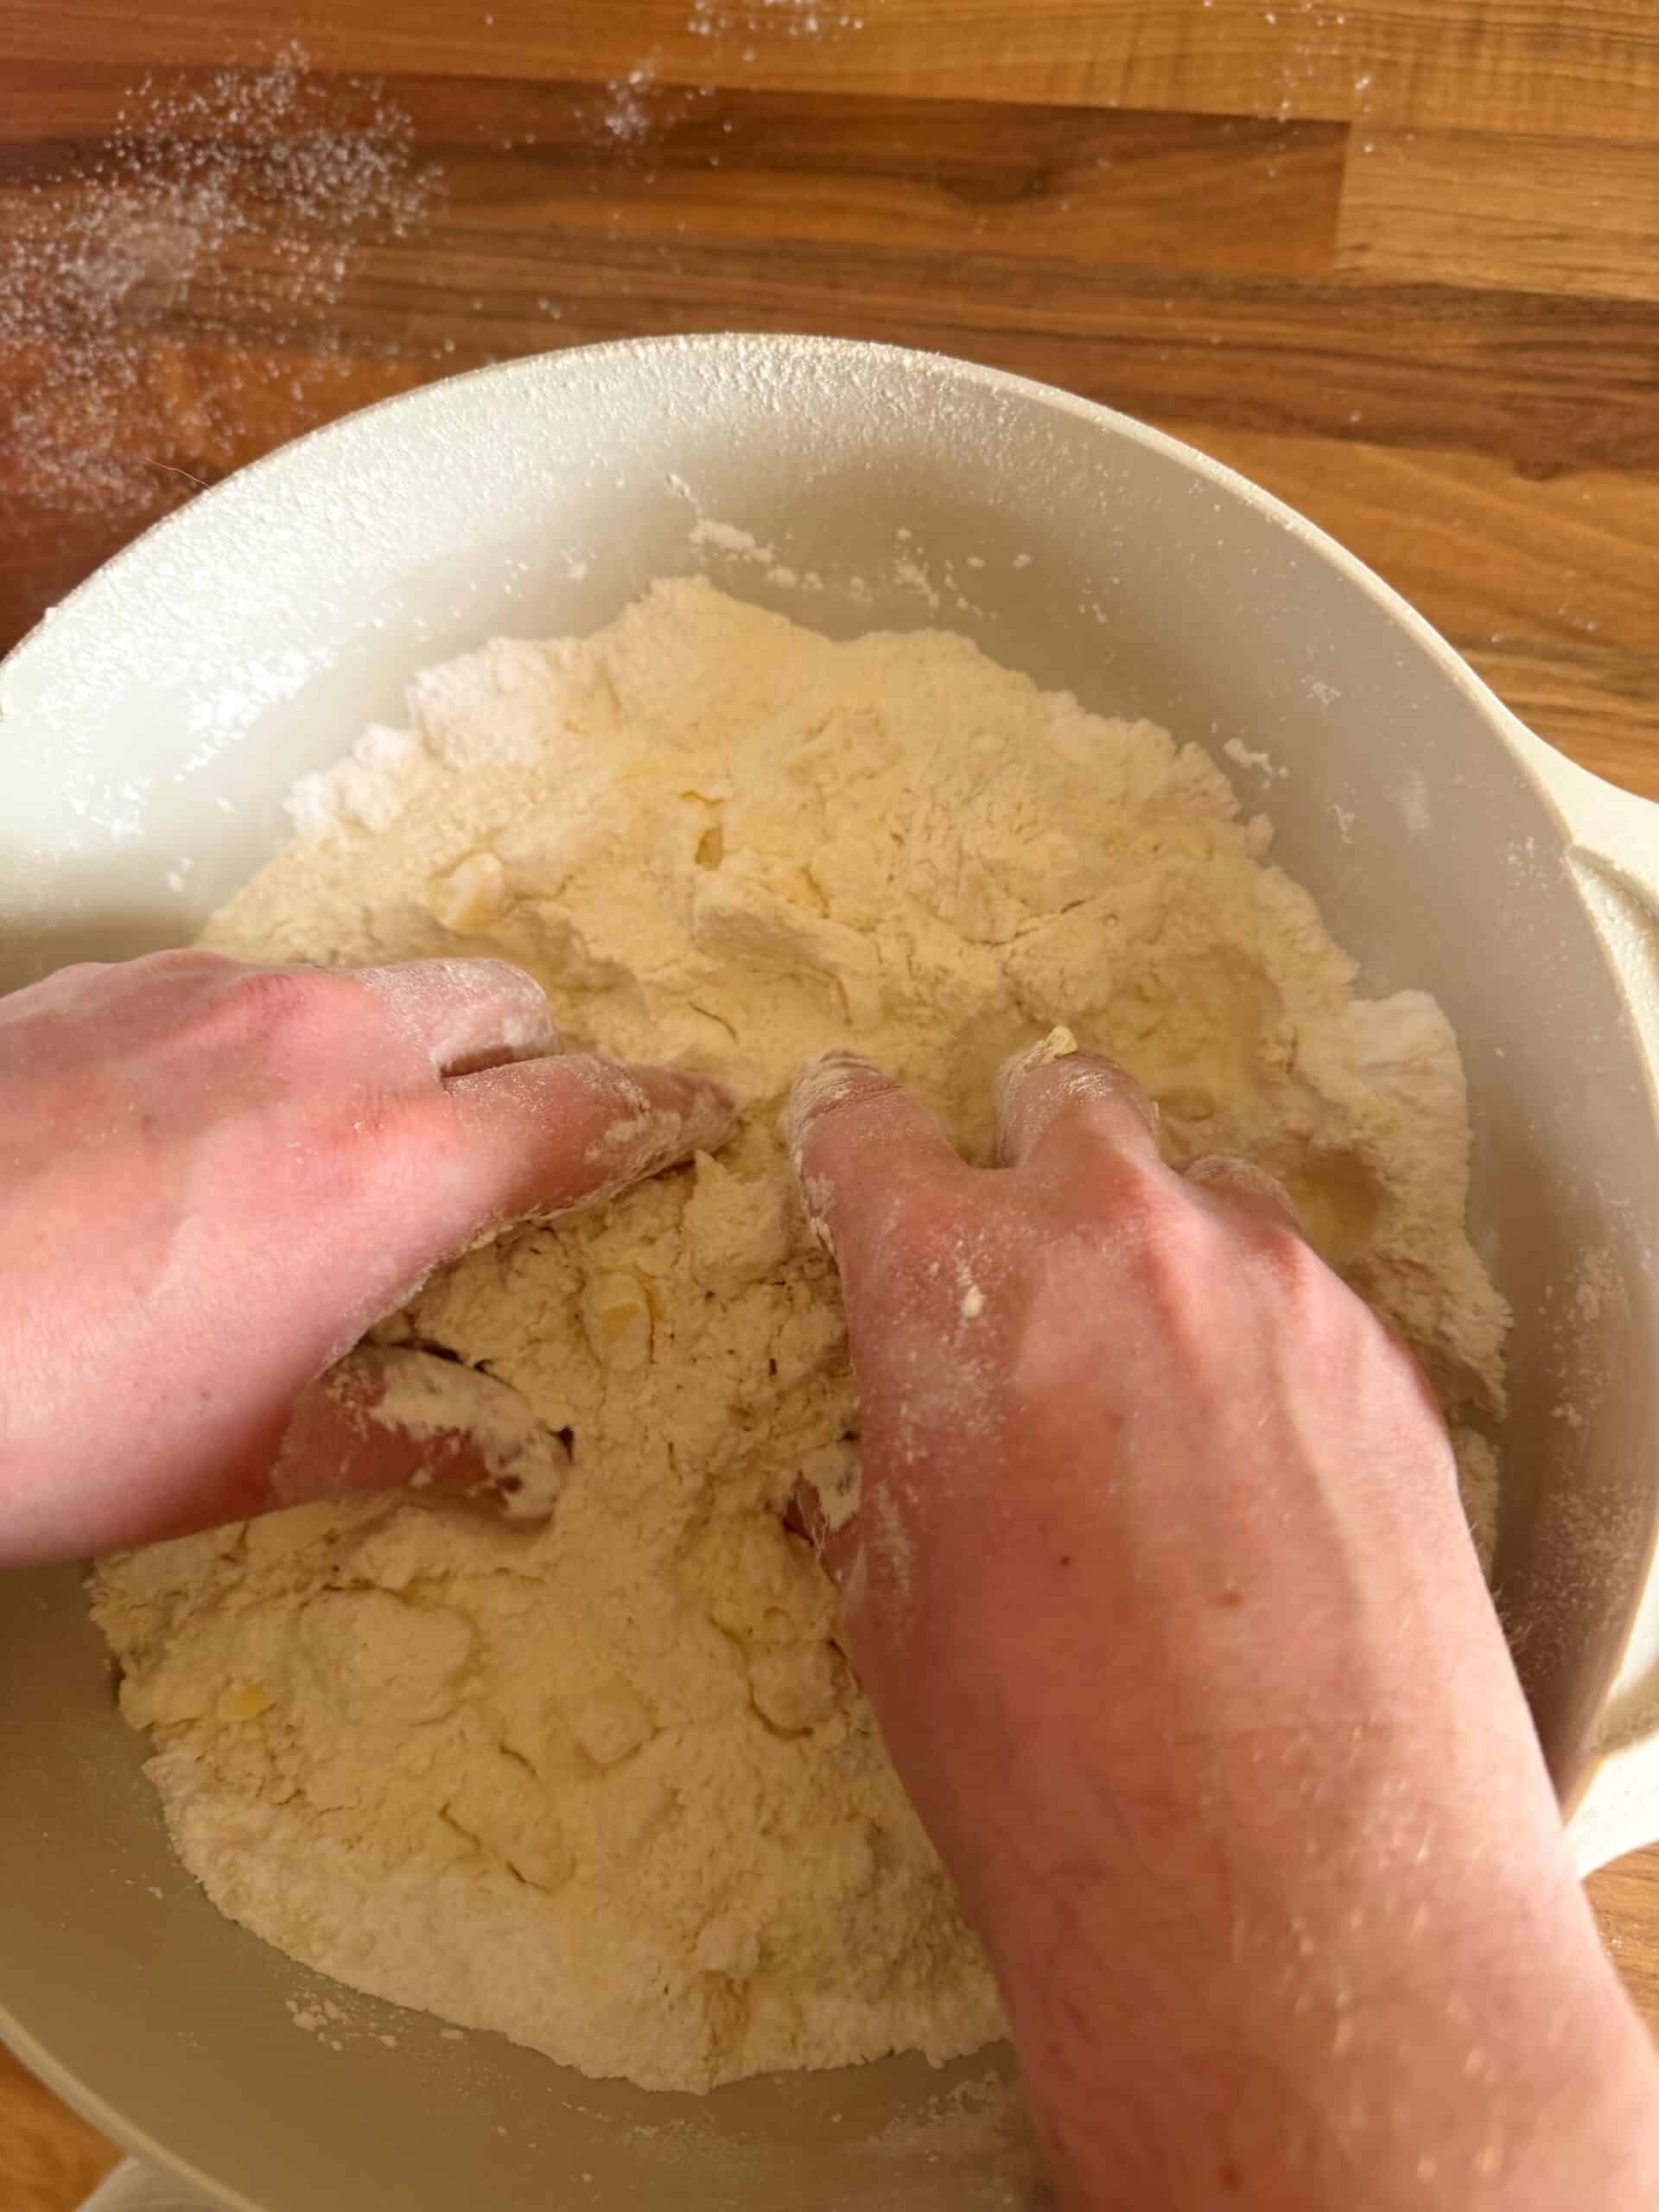
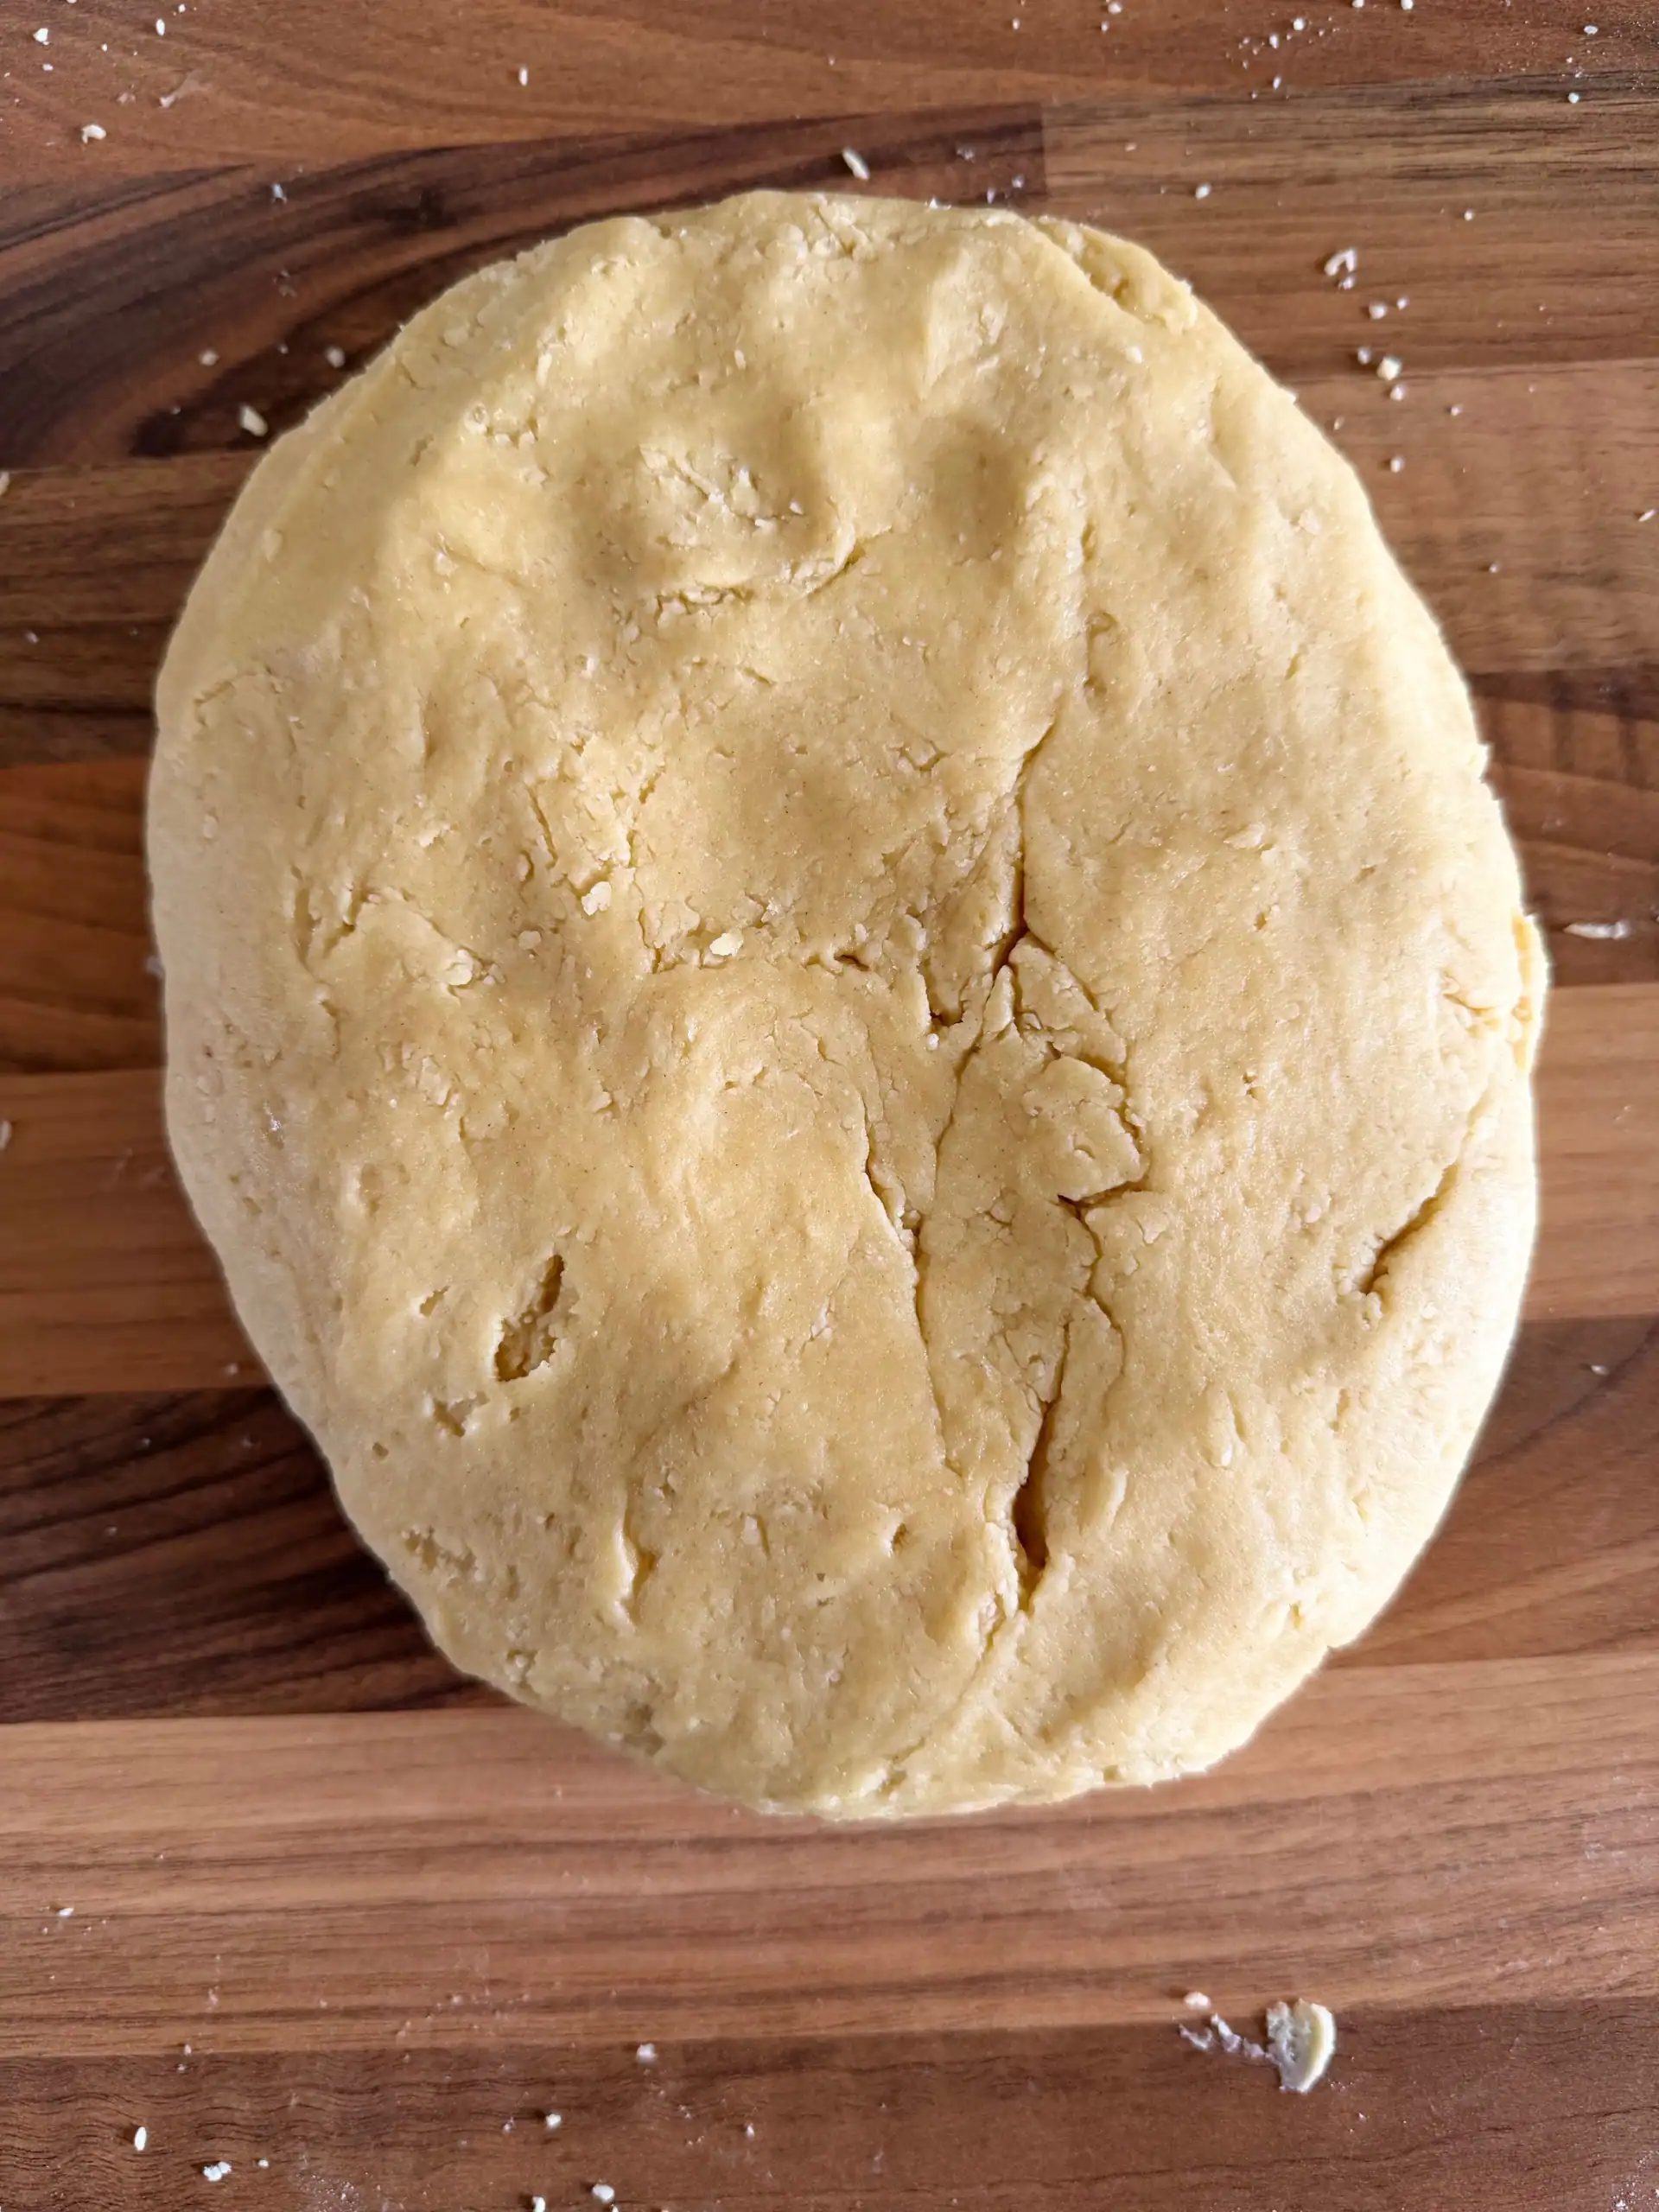
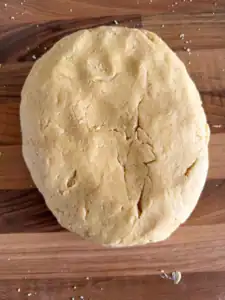
2: Lightly whisk the egg, pour them into the bowl and bring the dough together with a fork, then your hands. Shape into a disc, wrap and refrigerate for at least 1 hour.
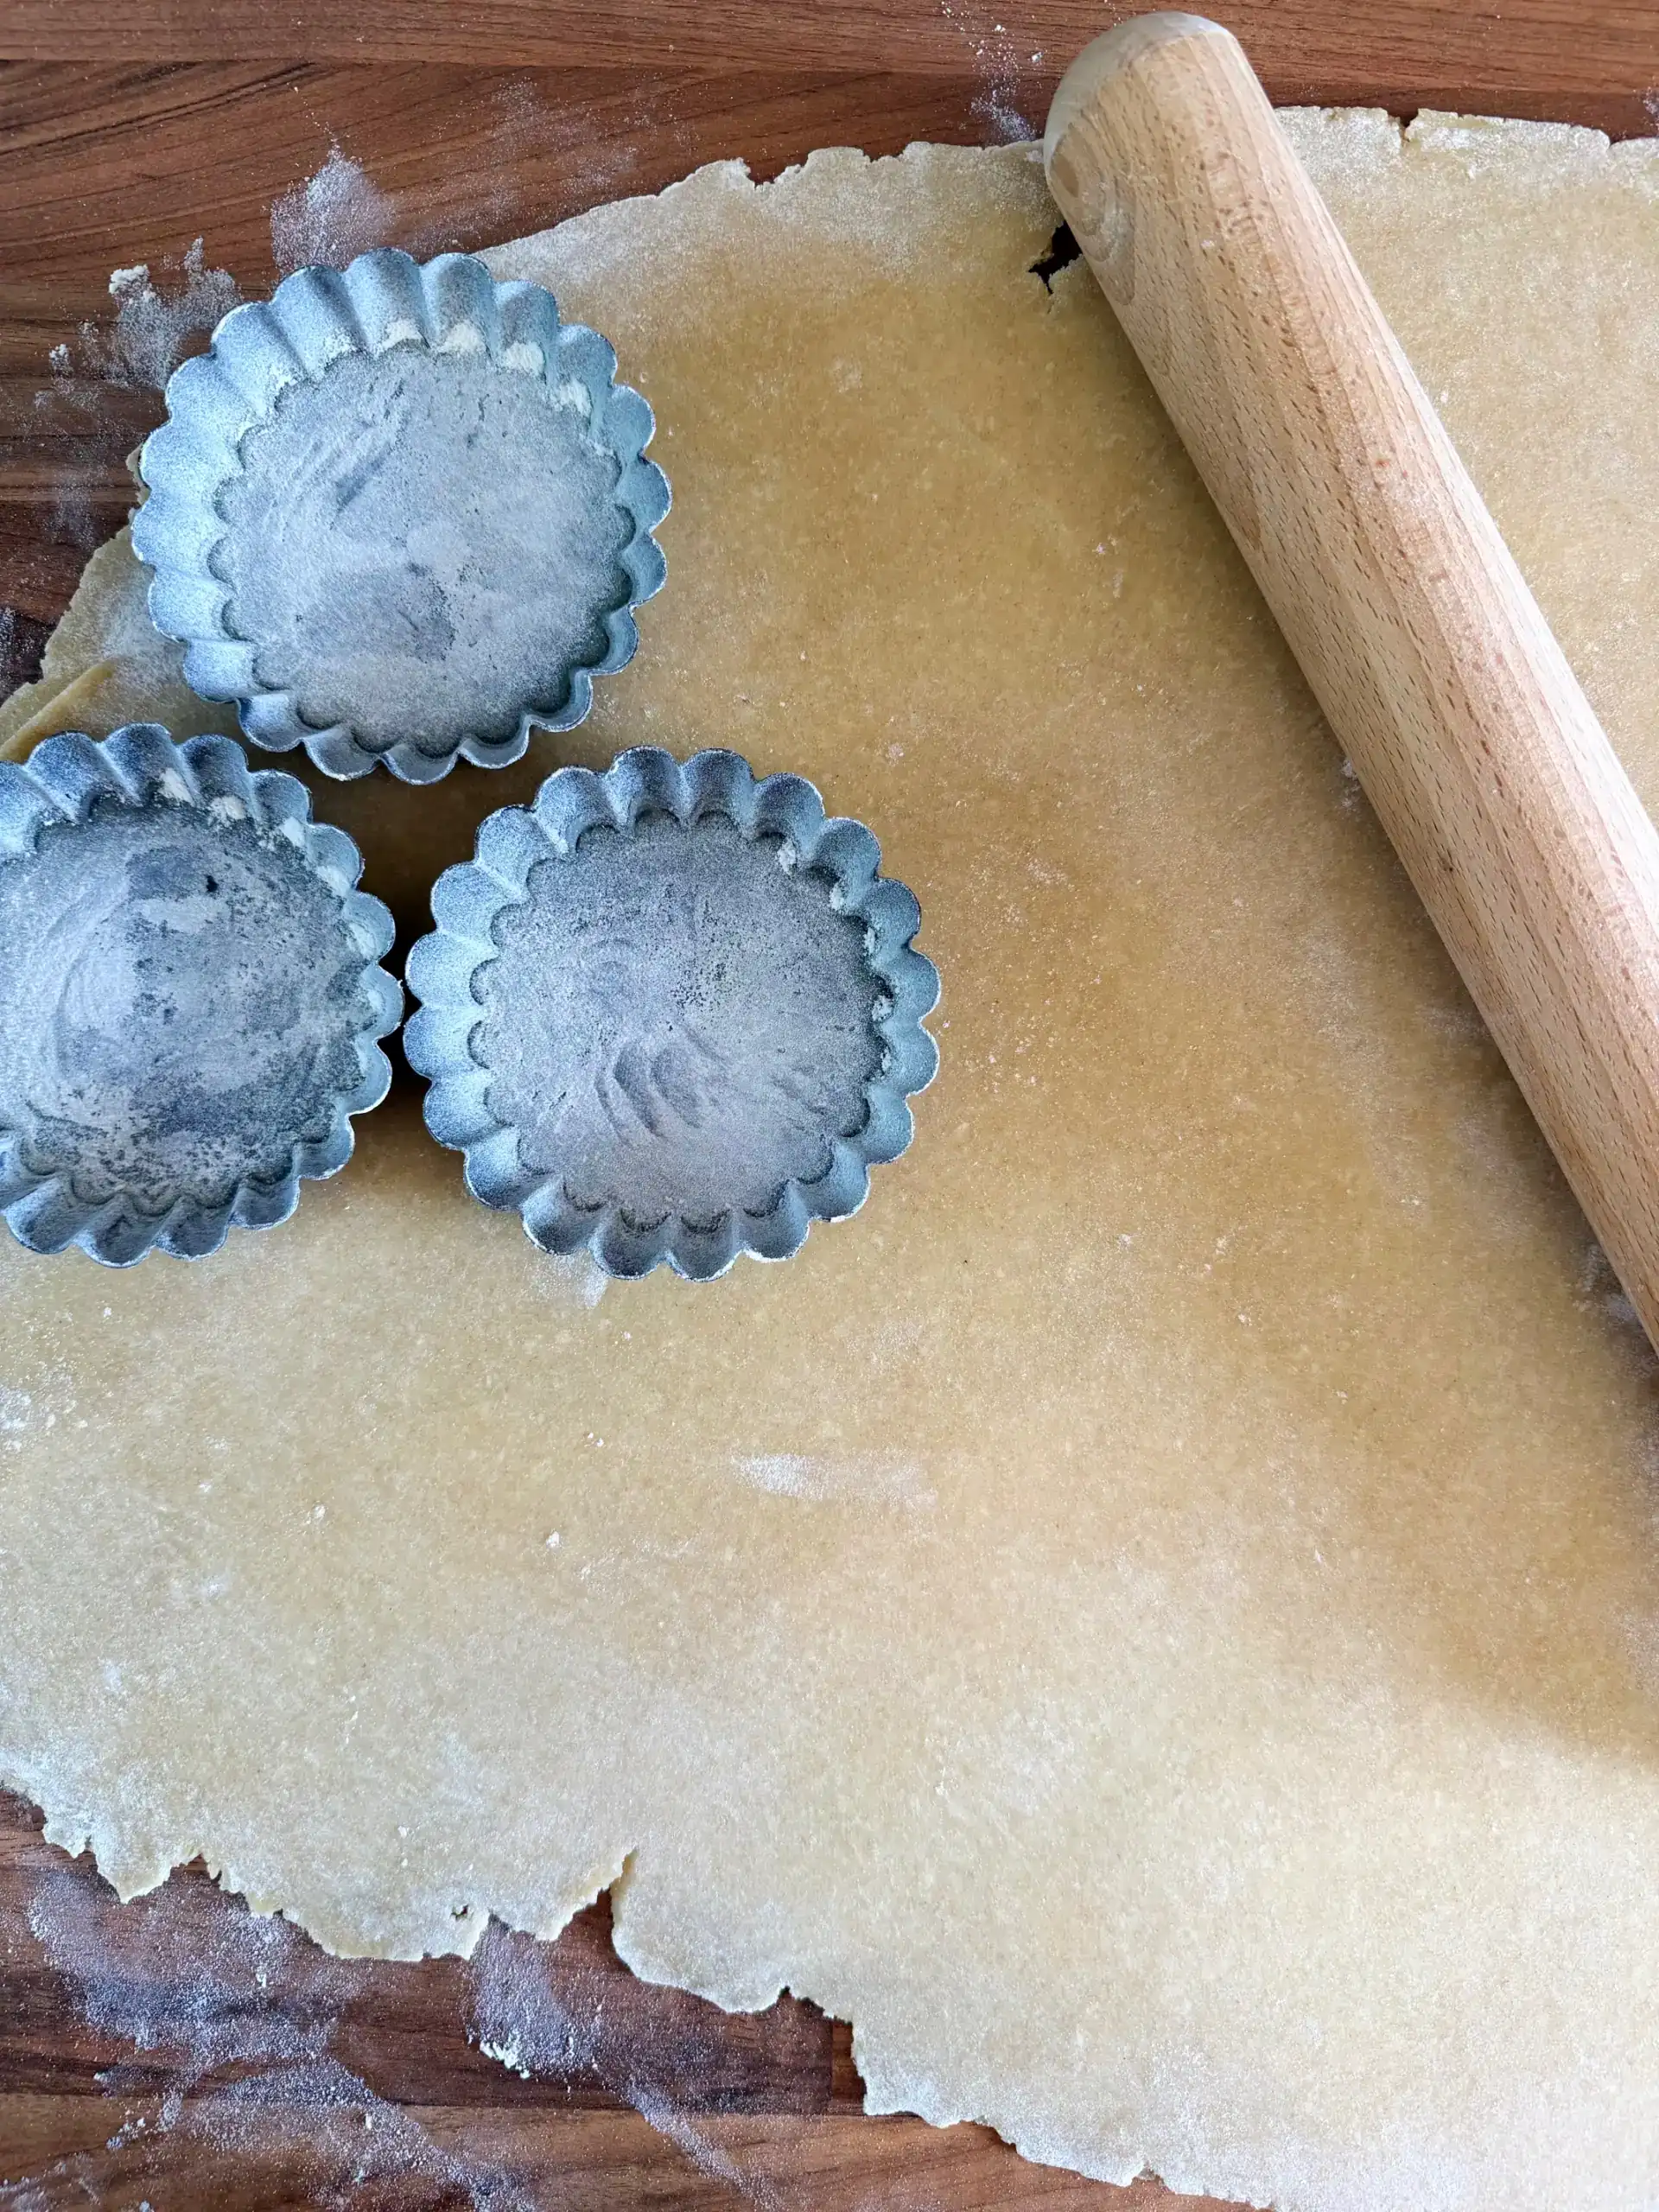
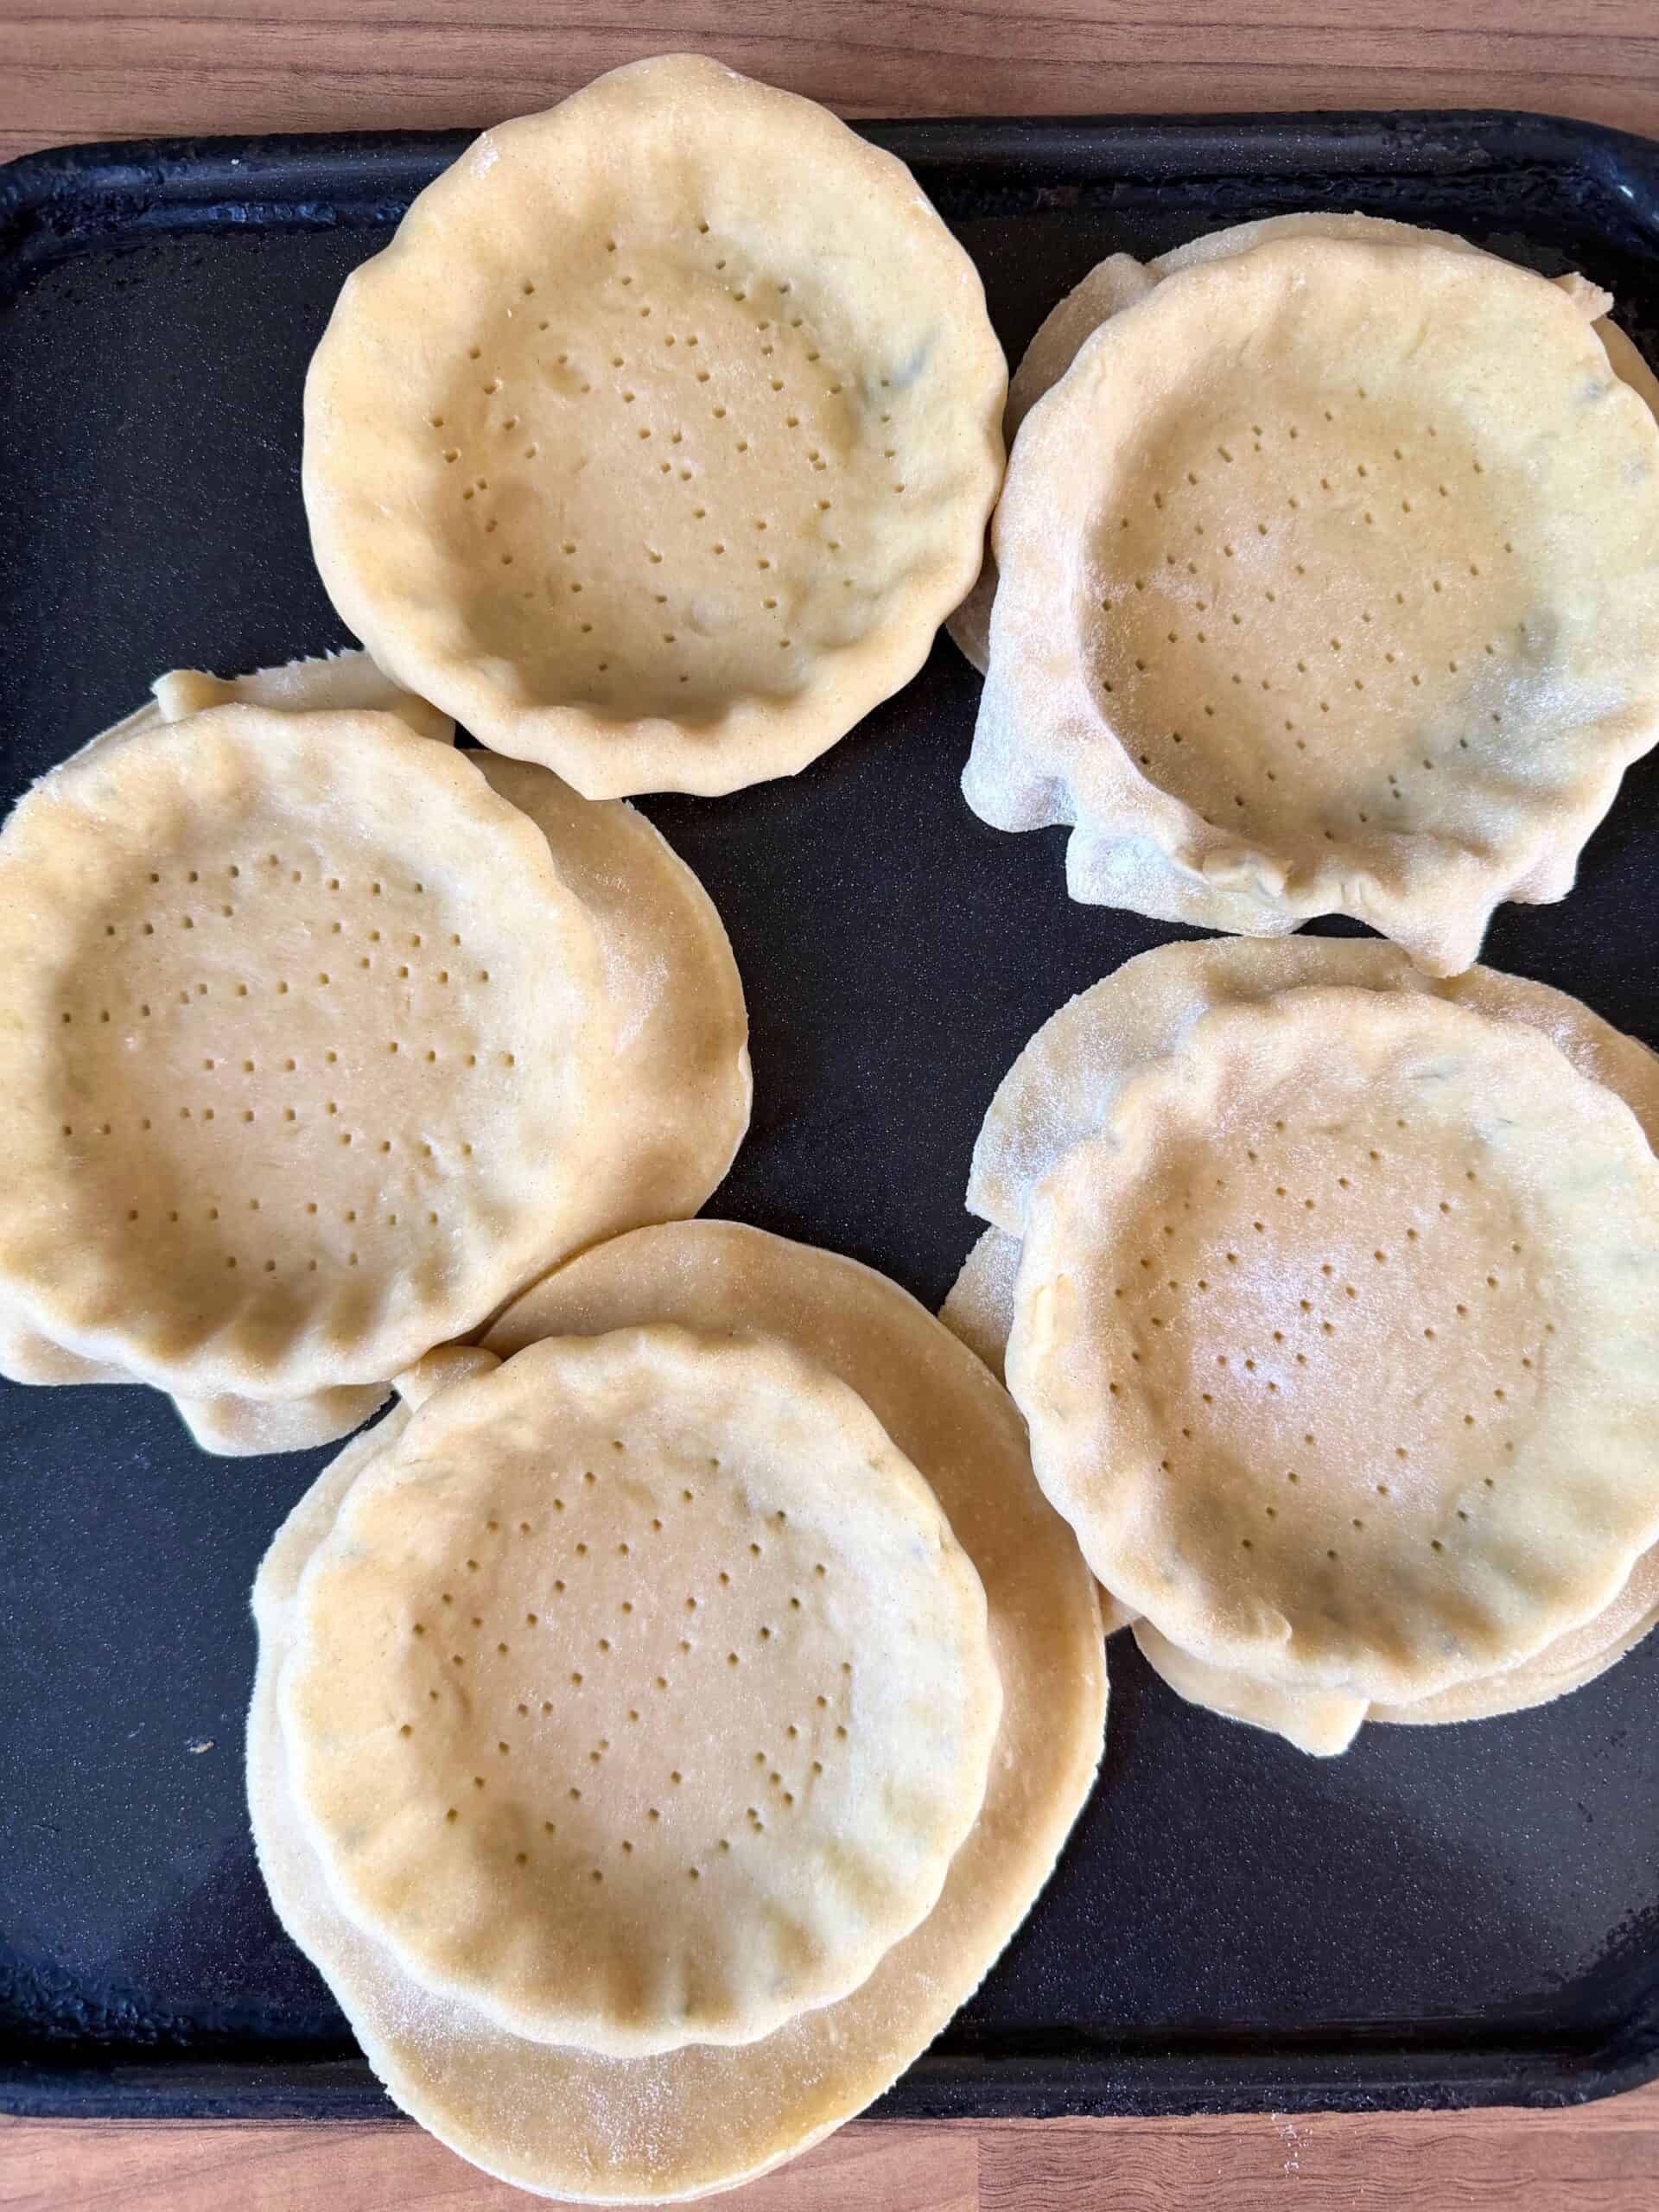
3: Lightly oil and flour the individual tart cases. Roll out the chilled pastry and line the tins, leaving some overhang to allow for shrinkage. Prick the base with a fork and chill again for 30 minutes.
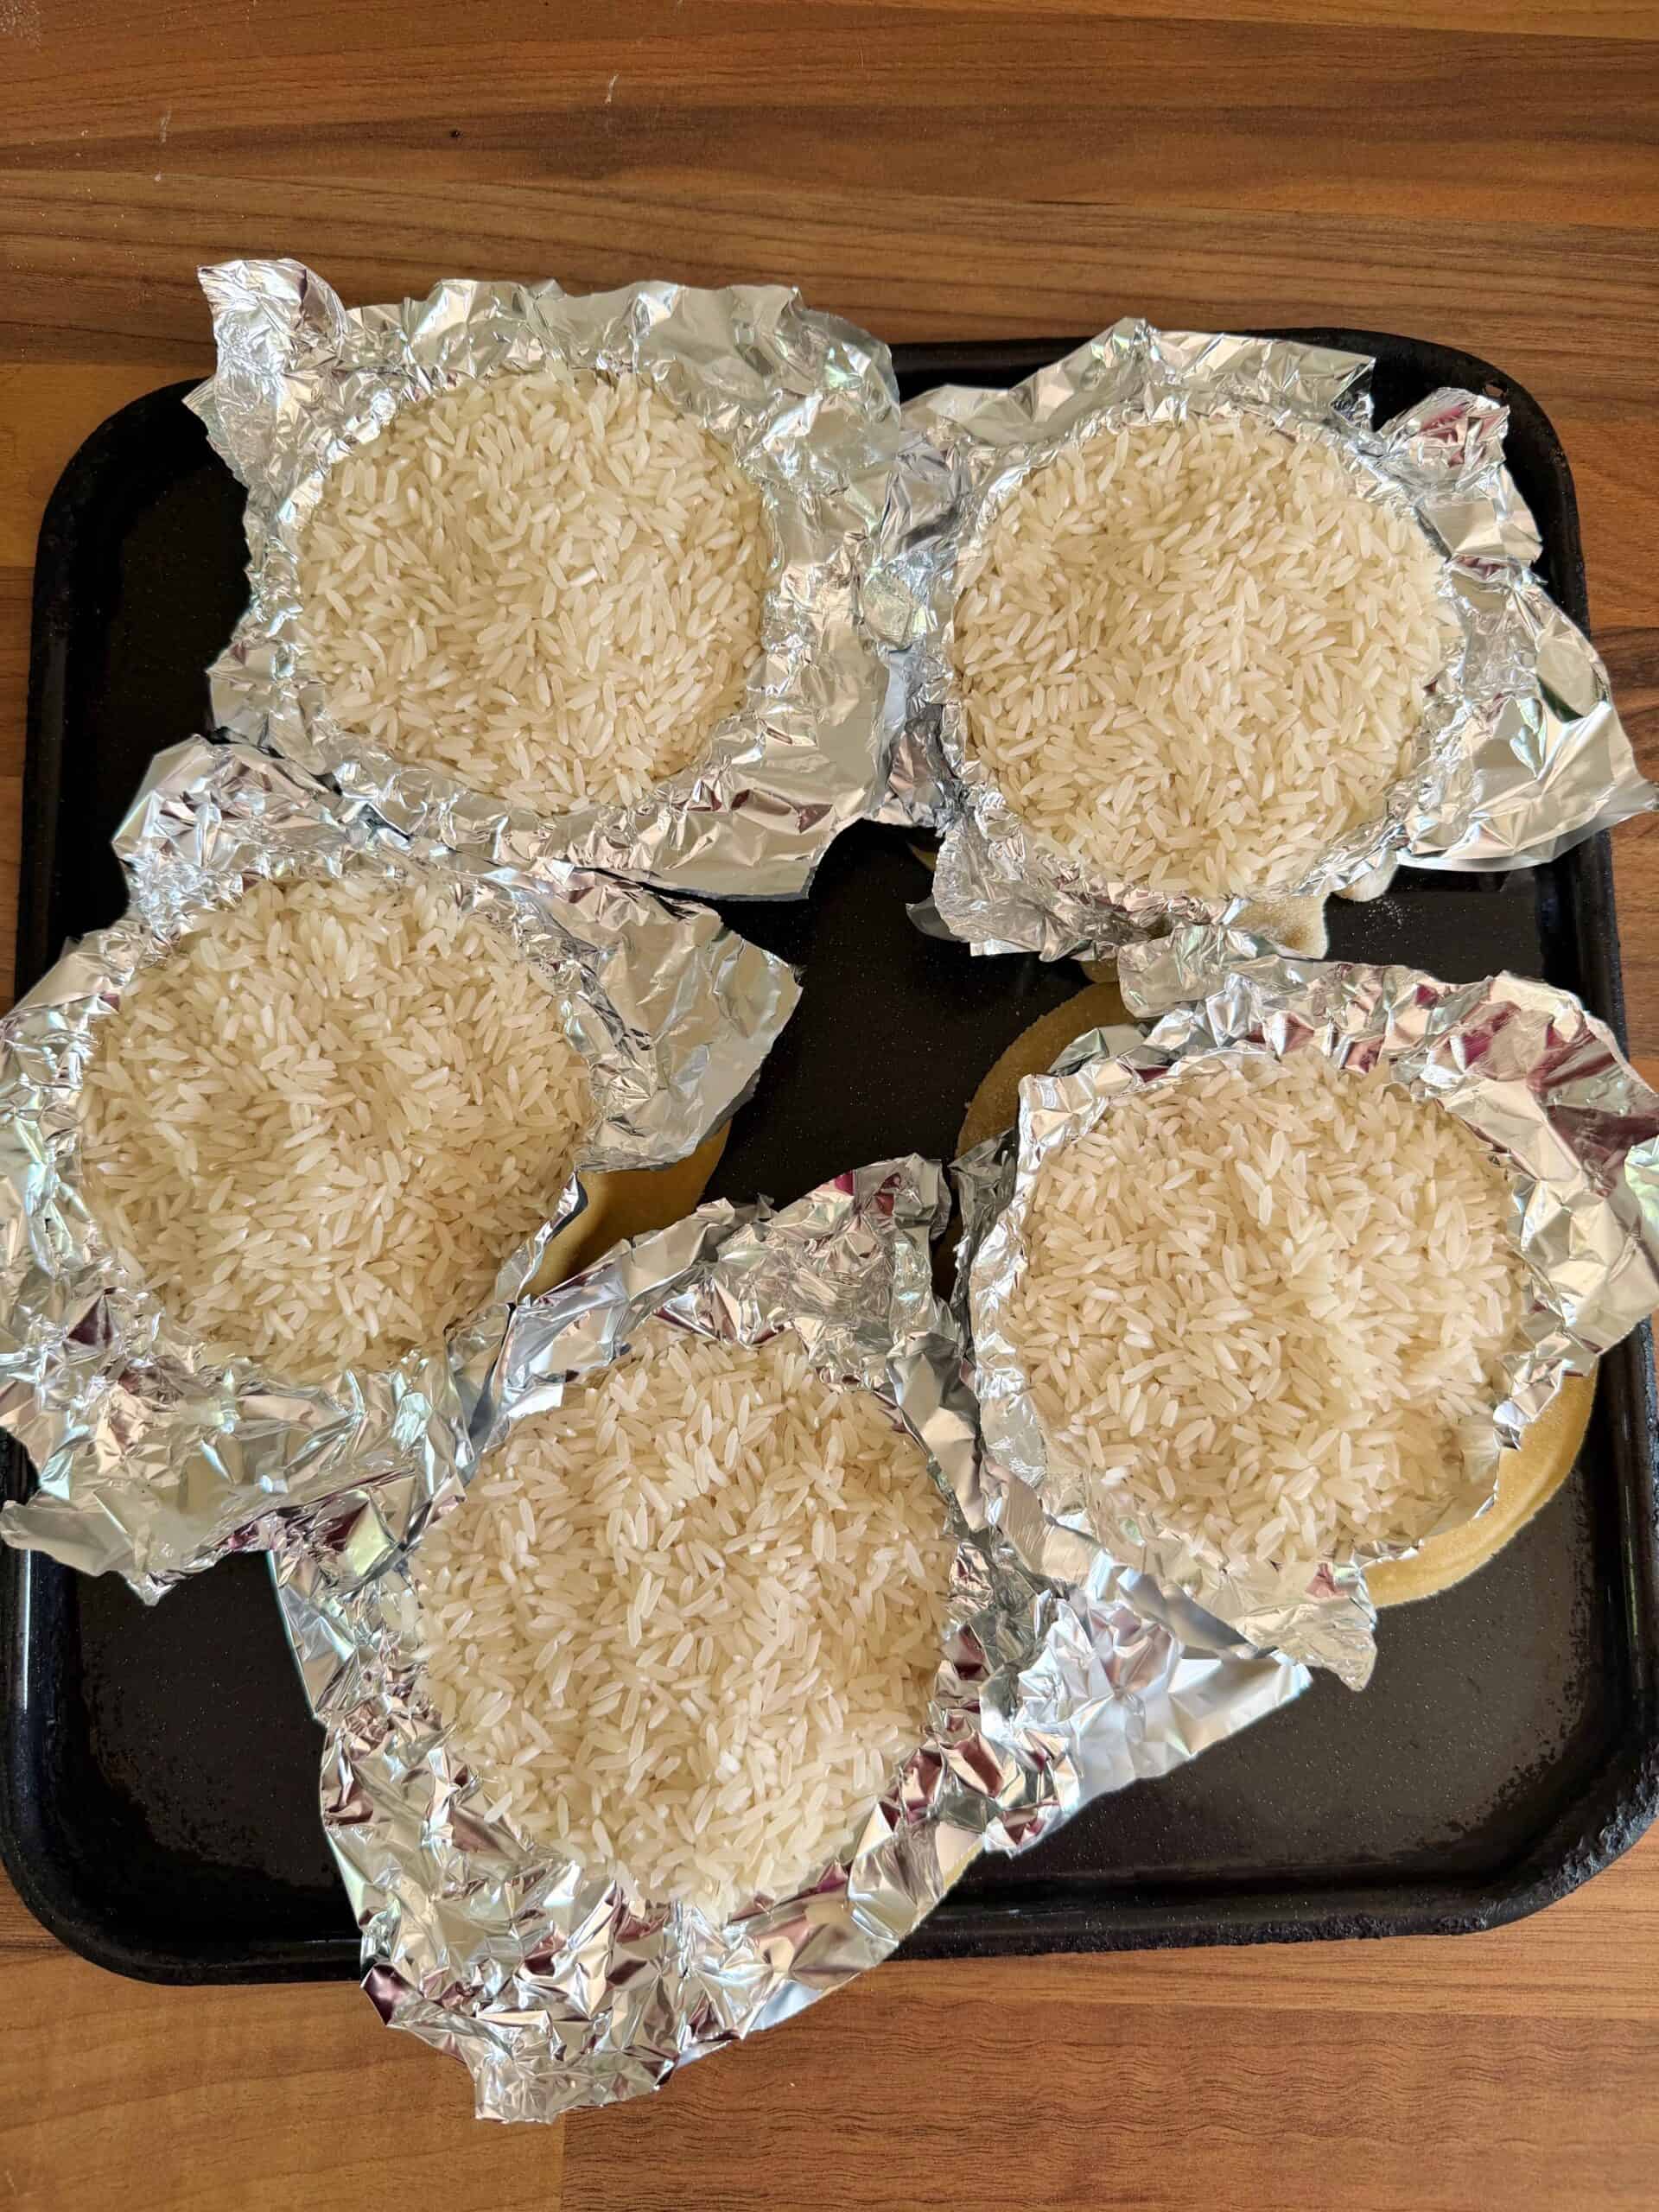
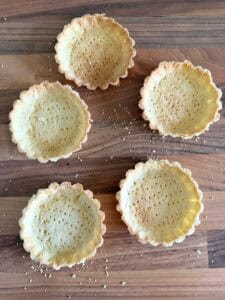
4: Blind bake – Line the pastry with foil and fill with baking beans or rice. Bake at 190°C for 15 minutes. Remove the foil and beans, then bake for a further 7-10 minutes until dry but not browned

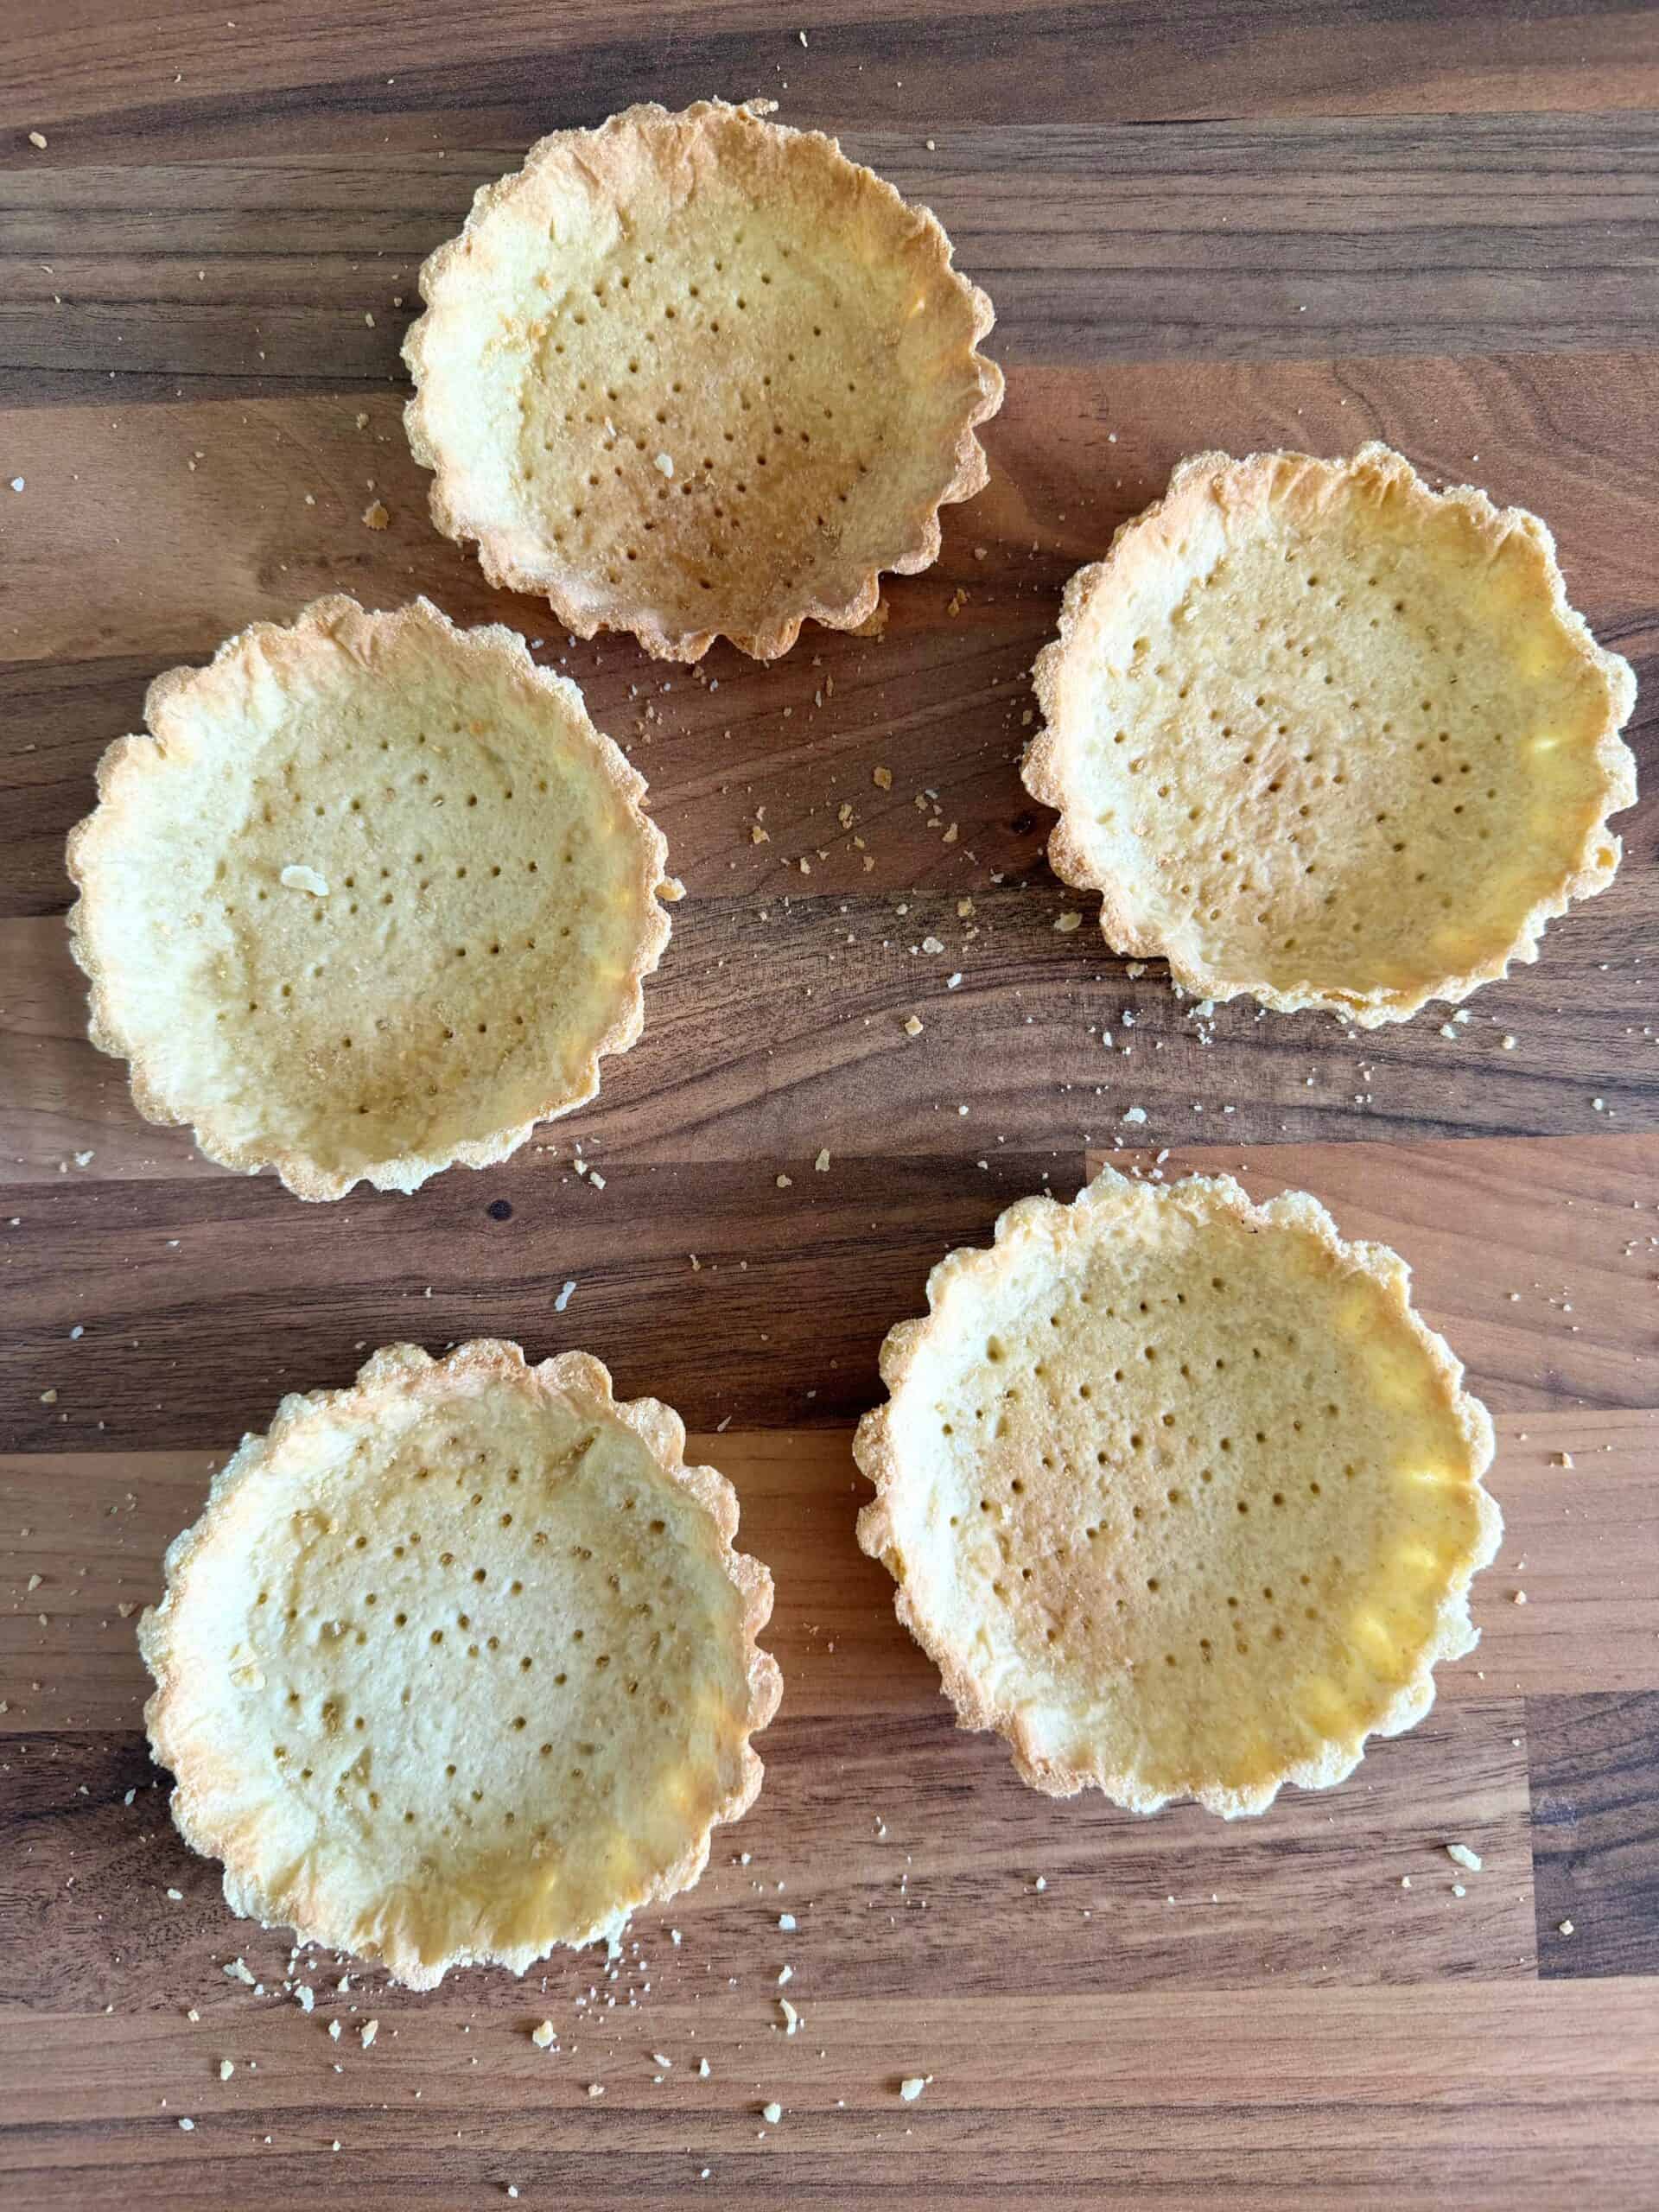
5: Trim the edges – Using a sharp knife (a bread knife works well), carefully trim the overhanging pastry for a neat finish
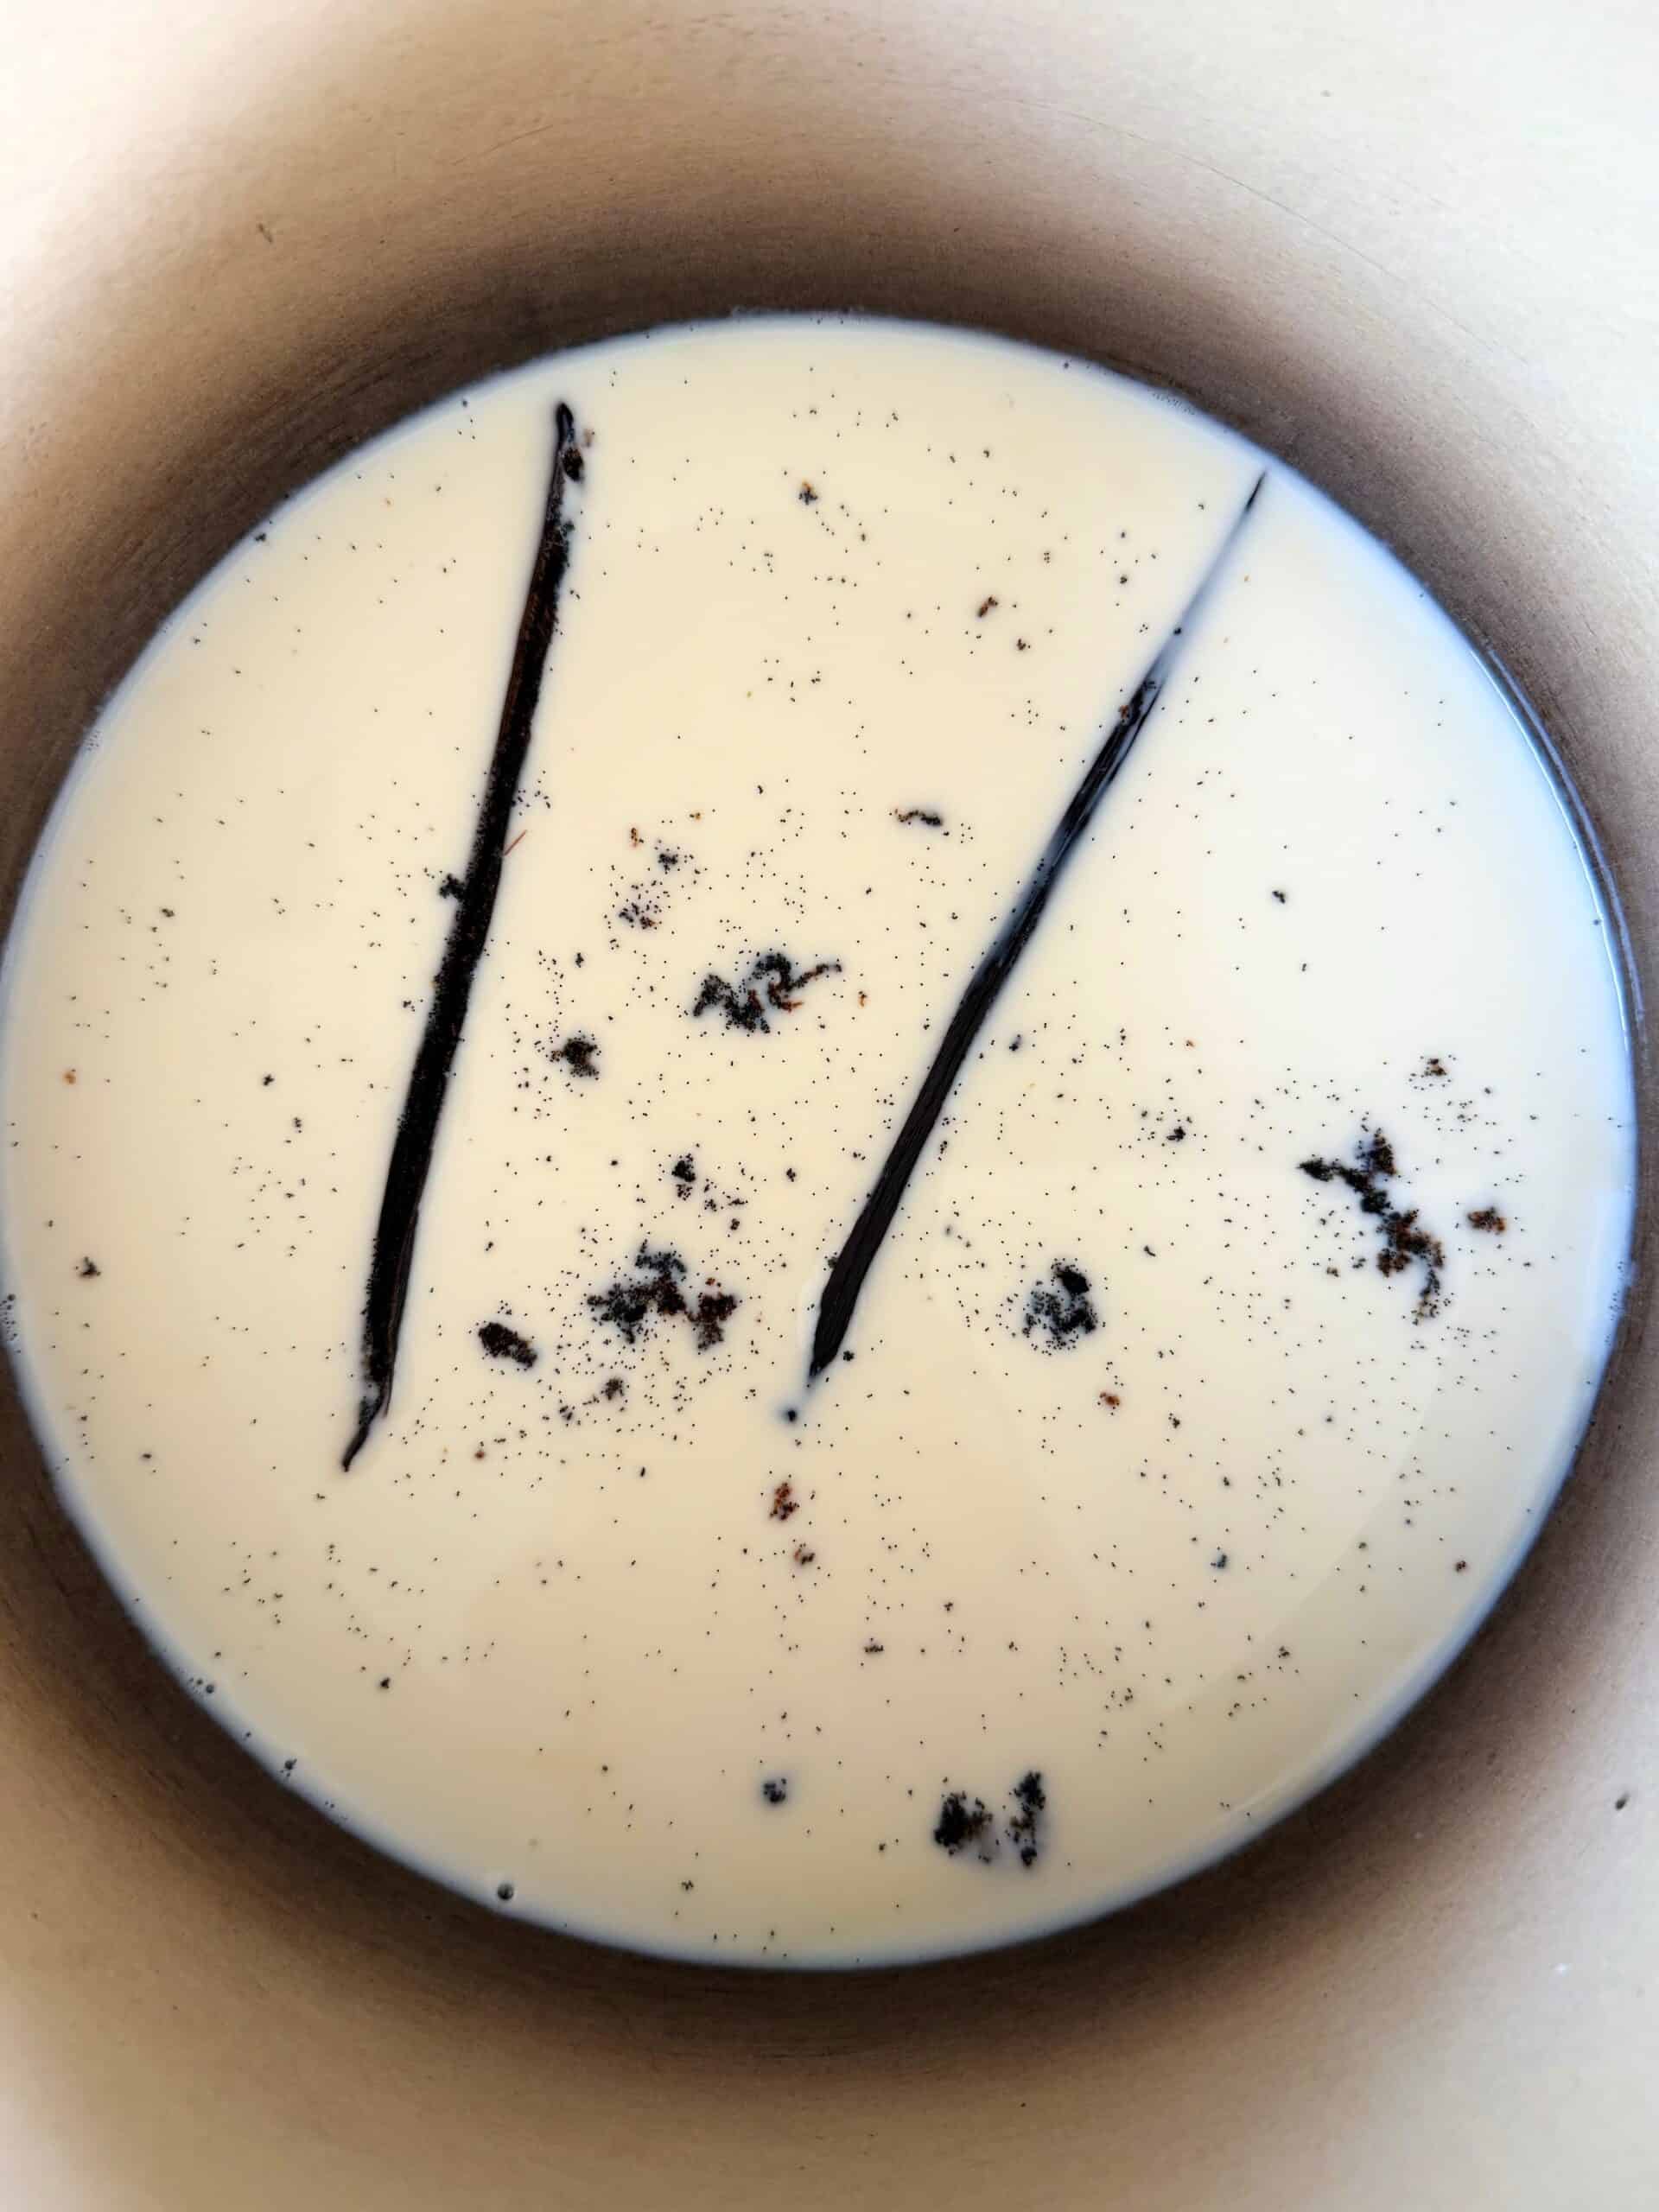
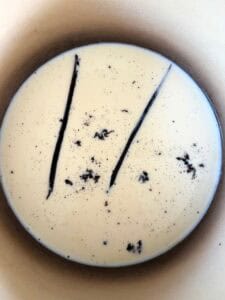
6: Heat the milk – Pour the milk into a saucepan and set it over medium heat, stirring occasionally so it doesn't catch on the bottom. Split the vanilla pod lengthways and scrape out the seeds. Add both the seeds and the empty pod to the milk. Heat until the milk is just below boiling.
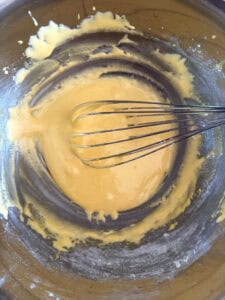
7: Whisk the egg mixture – In a mixing bowl, whisk the egg yolks and sugar until pale and creamy. Add the flour and cornflour, whisking until smooth
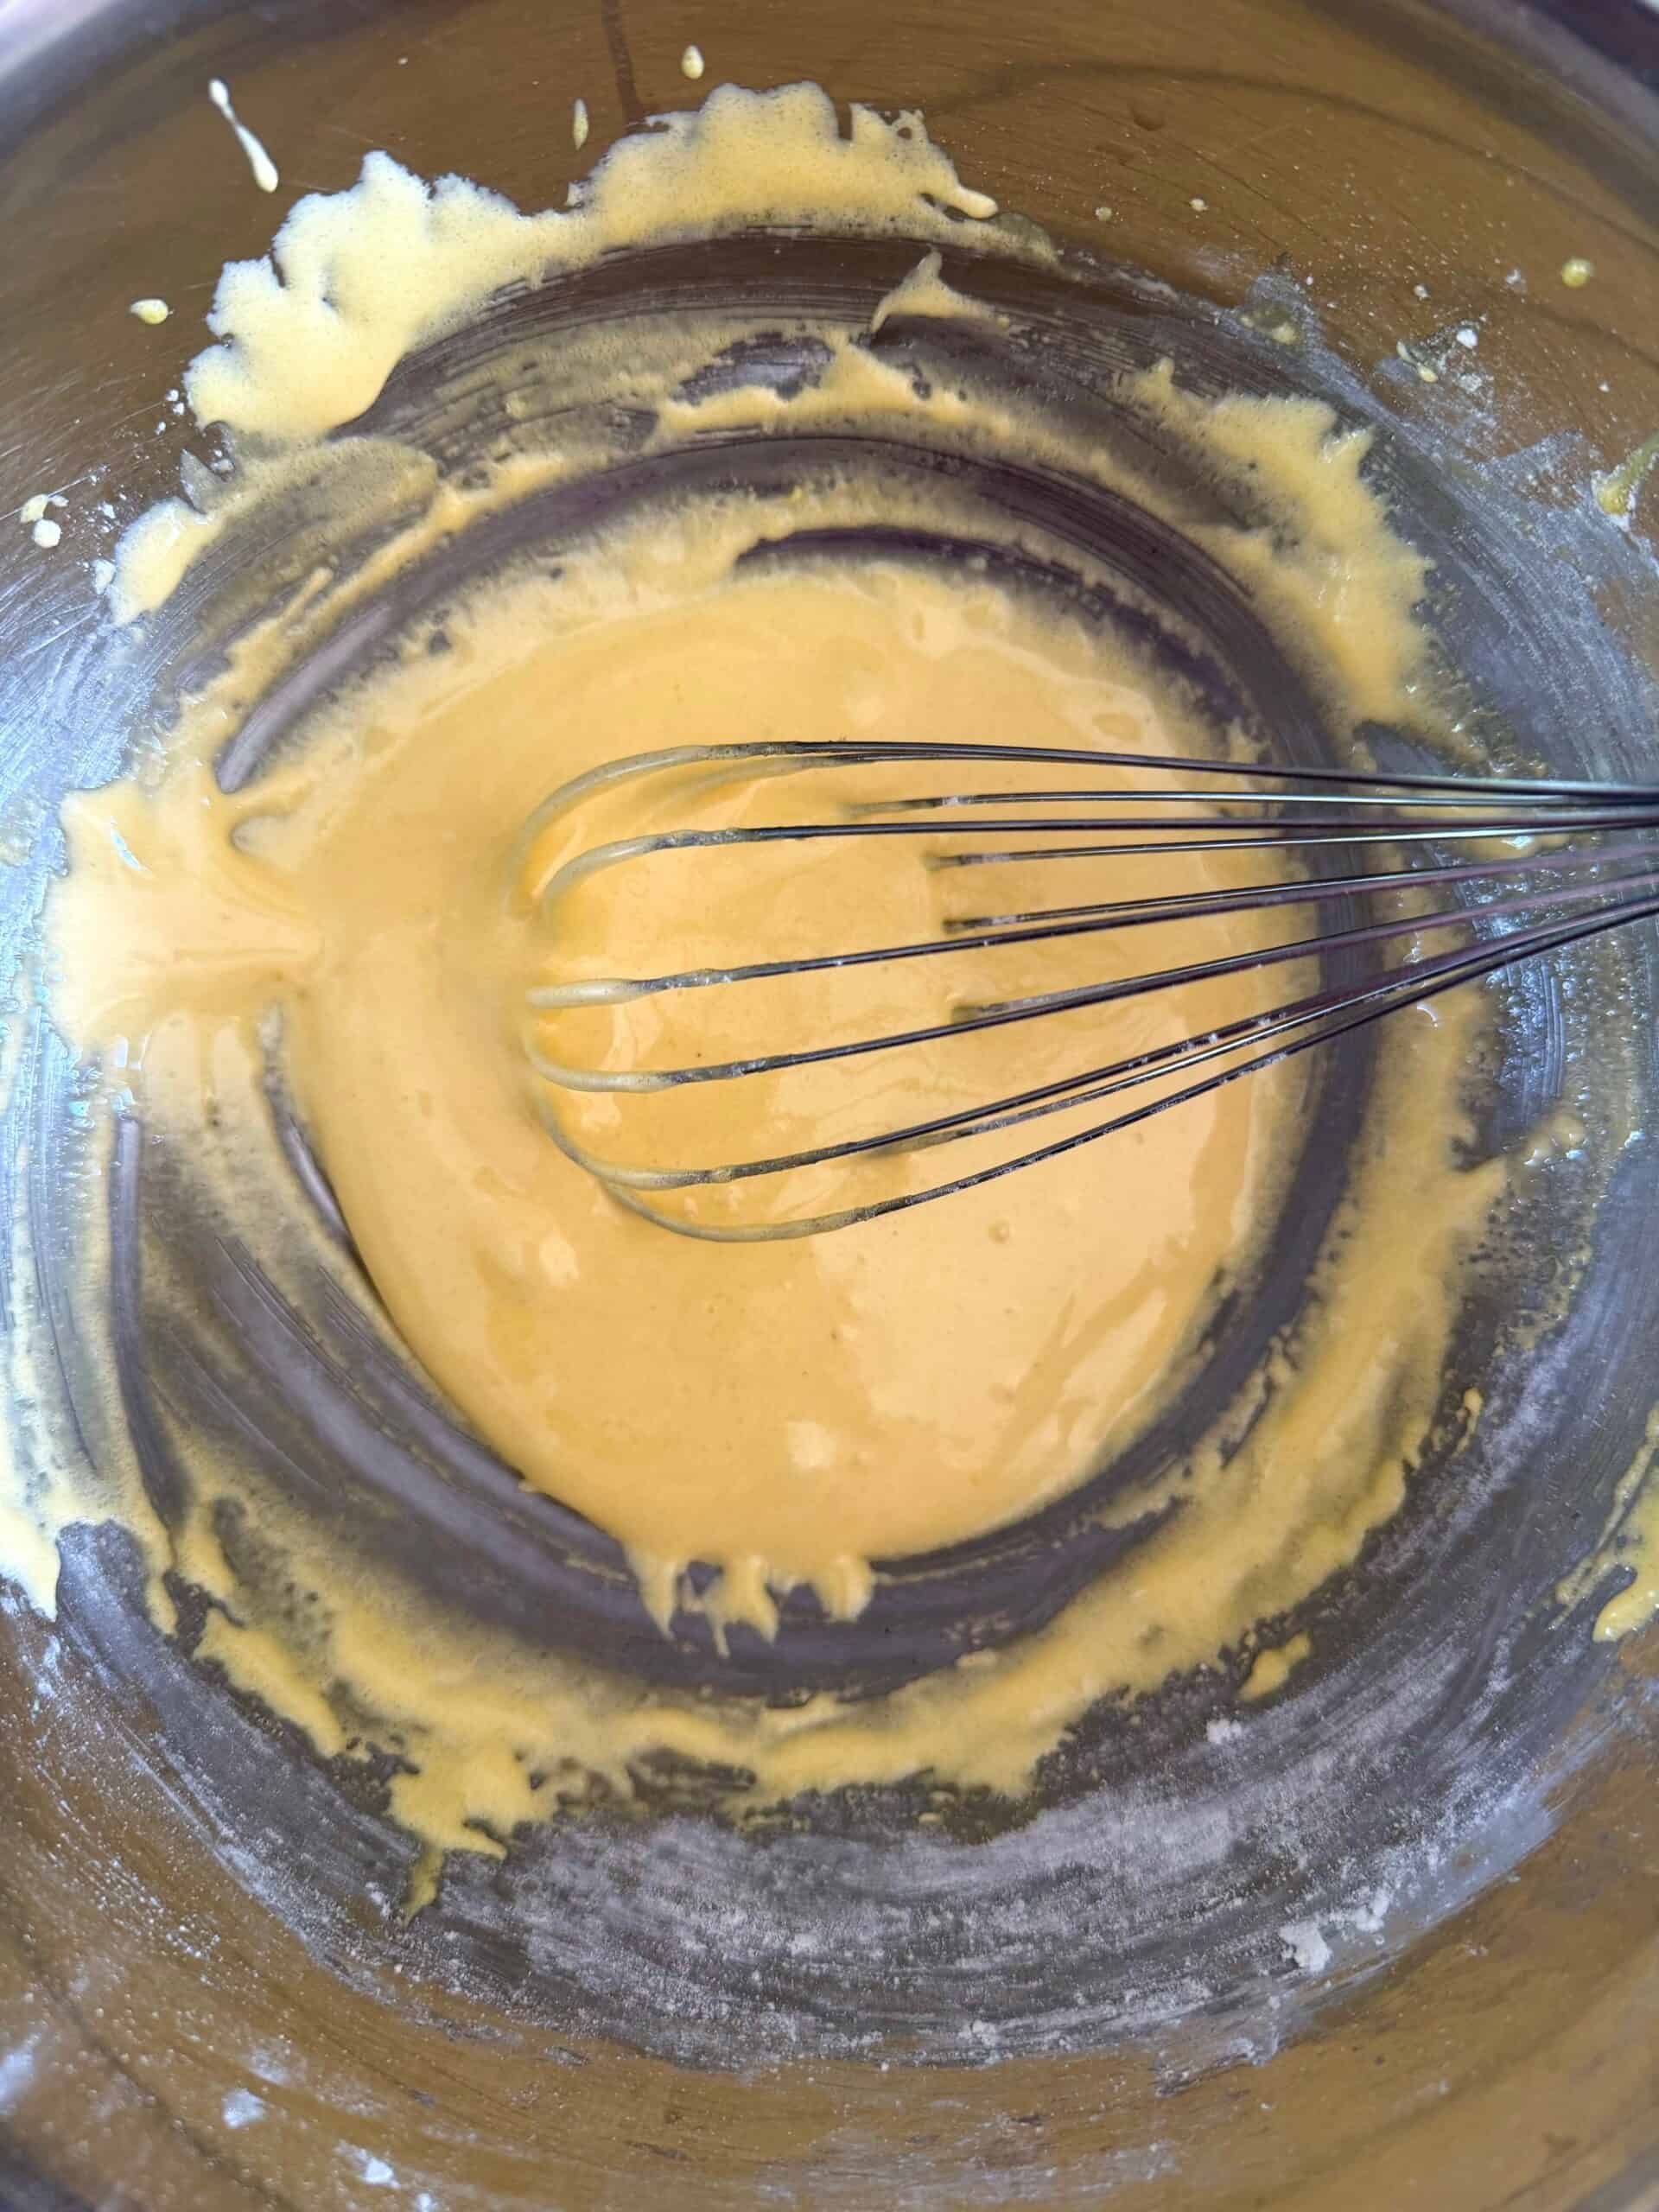
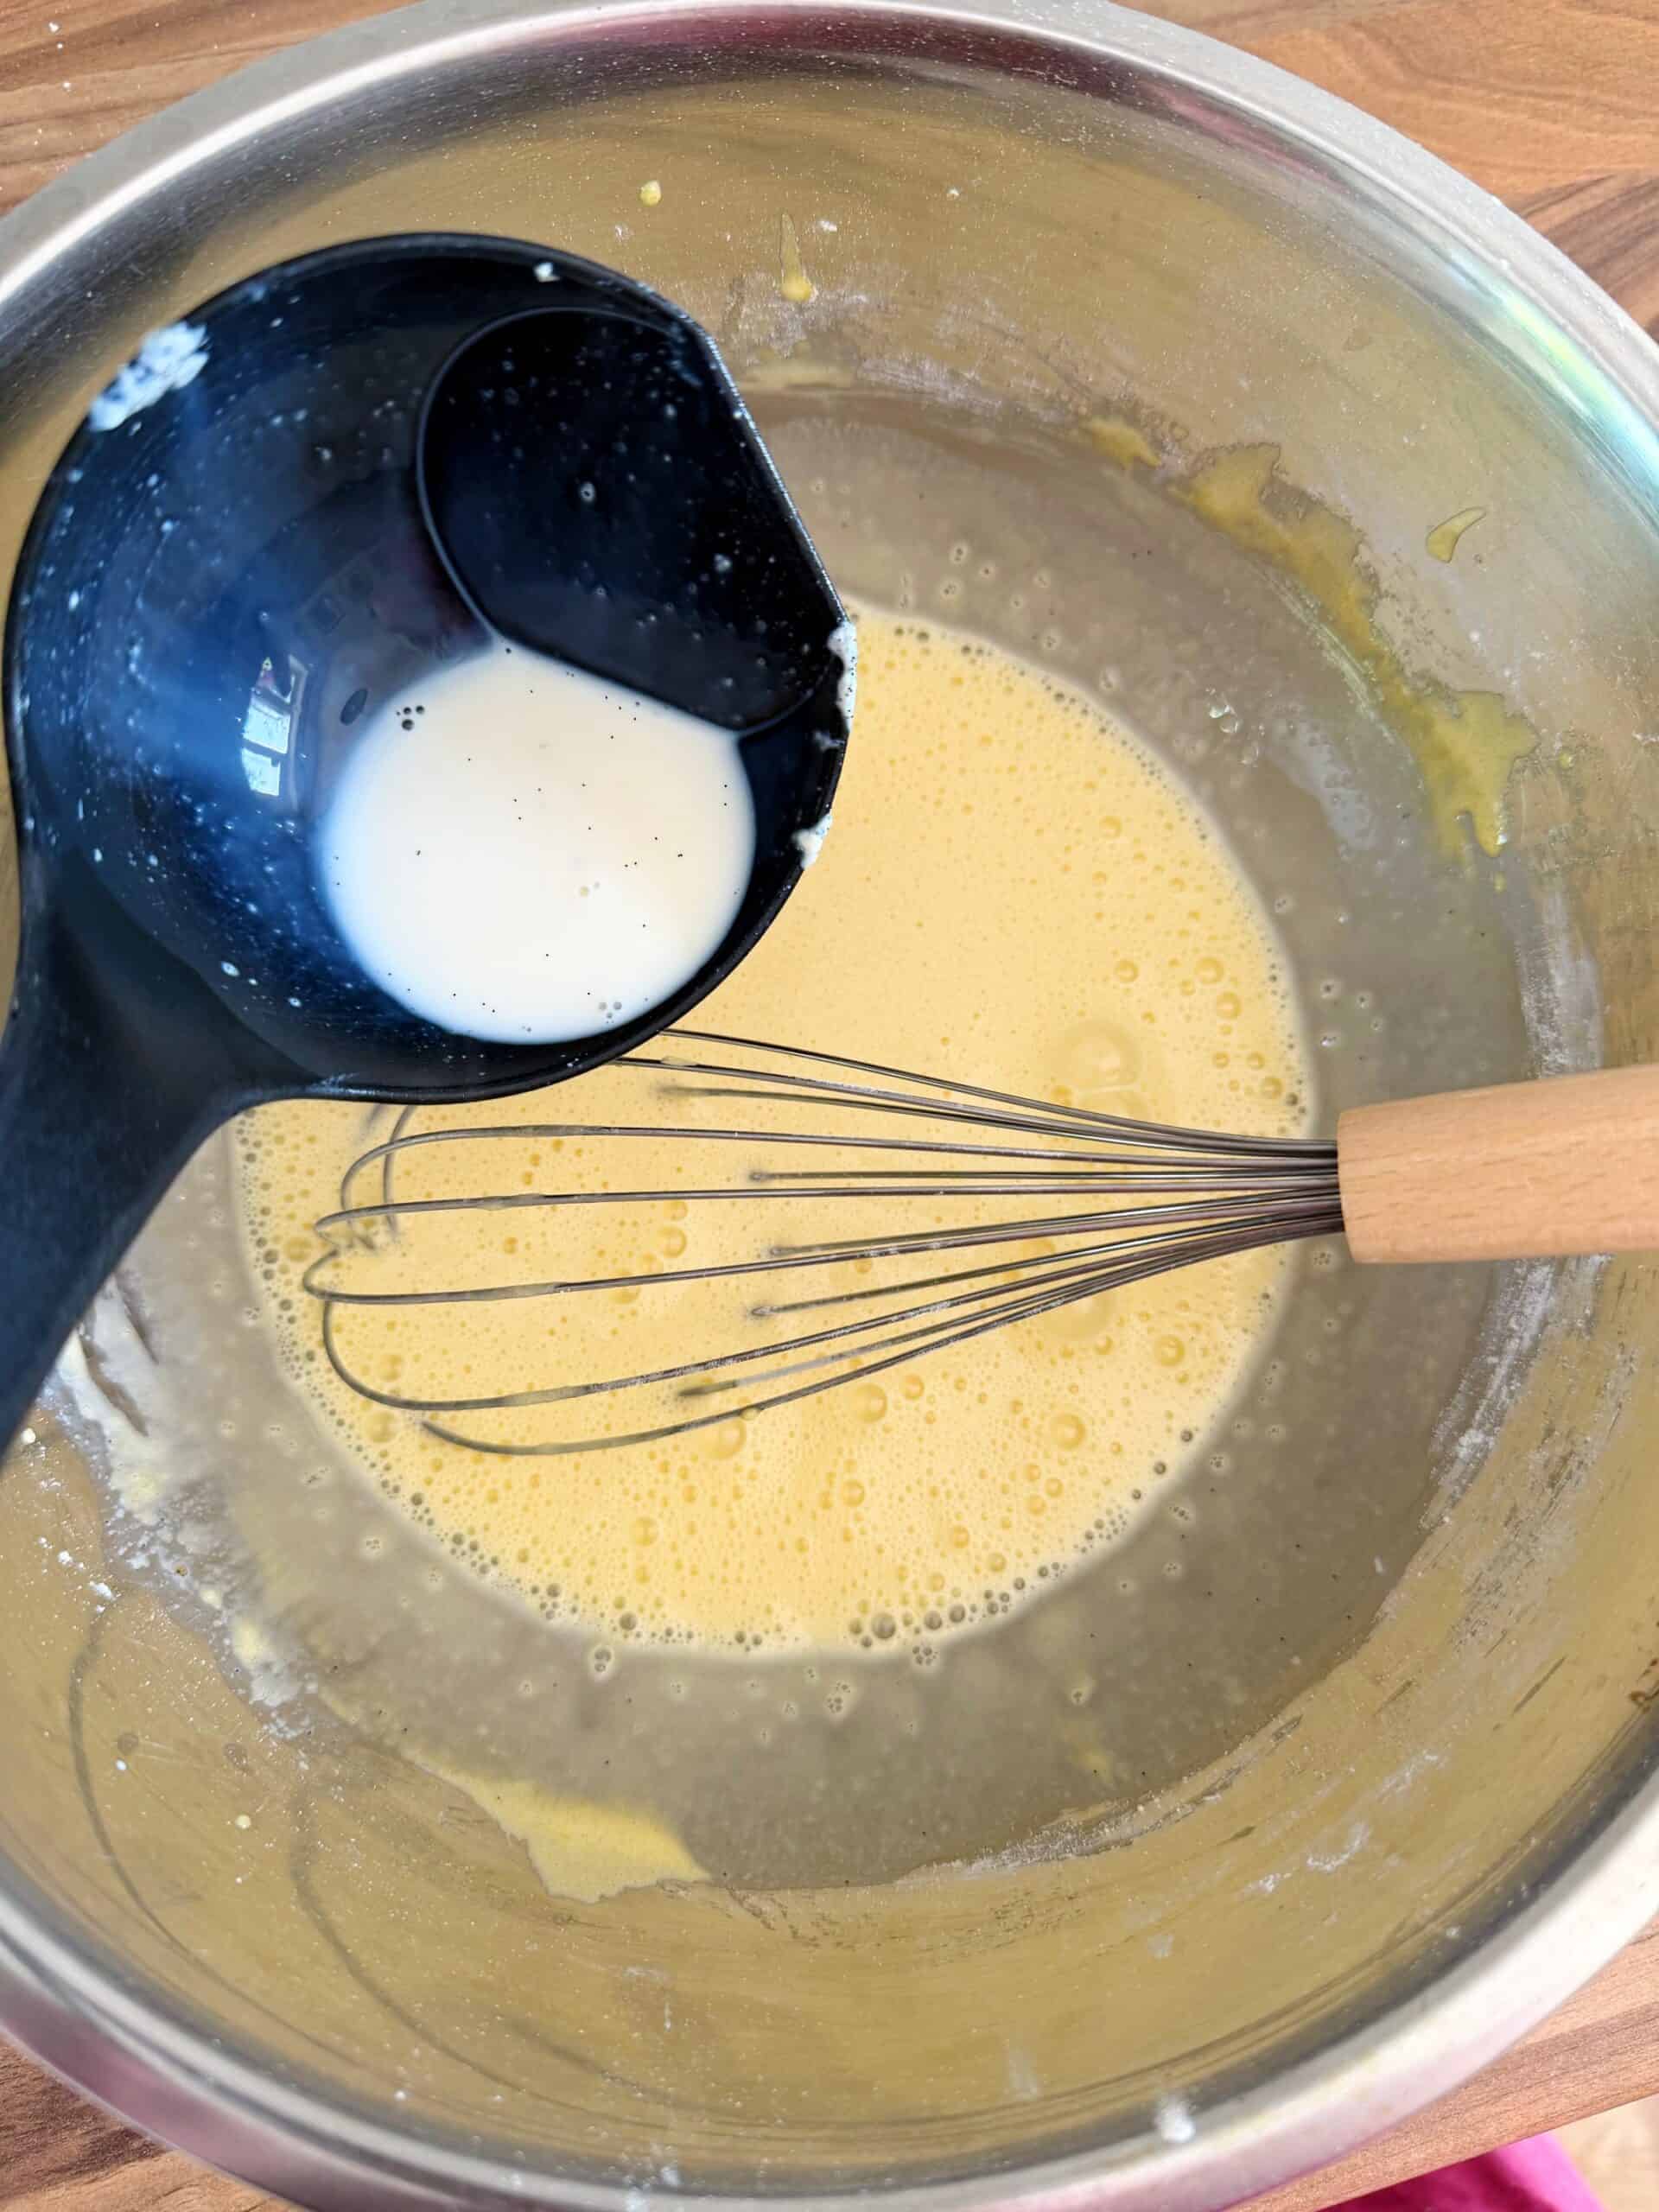
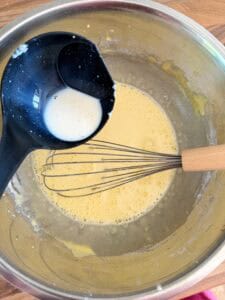
8: Temper the eggs – Let the hot milk cool for about 30 seconds. Using a ladle, slowly pour about half of the hot vanilla milk into the egg mixture, whisking vigorously the whole time to prevent scrambling. Do this little by little.
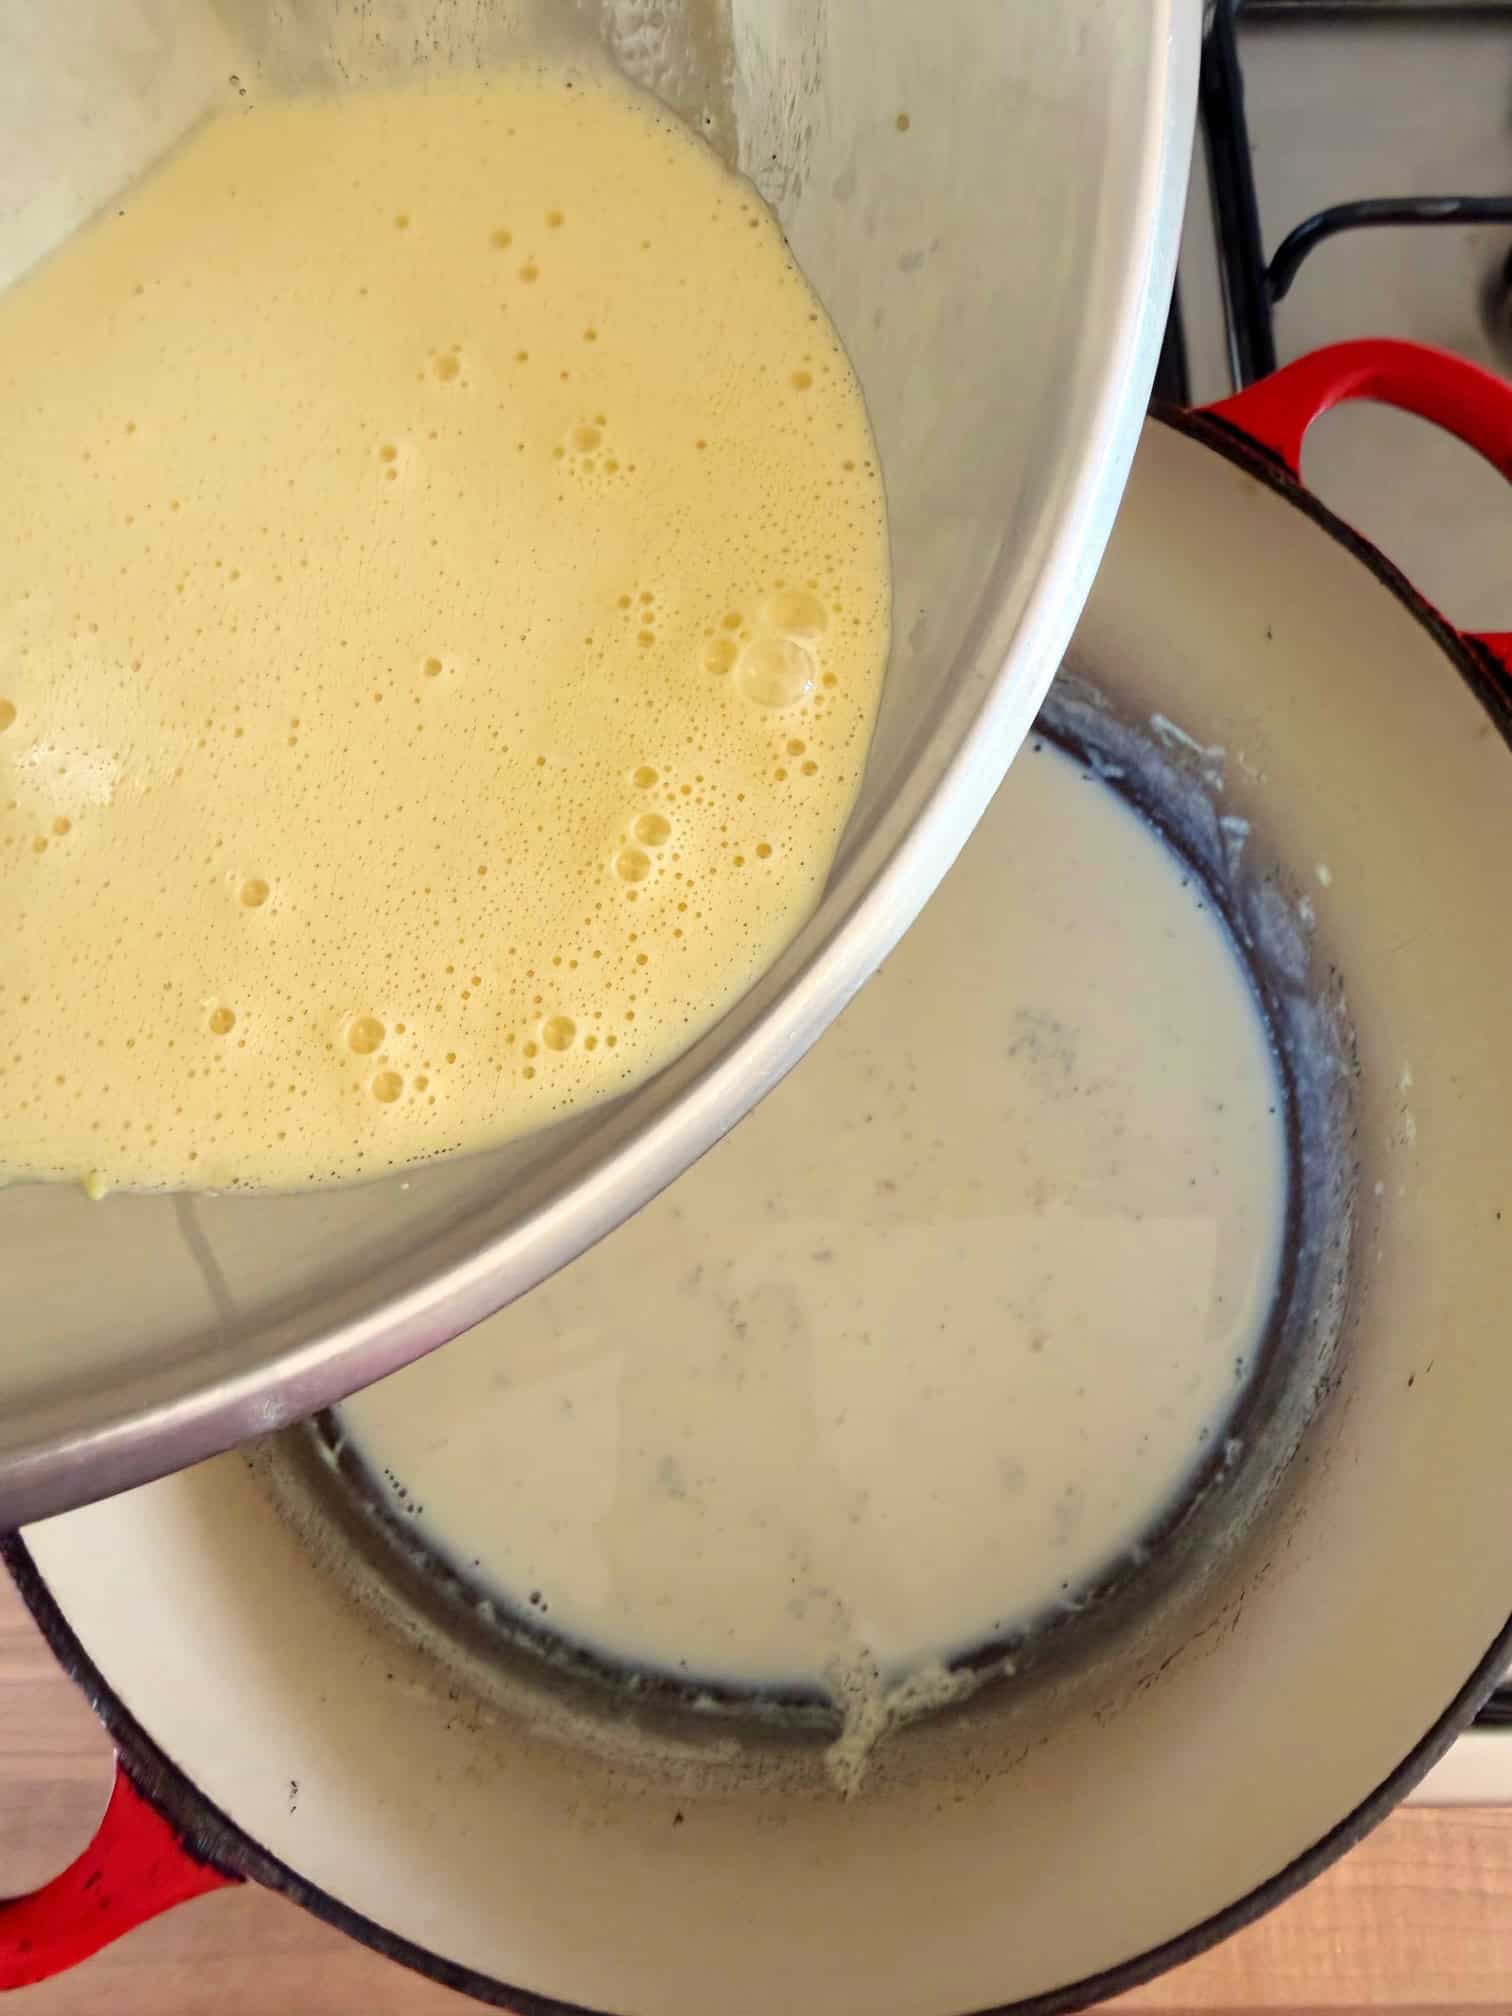
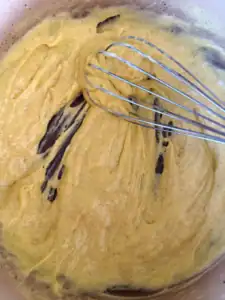
9: Combine and cook – Pour the tempered egg mixture back into the saucepan with the remaining milk. Remove the vanilla pods and discard. Place the pan back over medium‑high heat and whisk continuously. As it approaches boiling, the mixture will thicken. Cook for 1-2 minutes until smooth, glossy and custard‑thick.
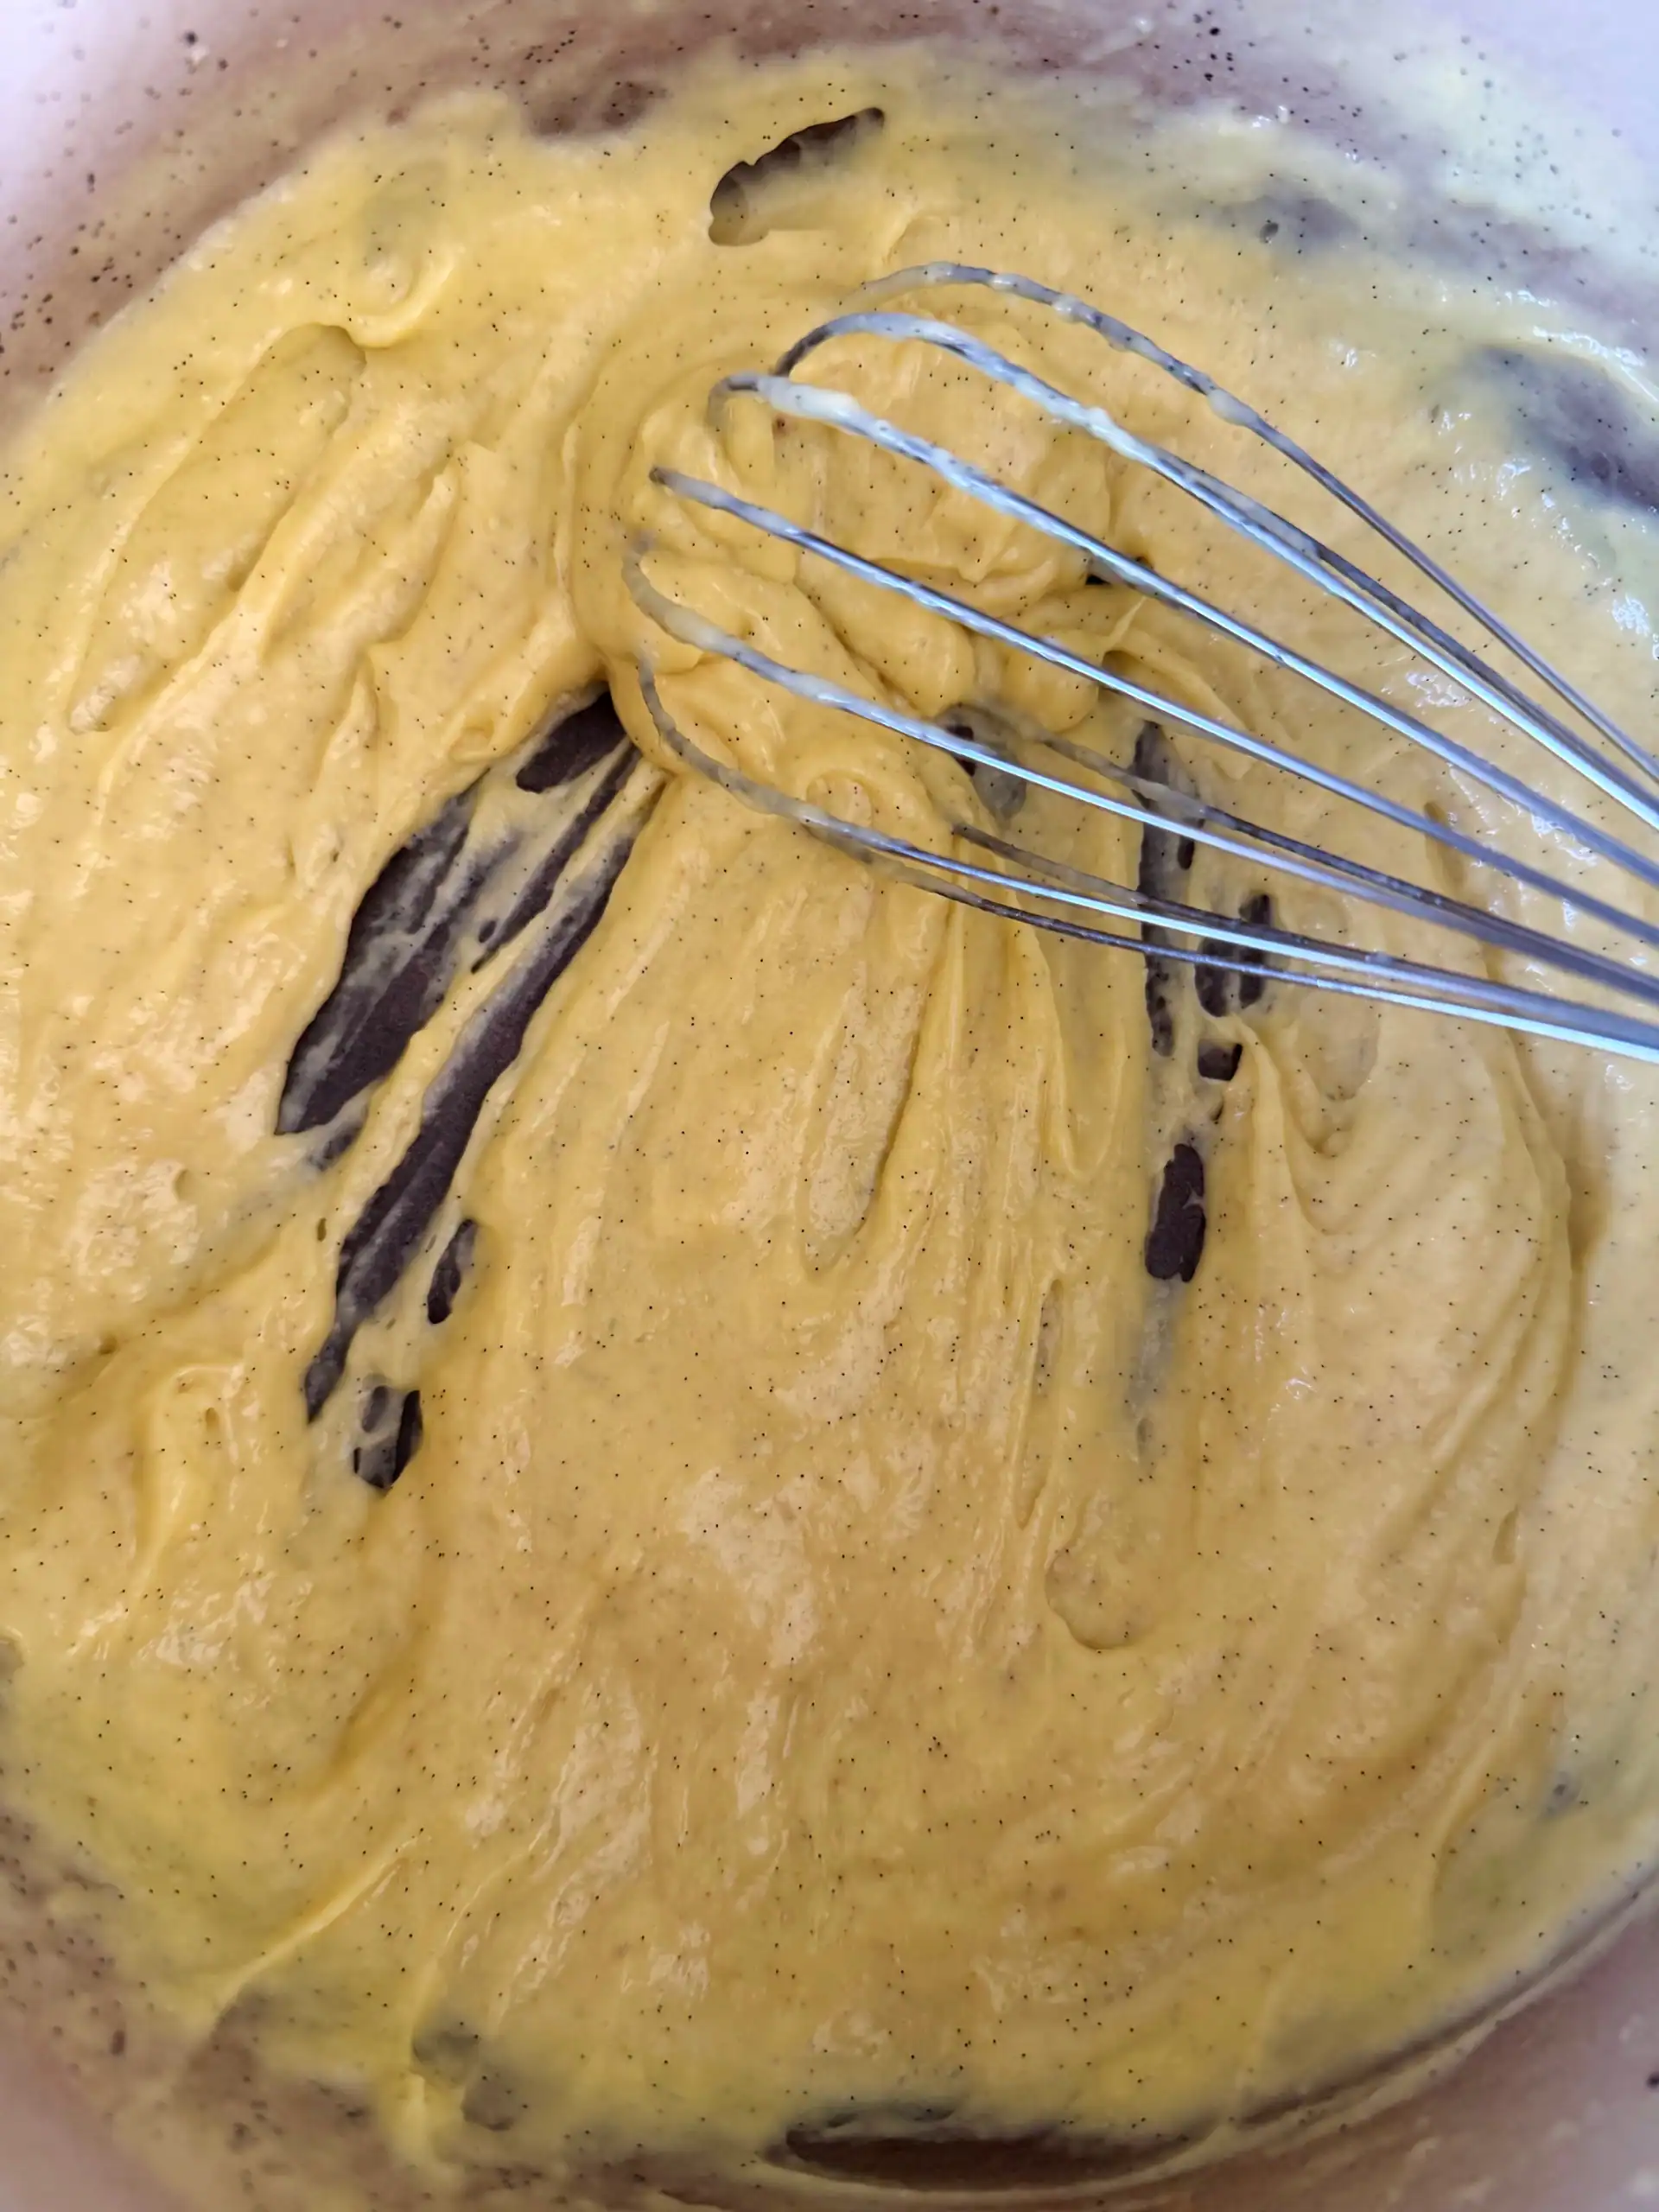
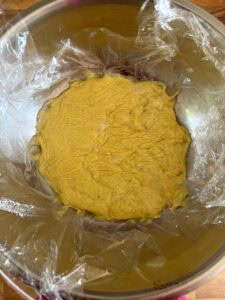
10: Cool the pastry cream – Transfer the pastry cream to a clean bowl. Press cling film directly onto the surface to prevent a skin forming. Cool as quickly as possible – placing the bowl into a larger bowl of ice‑cold water works well .
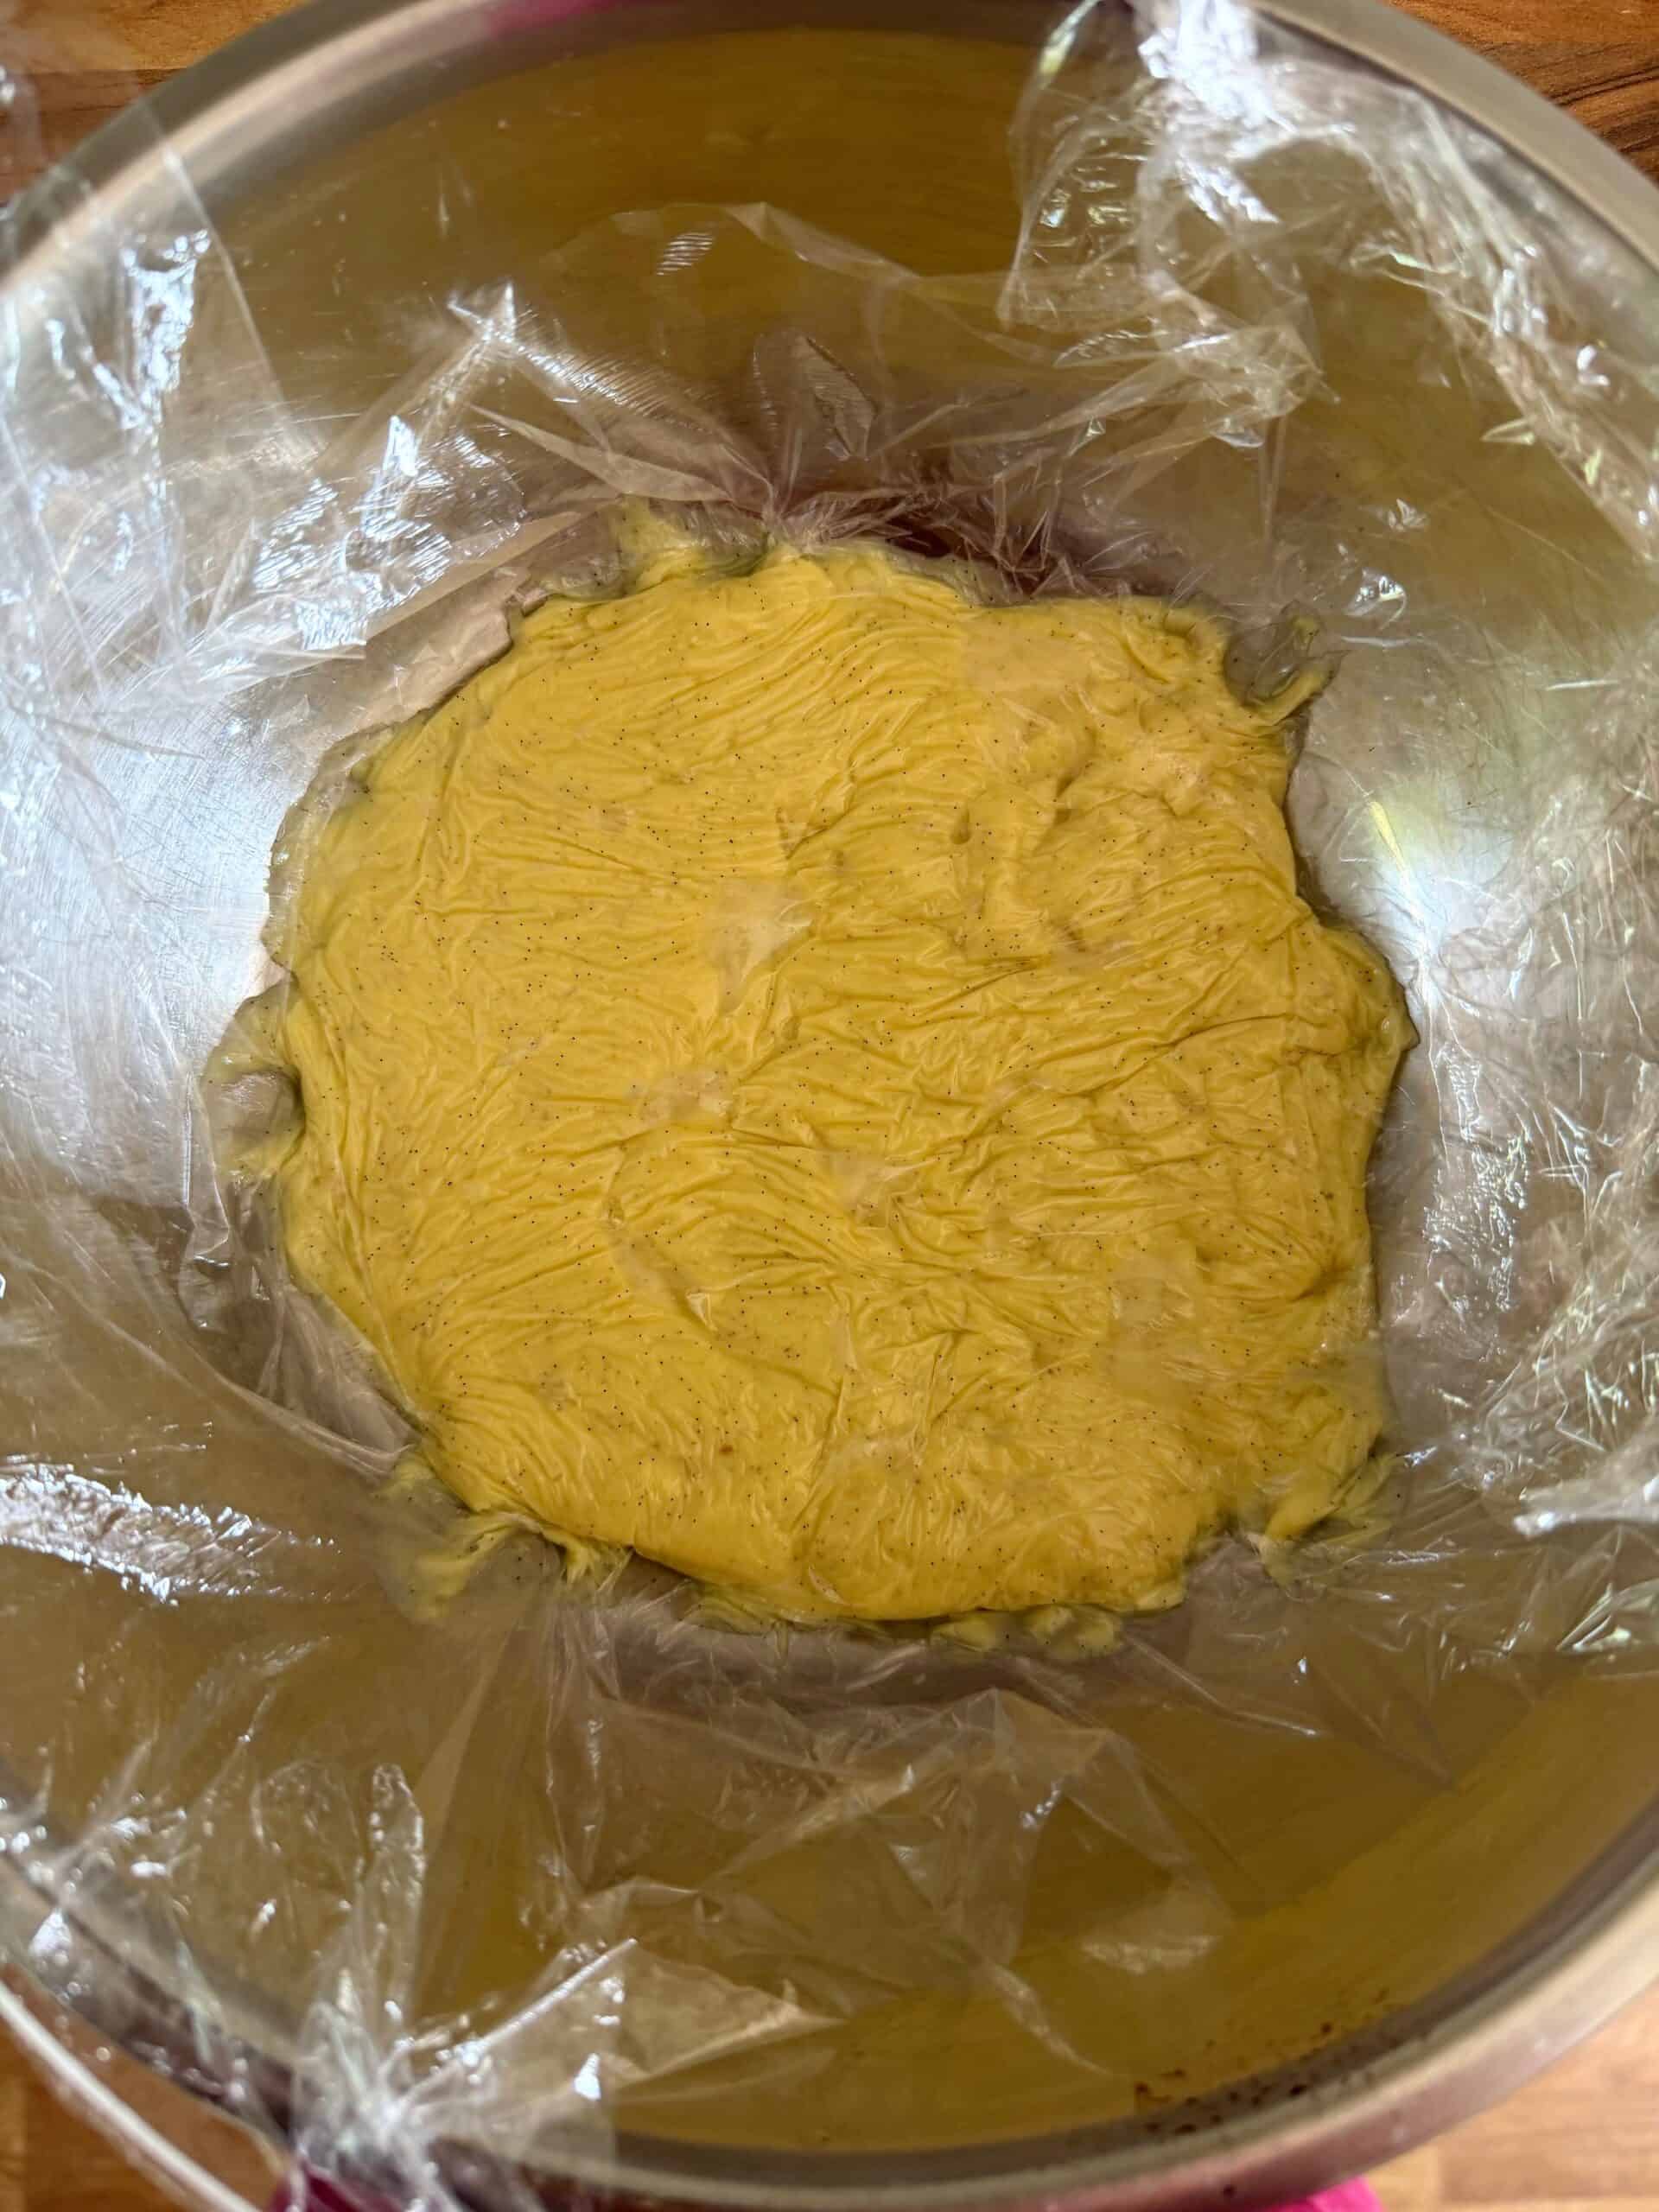
11: Loosen if needed – Once fully cooled, if the pastry cream has thickened too much, whisk in a splash of milk to loosen it back to a silky consistency. Fill the tart cases – Spoon or use a piping bag to pipe the pastry cream into the baked tart shells.
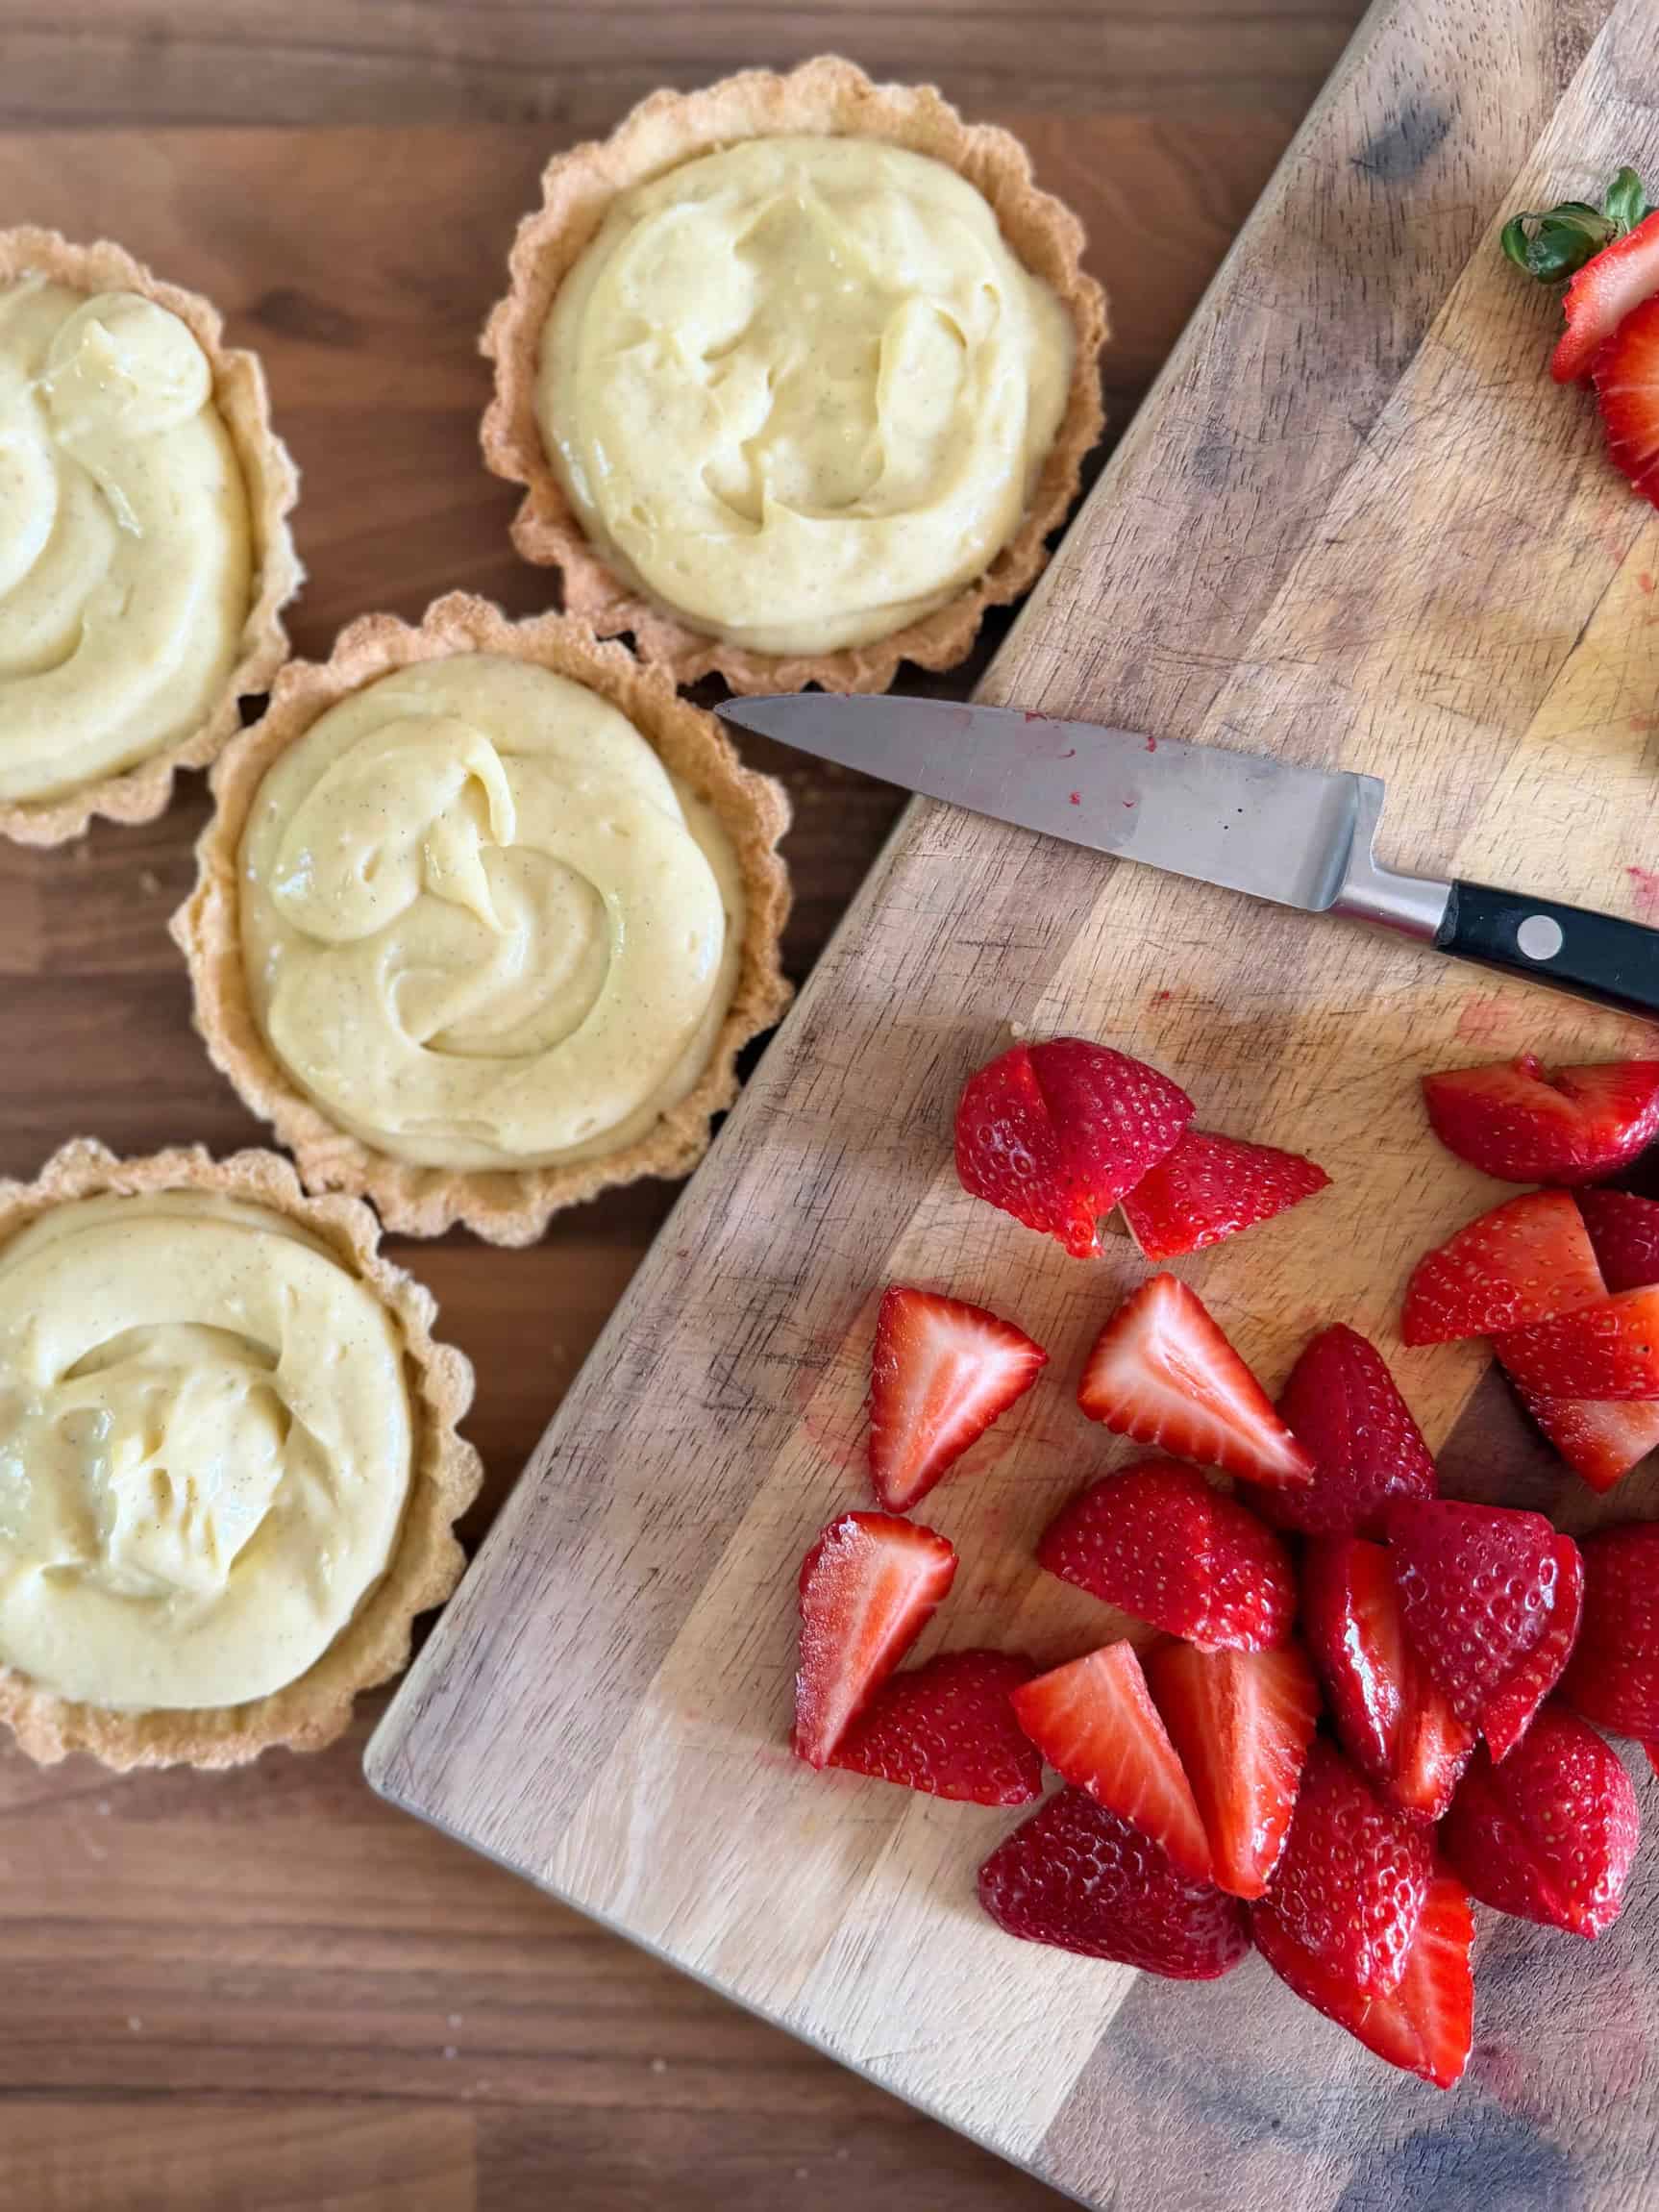
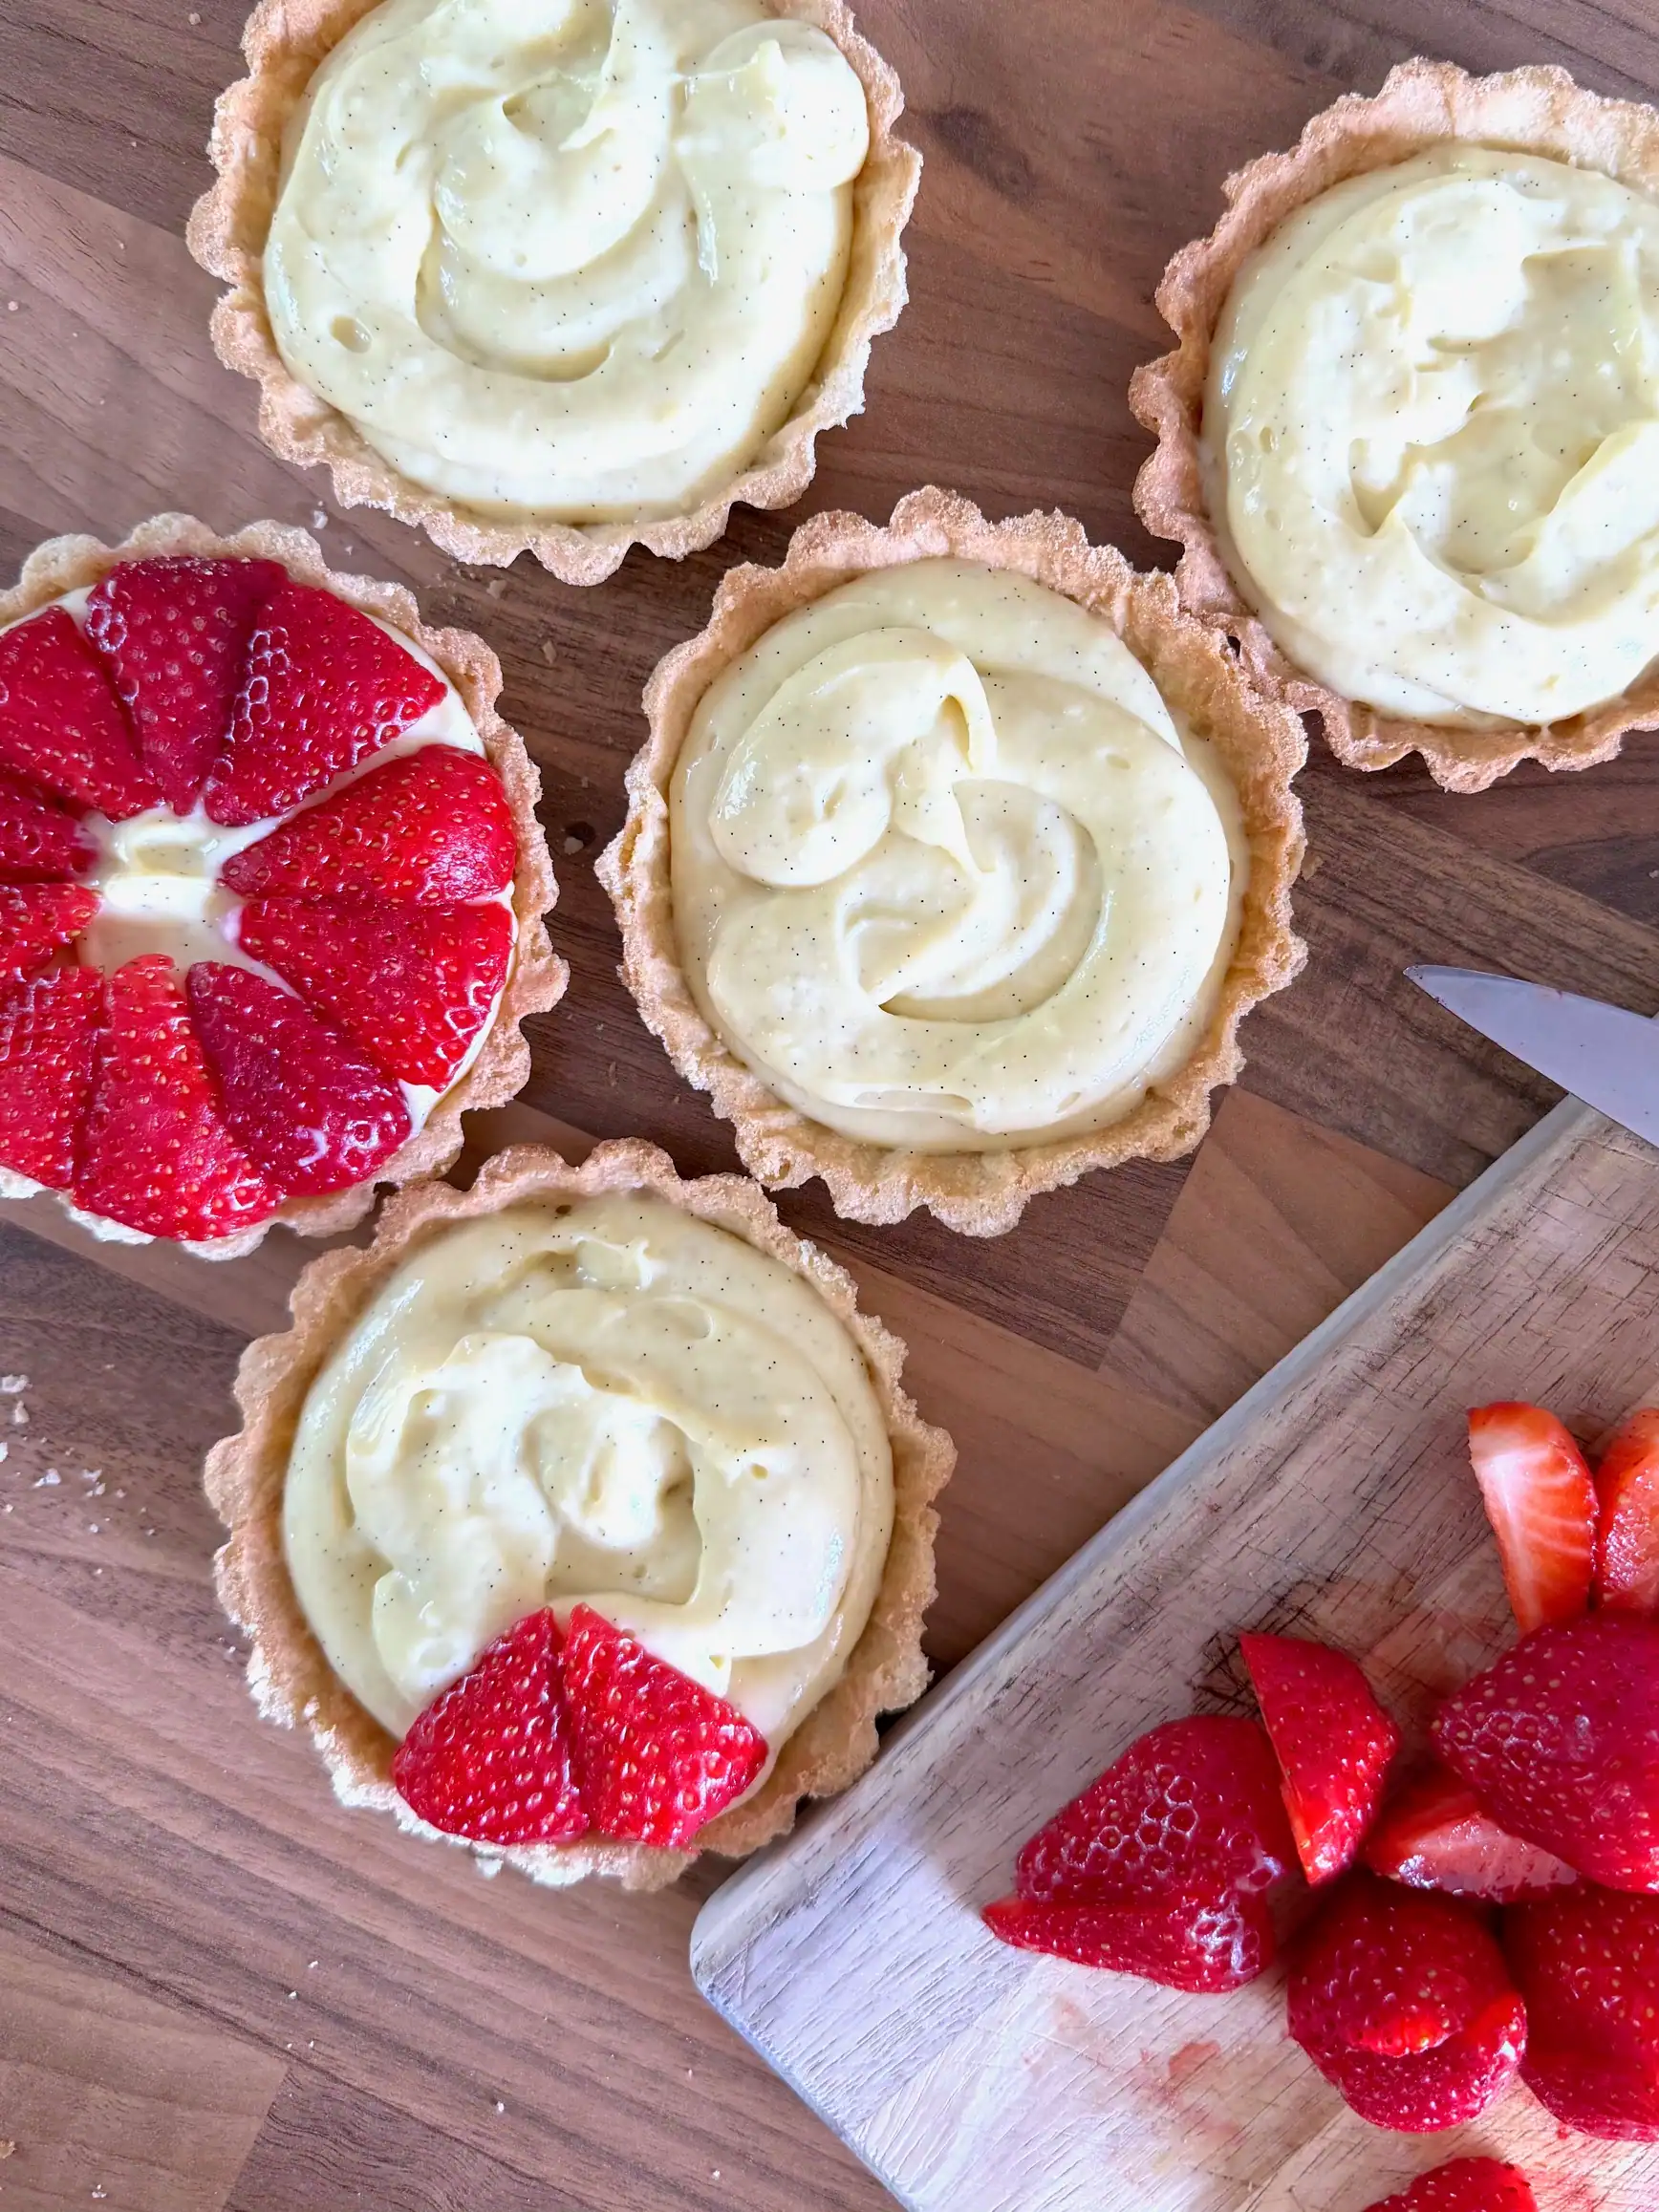
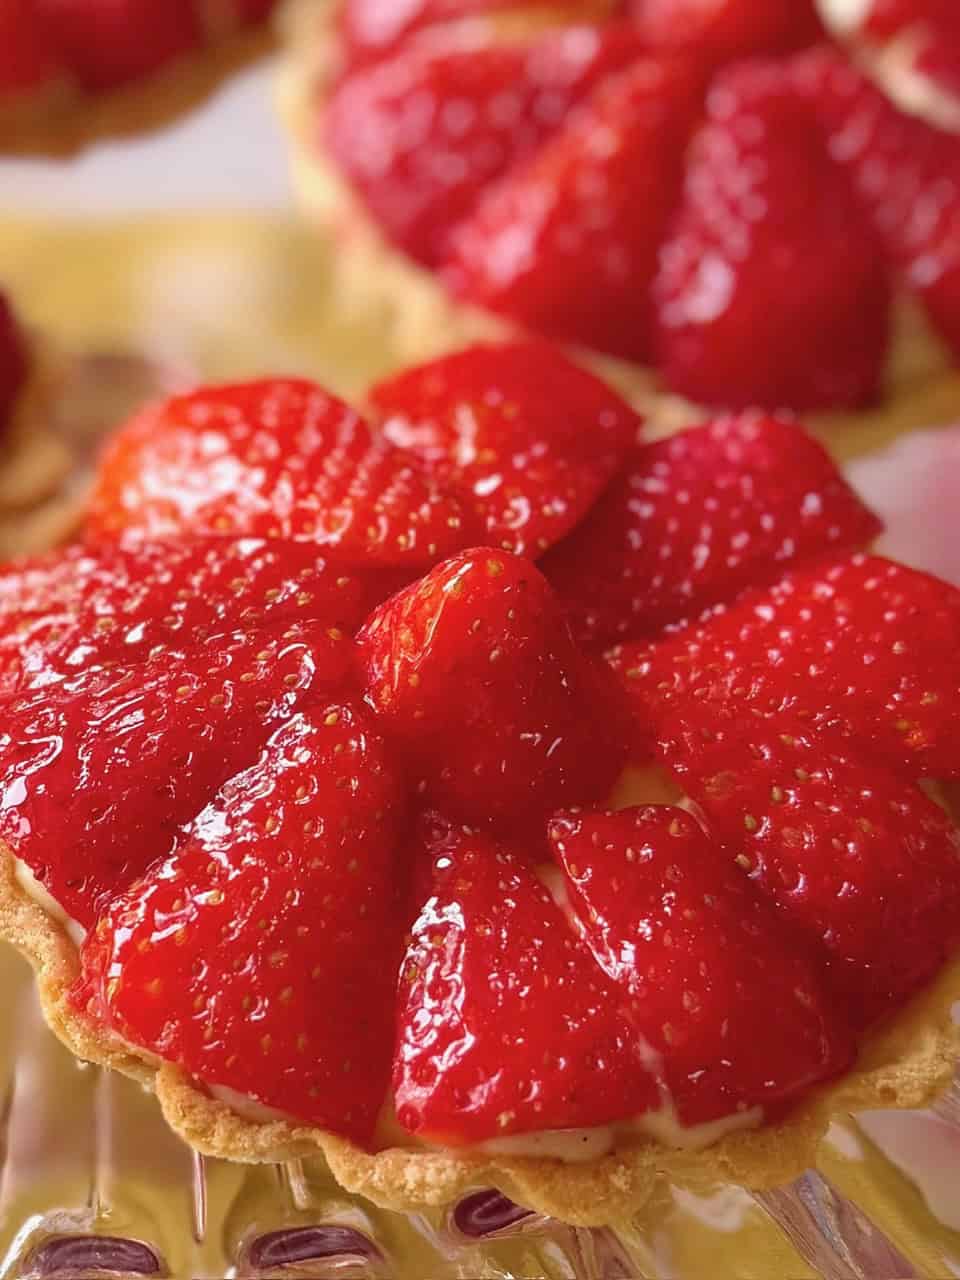
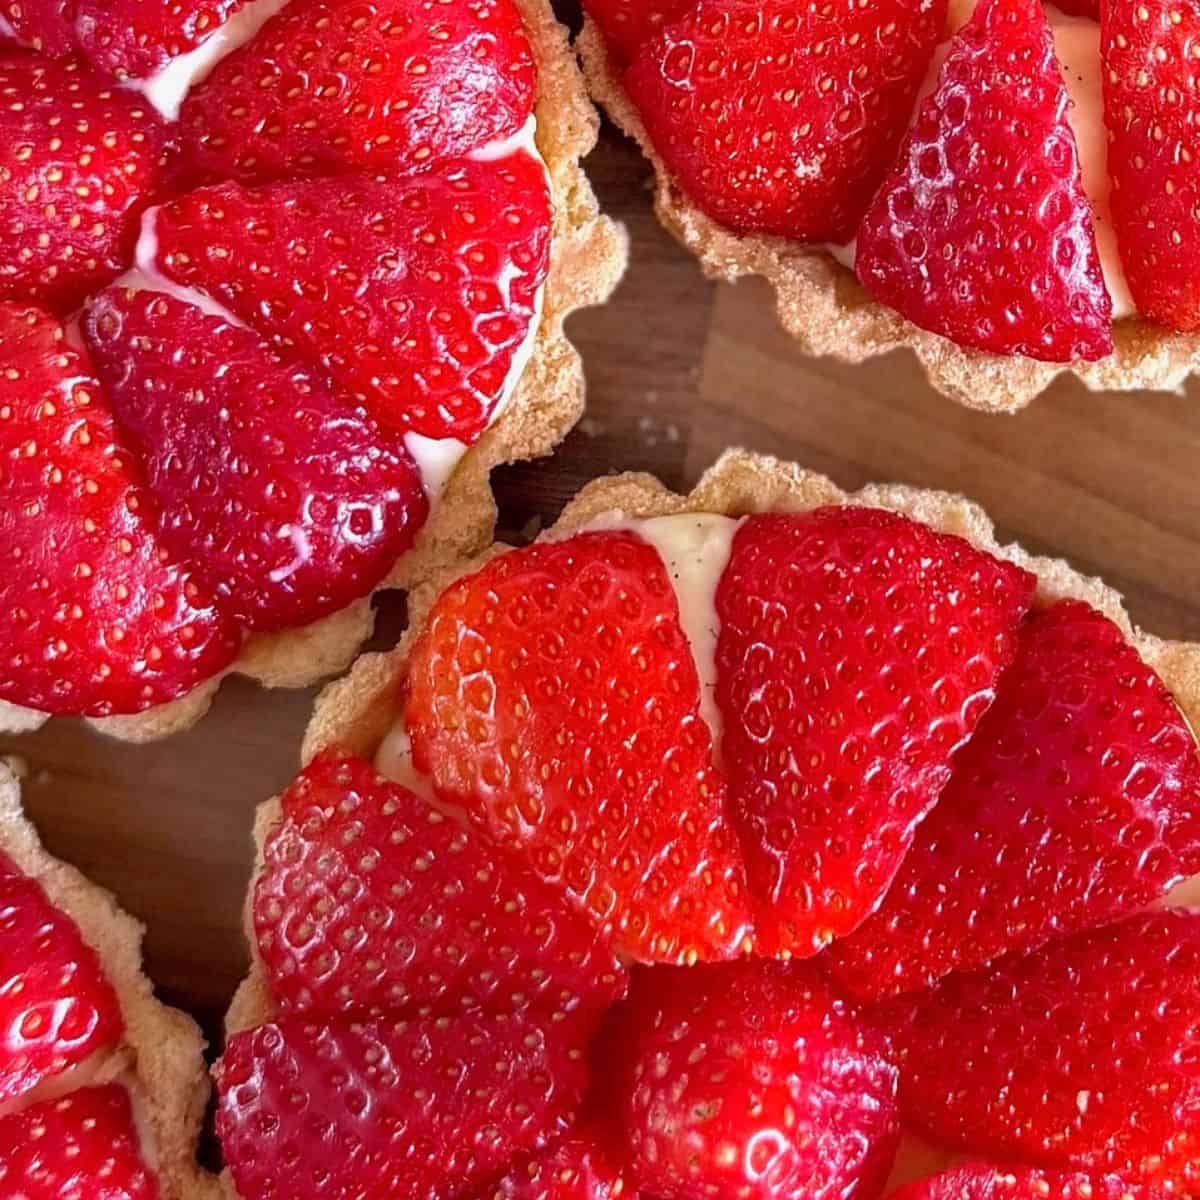
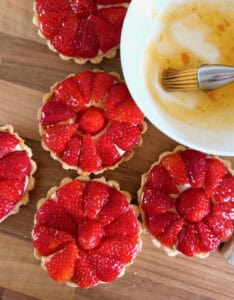
12: Add the strawberries – Slice the strawberries and arrange them neatly on top of the pastry cream .
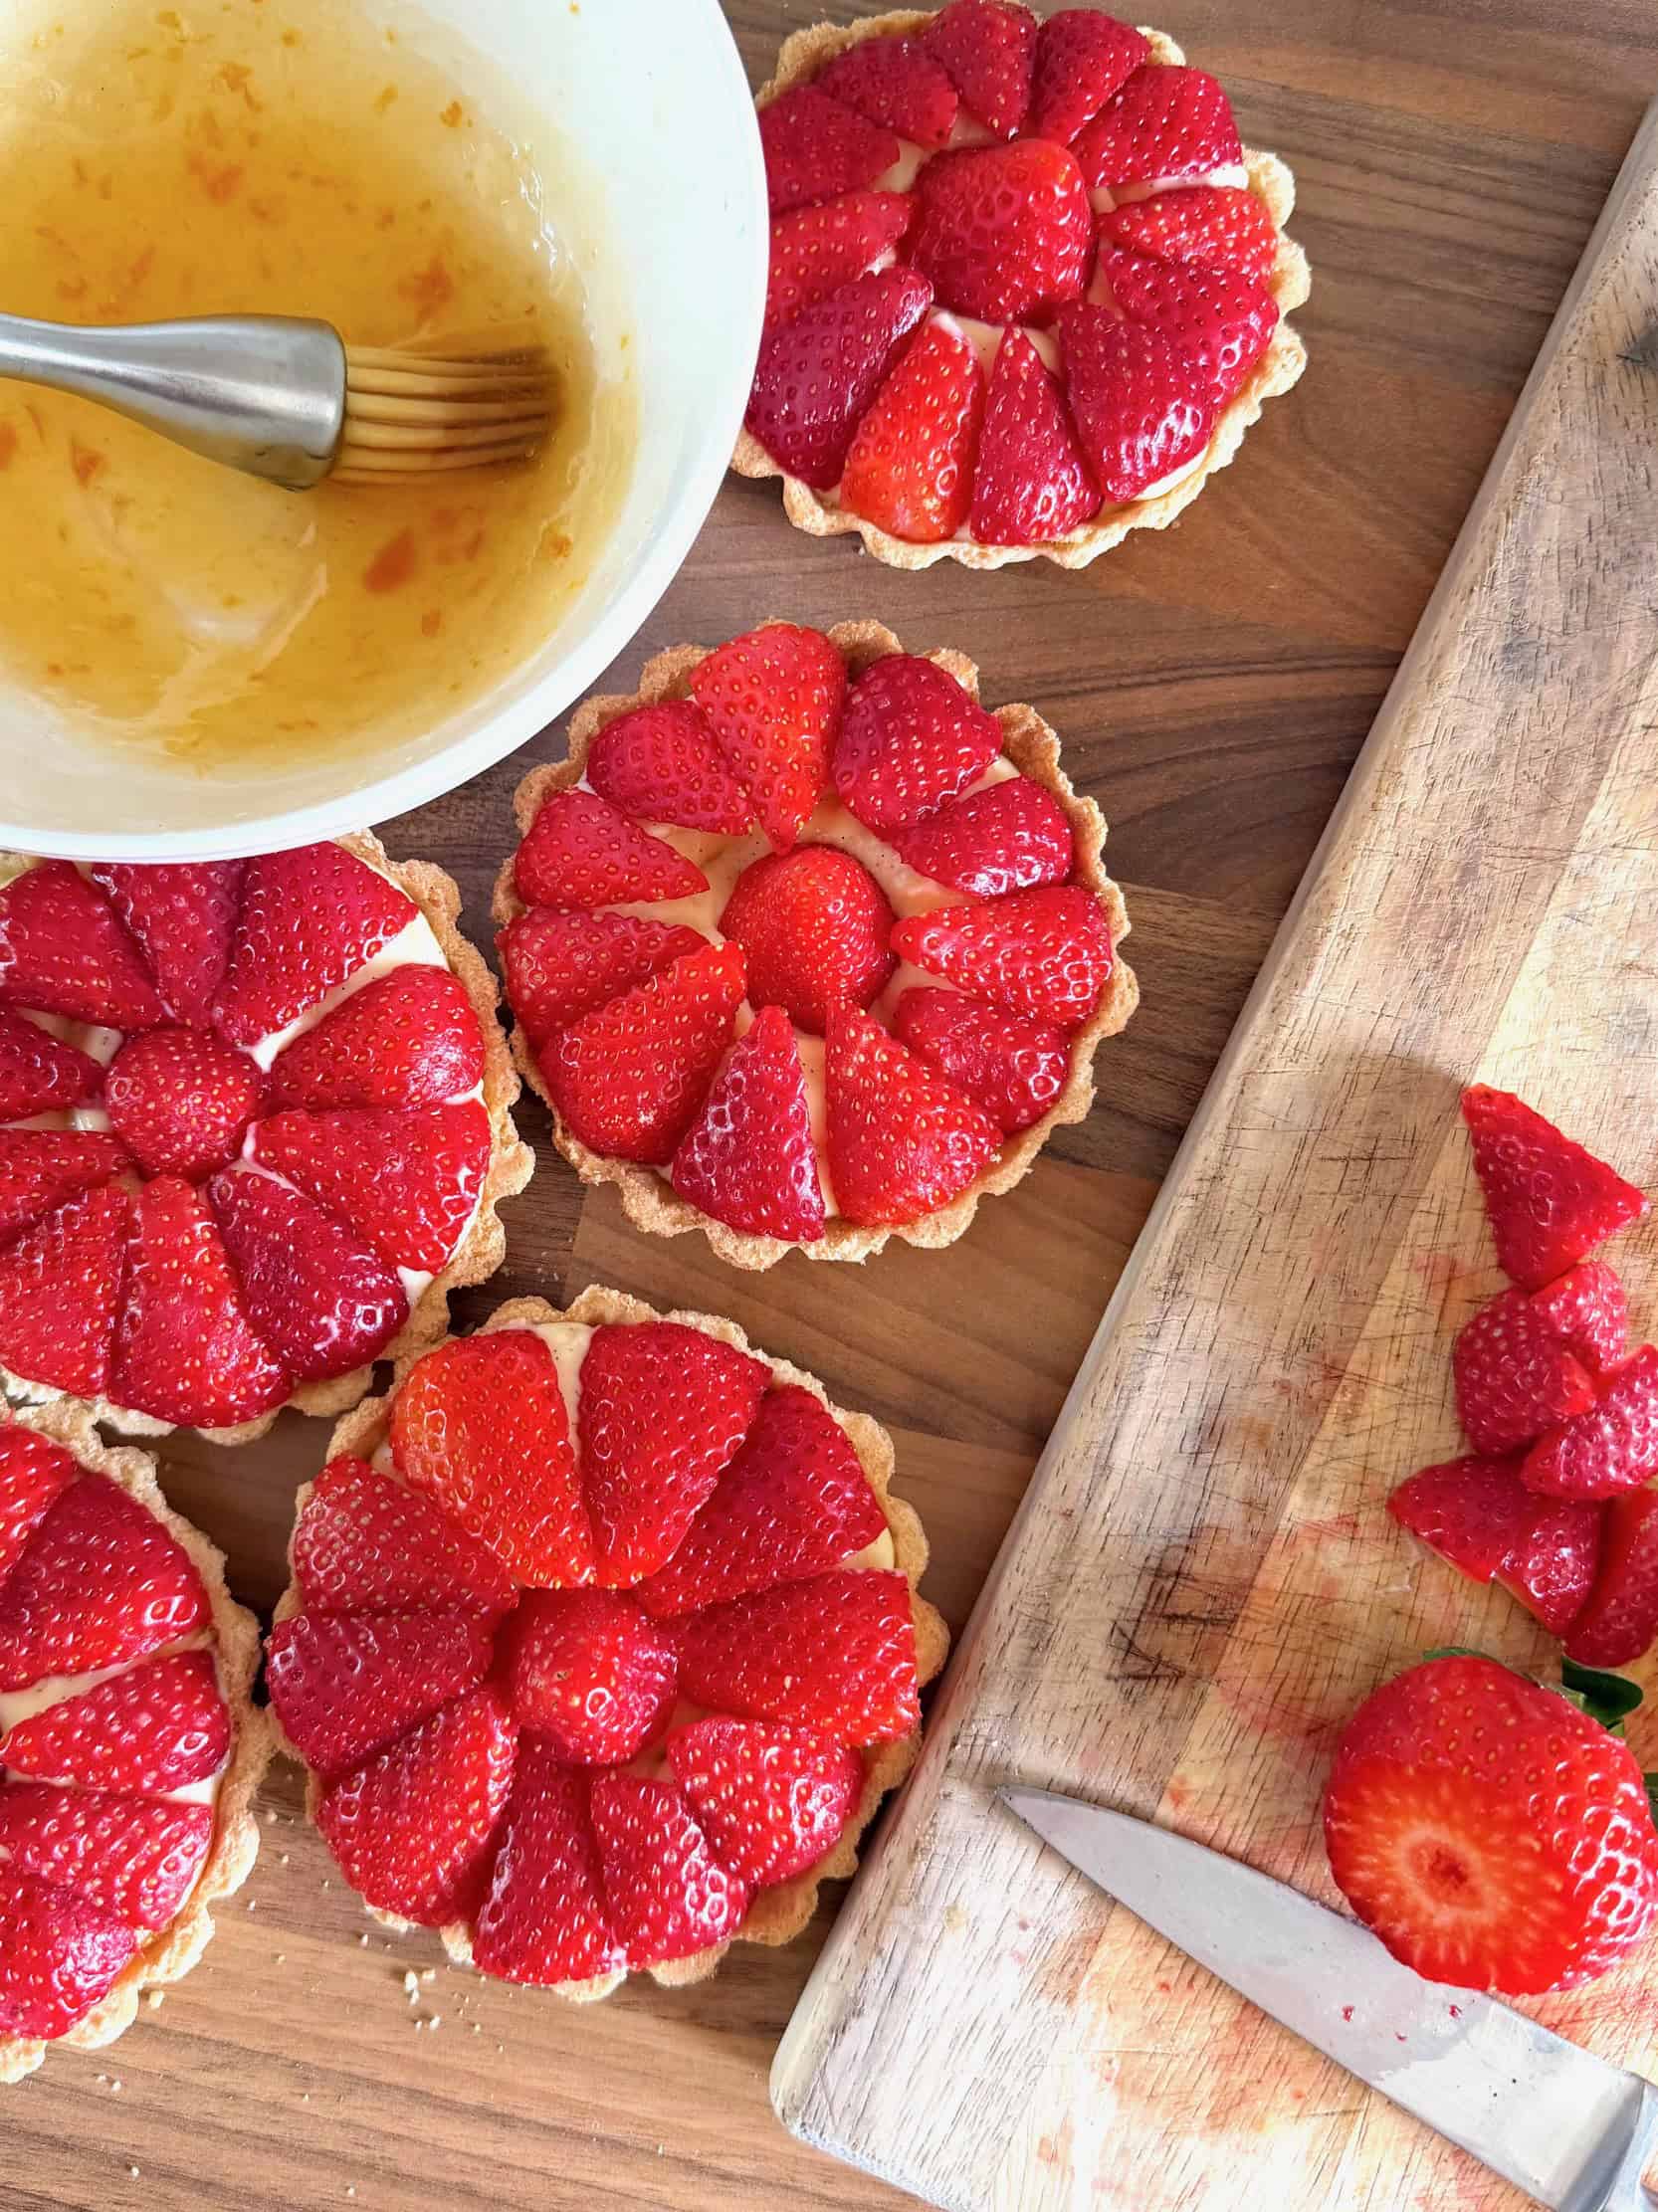
13: Glaze – Warm the apricot jam in the microwave until liquid, then let it cool slightly. Using a pastry brush, gently glaze the strawberries for a beautiful shine.
Serving suggestions for strawberry tarts
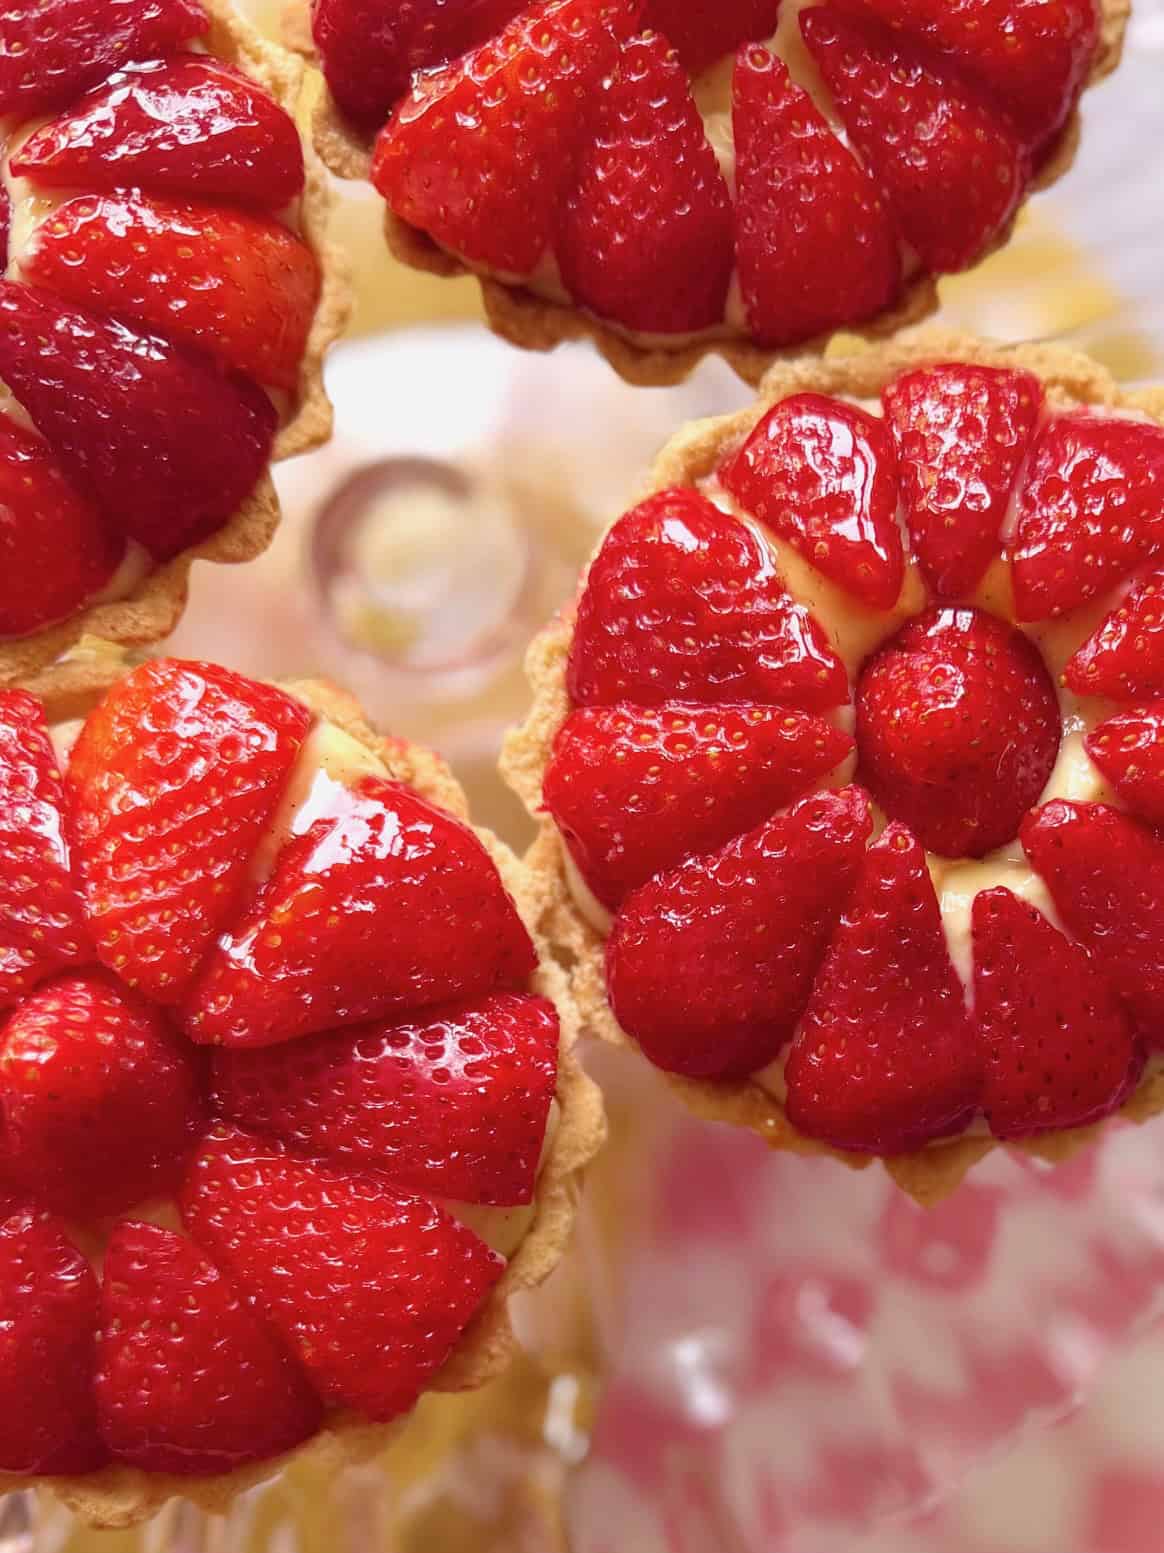
- These mini strawberry tarts are at their best on the day they're made, served chilled so the pastry cream is set and the strawberries are fresh and glossy.
- Bring them out after a family barbecue, Sunday roast or any sunny afternoon when everyone wants something light and fruity.
- Add a little dusting of icing sugar just before serving or a few mint leaves if you want them to look extra pretty.
- They pair beautifully with a cup of tea, a scoop of vanilla ice cream or even a glass of something bubbly if you're celebrating.
- For a full patisserie style spread, serve them alongside my Poached Pear and Frangipane Tart for a lovely mix of flavours and textures
Variations of strawberry tarts
Storage and freezing
Storage – These little strawberry tarts are best enjoyed on the day they're made, when the pastry is crisp and the strawberries are fresh. If you have leftovers, keep them in the fridge for up to one day. The pastry will soften slightly but they'll still taste lovely. Store them uncovered for the first hour to help the pastry stay firm, then cover lightly.
Freezing – Because the topping uses fresh strawberries and the filling is pastry cream, these tarts do not freeze well. The fruit becomes watery once thawed and the cream can split. If you want to get ahead, you can freeze the baked tart shells on their own for up to three months. Defrost at room temperature, then fill and top them fresh when you're ready to serve.

- Don't rush the pastry cream – Keep the heat gentle and whisk constantly. The moment it thickens, take it off the heat and keep whisking for another few seconds. This stops lumps and gives you that silky, patisserie style texture.
- Chill the pastry properly – Cold pastry is happy pastry. If it starts getting soft while you're rolling or lining the tins, pop it back in the fridge for ten minutes. It makes all the difference to getting that crisp, neat finish
- Strain the pastry cream – It feels like an extra step, but pushing it through a sieve makes it unbelievably smooth. Worth every second.
- Use the ripest strawberries you can find – This recipe shines when strawberries are in season. If you've been out on a family pick your own trip, even better – the flavour is unbeatable.
- Glaze lightly – Warm the apricot jam just until it loosens, then brush gently. You want a shine, not a thick layer. It keeps the fruit looking fresh and stops it drying out.
- Assemble just before serving – Fill the tart shells and add the strawberries close to serving time. It keeps the pastry crisp and the fruit bright.
- Make the pastry shells ahead – If you want to get ahead, bake the tart cases the day before. Store them in an airtight container and fill them fresh. It makes entertaining much easier
FAQ
What pastry do you use for strawberry tarts?
A simple sweet tart pastry works best. It is crisp, buttery and sturdy enough to hold the pastry cream and fresh strawberries without going soggy.
Can you make strawberry tarts the day before?
You can prepare the pastry shells and the pastry cream the day before, but it is best to assemble the tarts on the day you plan to serve them. This keeps the pastry crisp and the strawberries fresh
What are common strawberry tart mistakes?
The most common issues are under baked pastry, pastry cream that has not thickened enough and adding the strawberries too early which can make the tart soggy. Assembling just before serving solves most of these problems.
Can I use frozen strawberries?
Fresh strawberries are always best for this recipe. Frozen berries release too much liquid as they thaw and will not give you the glossy finish or firm texture you want
Can I use vanilla extract instead of a vanilla pod?
Yes, vanilla extract or vanilla bean paste both work well. Vanilla bean paste gives the closest flavour to a pod and adds those lovely little specks
How do I stop the pastry shrinking in the oven?
Chill the lined tart cases before baking and make sure the pastry is pressed firmly into the edges. Baking with parchment and baking beans also helps keep the shape.
Did you enjoy this recipe? have a question? It would mean so much to me if you please leave a comment and a rating below!
Strawberry tarts with vanilla pastry cream
Equipment
- baking beans (or you can use rice)
Ingredients
Pastry
- 170 grams all purpose flour
- 75 grams cold cubed butter
- 45 grams icing sugar
- 1 egg
- pinch salt
Vanilla pastry cream (creme patissiere)
- 4 egg yolks
- 70 grams caster sugar
- 15 grams corn flour
- 15 grams all purpose flour
- 380 ml whole milk (full fat)
- 1 Vanilla pod
Topping
- 1 Punnet Strawberries
- 2 tablespoon apricot jam
Instructions
Make the pastry
- Sift the flour, icing sugar and a pinch of salt into a bowl. Add the cold, cubed butter and rub it in with your fingertips until it resembles breadcrumbs
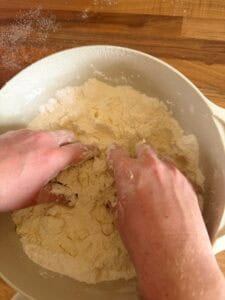
- Lightly whisk the egg, pour them into the bowl and bring the dough together with a fork, then your hands. Shape into a disc, wrap and refrigerate for at least 1 hour.
Blind bake the pastry cases
- Lightly oil and flour the individual tart cases. Roll out the chilled pastry and line the tins, leaving some overhang to allow for shrinkage. Prick the base with a fork and chill again for 30 minutes.
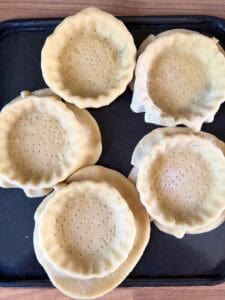
- Blind bake – Line the pastry with foil and fill with baking beans or rice. Bake at 190°C for 15 minutes. Remove the foil and beans, then bake for a further 7-10 minutes until dry but not browned

- Trim the edges – Using a sharp knife (a bread knife works well), carefully trim the overhanging pastry for a neat finish
Make the vanilla pastry cream
- Heat the milk – Pour the milk into a saucepan and set it over medium heat, stirring occasionally so it doesn't catch on the bottom. Split the vanilla pod lengthways and scrape out the seeds. Add both the seeds and the empty pod to the milk. Heat until the milk is just below boiling.
- Whisk the egg mixture – In a mixing bowl, whisk the egg yolks and sugar until pale and creamy. Add the flour and cornflour, whisking until smooth
- Temper the eggs – Let the hot milk cool for about 30 seconds. Using a ladle, slowly pour about half of the hot vanilla milk into the egg mixture, whisking vigorously the whole time to prevent scrambling. Do this little by little.
- Combine and cook – Pour the tempered egg mixture back into the saucepan with the remaining milk. Remove the vanilla pods and discard. Place the pan back over medium‑high heat and whisk continuously. As it approaches boiling, the mixture will thicken. Cook for 1-2 minutes until smooth, glossy and custard‑thick.
- Cool the pastry cream – Transfer the pastry cream to a clean bowl. Press cling film directly onto the surface to prevent a skin forming. Cool as quickly as possible – placing the bowl into a larger bowl of ice‑cold water works well.
Assemble the tarts
- Loosen if needed – Once fully cooled, if the pastry cream has thickened too much, whisk in a splash of milk to loosen it back to a silky consistency.
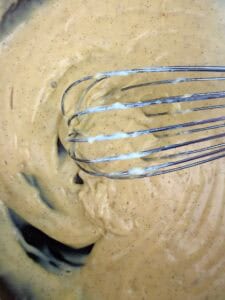
- Fill the tart cases – Spoon or pipe the pastry cream into the baked tart shells.
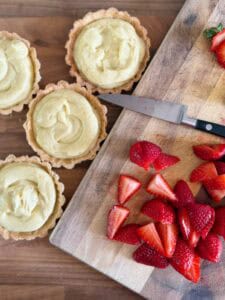
- Add the strawberries – Slice the strawberries and arrange them neatly on top of the pastry cream.
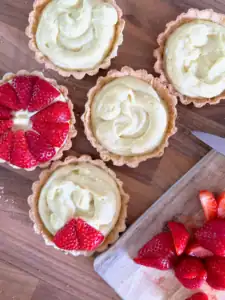
- Glaze – Warm the apricot jam in the microwave until liquid, then let it cool slightly. Using a pastry brush, gently glaze the strawberries for a beautiful shine.
Notes
Related

Pairing
These are my favorite dishes to serve with [this recipe]: